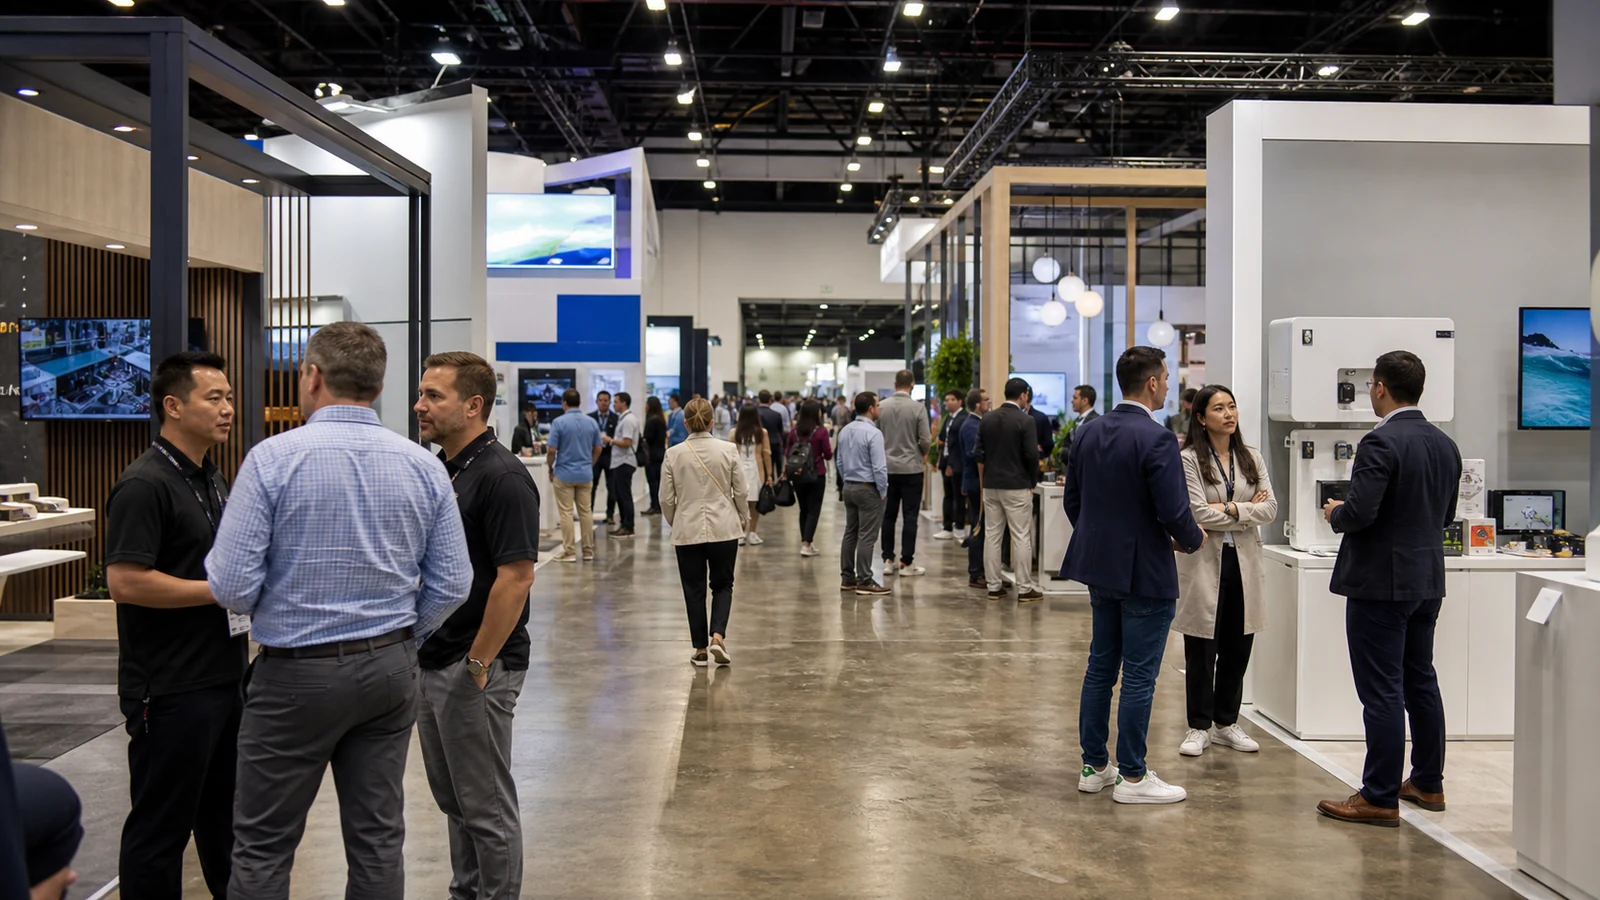
Your booth walls are more than a background for a logo. They can help people recognize your company, understand a product, see a demonstration, find a place to talk, and move through the booth without feeling blocked. The goal is not to fill every square inch. It is to give each wall a useful job and make the whole booth easier to see, use, and remember.
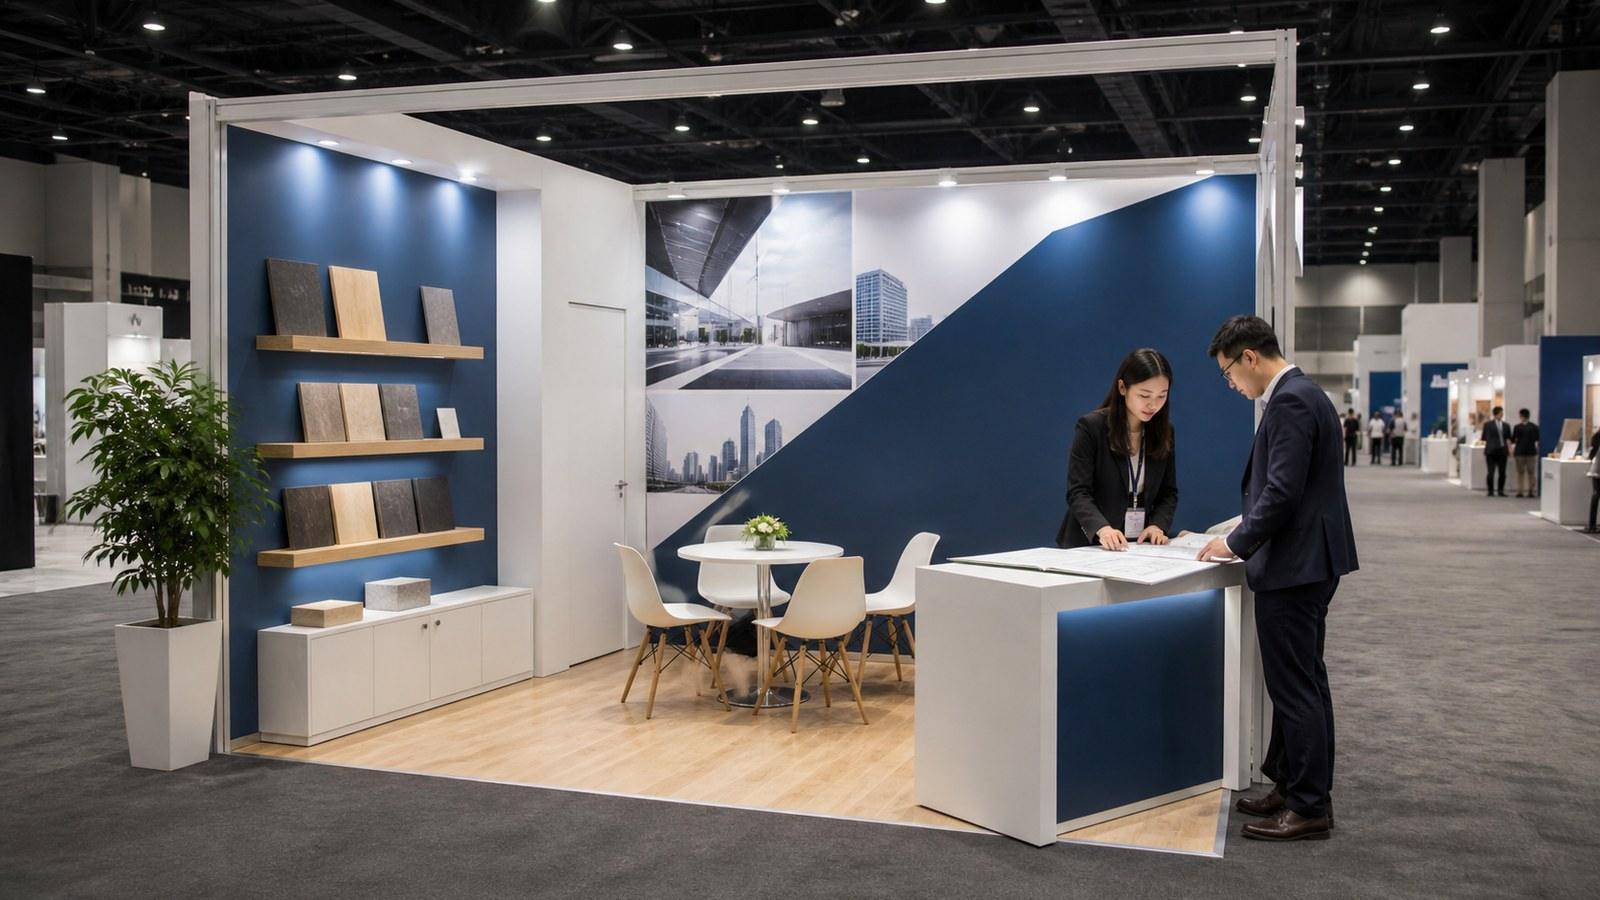
A high-performing booth wall should do four things: attract attention, explain your offer, support interaction and remain practical to transport and reuse.
Why Do Trade Show Booth Walls Matter?
In a crowded hall, your walls are the largest surfaces that can communicate before a staff member speaks. A backwall can identify your category from the aisle; a sidewall can carry products, a screen or a meeting boundary without using more floor area. The result depends on position, furniture, staff, lighting and visitor path, so maximize the wall’s job—not its size.
Start with a Clear Goal for Each Booth Wall
Before you choose a wall system or approve artwork, decide what you want a visitor to do after noticing each surface. Give every wall one primary function.
Assign one primary function to each wall
| Wall function | Recommended use |
|---|---|
| Brand wall | Logo, category, positioning, and one clear promise |
| Product wall | Samples, shelves, product families, or comparison pieces |
| Demo wall | Screen, touchscreen, live demonstration, or application sequence |
| Information wall | Benefits, applications, process diagram, or proof point |
| Meeting wall | A semi-private conversation boundary with a visible route in |
| Storage wall | Hidden literature, samples, bags, and staff supplies |
Match the wall function to your event objective
If your goal is brand recognition, prioritize a high-visibility brand wall and one message people can understand quickly. If you need to show multiple products, use a product wall that groups them by an actual decision—application, material, model, or use case—instead of copying your catalog order. If you need a demonstration, combine the screen or product with a standing position where visitors can watch without stopping the aisle.
For lead capture, a QR code, form or appointment prompt should support a conversation. For meetings, use a side or rear wall for privacy while keeping the route and one proof point open.
Record the show, footprint, open sides, products, staff behavior, storage, power/data, reuse goal and approval date. If you cannot describe the first useful visitor action, your wall brief is not ready.
Build a Three-Level Message Hierarchy
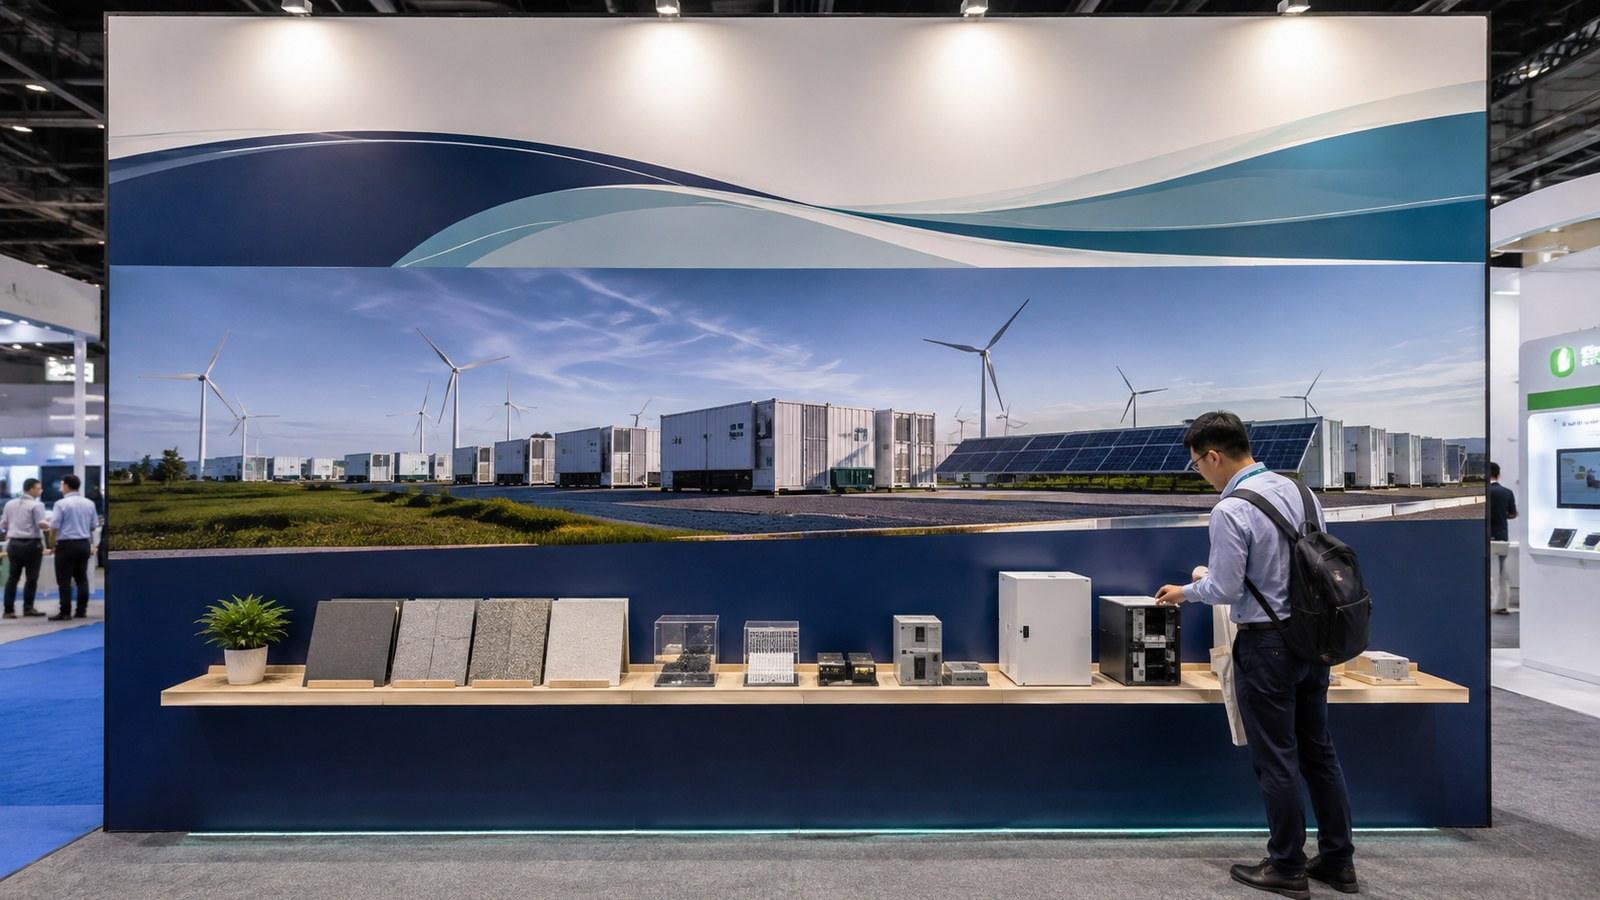
Your wall is a three-dimensional asset. Use the upper area for recognition, the middle area for explanation, and the reachable area for products or interaction. This layered approach increases what the wall can do without turning it into a crowded brochure.
Place the most important message where it survives the crowd
Put your logo or category cue high enough to remain visible when staff and visitors stand in front of the wall. Place the main benefit or application where a standing visitor can read it comfortably. Keep detailed specifications, QR codes, and download prompts lower or closer to the action they support.
Measure Usable Wall Area and Wall Value
“Maximize” becomes useful when you measure usable wall value instead of counting the total panel area. A wall can be large but underperform if a counter hides the lower half, a graphic is unreadable from the aisle, or a product fixture leaves no room for a conversation.
| Measure | How to calculate it | What the result helps you decide |
|---|---|---|
| Gross wall area | Wall width × usable wall height | Whether the planned graphic or fixture physically fits |
| Visible wall area | Gross area minus furniture, doors, cable and blocked zones | How much surface can actually communicate from the aisle |
| Product density | Number of products or comparison positions ÷ visible wall area | Whether you are showing a useful range or creating clutter |
| Wall action rate | Stops, scans, demos or conversations in a wall zone ÷ observed visitors | Which wall job deserves more space at the next show |
| Cost per usable square foot | Total wall cost ÷ visible wall area | Whether a larger or more complex wall is earning its footprint |
Treat these as internal comparison metrics, not industry standards or a promise of performance. For a practical sample, assign one team member to observe each wall zone for 30 minutes. Tally passers, stops, scans, demonstrations and substantive conversations on a simple sheet. Compare zones after the show; directional differences are more useful than false precision. Record the same fields at the next event so you can remove low-value fixtures or give a high-performing product more room without enlarging the booth.
Choose the Right Trade Show Booth Wall Type
The right wall type depends on how you transport, reuse, light, load, and update the display. Use the table below to compare portable fabric walls, modular wall panels, backlit surfaces and custom exhibit walls; confirm the actual system, dimensions and attachment limits before ordering. For a complete fabric-based booth rather than a single backwall, review fabric exhibition stands against transport and graphic-change needs.
Trade show booth wall panels are most useful when their fixing, graphic replacement and packing method match the products and shows you actually plan to support.
| Wall type | Best fit | Main advantage | Watch out for |
|---|---|---|---|
| Fabric wall (portable trade show wall) | Portable booths and frequent graphic changes | Light visual surface with replaceable graphics | Not every system supports heavy shelves or products |
| Modular wall panels (modular trade show booth walls) | Reusable exhibits with changing footprints | Components can be reconfigured and accessorized | More parts, connections, and packing decisions to manage |
| Backlit wall | A message or product that must separate from a busy hall | Strong contrast and visual emphasis | Requires power, even light distribution, and cable planning |
| Rigid/custom exhibit walls | Product-heavy or architectural displays | More structural and finish options | More weight, transport effort, and fabrication detail |
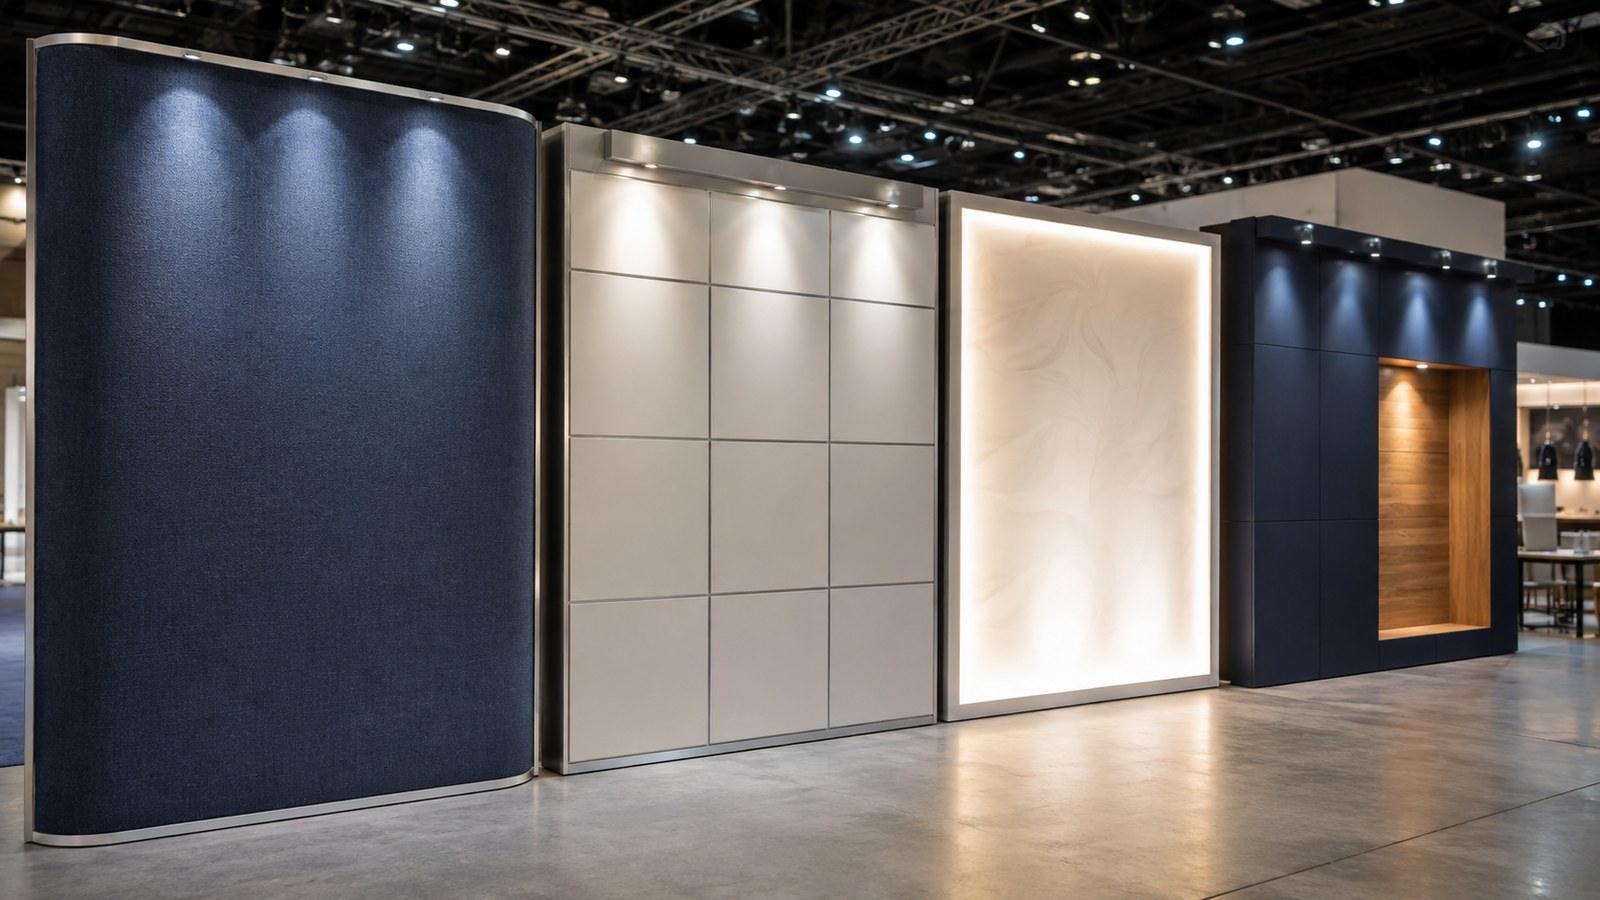
Do not choose a wall from a catalog photo alone. Compare the packed size, graphic replacement method, product fixing points, cleaning needs, lighting, future booth dimensions, and show restrictions. A visually premium wall is a poor choice if it cannot travel, be repaired, or support your actual display.
Example: A 10×10 Booth Wall Plan
The following is an illustrative planning example, not a customer case. A 10×10 footprint gives you 100 square feet before you subtract counters, staff positions and open approach space. Use the plan to assign jobs before you choose graphics or fixtures.
AISLE / OPEN ENTRY
┌──────────────────────────┐
│ Sidewall: 3–5 products    │  Backwall: brand + application
│                          ┌─┴─────────────────────────┐
│ Entry path → counter     │ Rear corner: storage/demo  │
└──────────────────────────┴───────────────────────────┘
             Staff reset / conversation zone
Use this as a conversation map, not a construction drawing. Mark the actual door swing, counter depth, queue and clear route on the supplier’s plan.
| Area | Suggested job | Check before production |
|---|---|---|
| Upper backwall | Logo, product category and one value statement | Confirm height, sightlines and sign rules in the show manual |
| Middle backwall | Main product application or proof visual | Check that a counter or standing group will not hide it |
| Sidewall | Three to five priority products or a focused comparison | Verify fixing, load, reach, reset and cleaning access |
| Entry side | Open invitation and clear approach | Preserve an accessible route and staff sightline |
| Rear corner | Concealed storage or a compact demonstration point | Plan door swing, cable route, power and queue space |
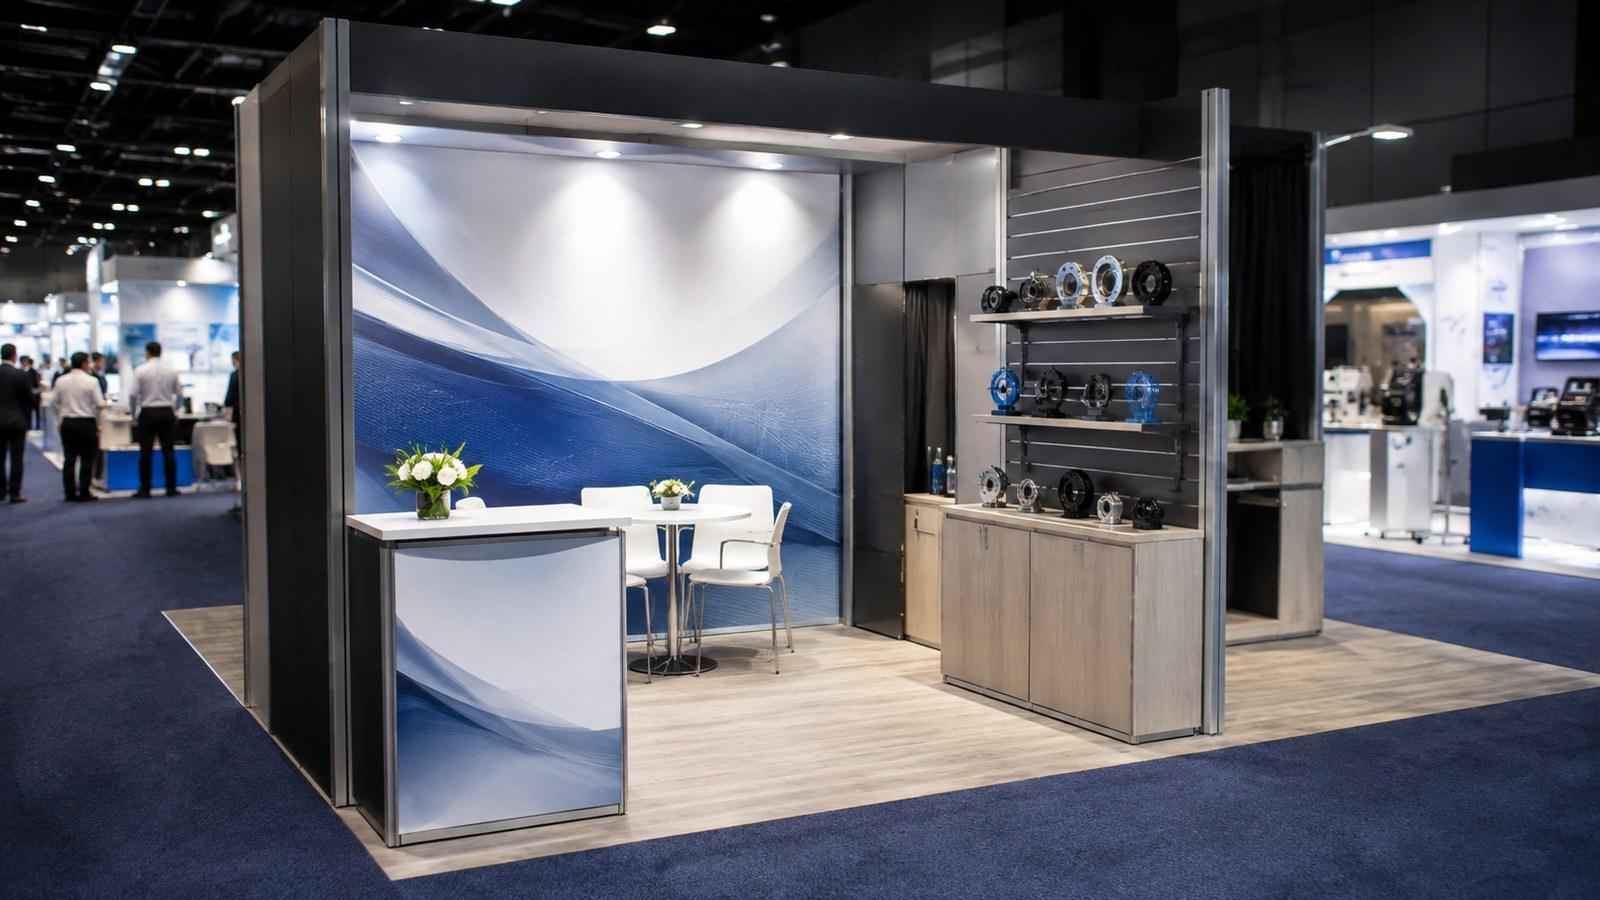
If you need more products than this plan can explain, use a digital catalog or staff-led selection instead of shrinking every label. A smaller, comprehensible wall display usually gives your visitor a better first decision.
Turn Booth Walls into Product Display Areas
A wall earns its footprint when it helps your visitor inspect, compare or understand a product without taking more floor area.
Add shelves, hooks, and product platforms with a purpose
Use shelves or hooks for small products, components, materials or samples; use a platform for a hero item. Leave space for a visitor to stand beside it and for staff to remove, reset and clean it.
Use cutaways and diagrams for complex products
If a product is too large or difficult to operate, use a cutaway, application diagram or before-and-after sequence with a short explanation beside it.
Check access before you approve the display
Record each product’s dimensions, weight, quantity, fixing, reach, replenishment and cleaning needs. Confirm the wall system and show allow the attachment before approval.
Trade Show Backwall Design Ideas for Different Viewing Distances
Good trade show booth wall ideas start with the way a person encounters your exhibit. Build trade show booth wall graphics, exhibit wall graphics and a trade show wall display that work for someone walking past, someone deciding whether to enter, and someone already discussing a product with your team.
Long-distance graphics
Use the highest and clearest area for your company name, product category, and one short positioning message. High contrast and a simple image help people recognize your booth before they reach it. Your long-distance message should identify the reason to look, not explain every feature.
Mid-distance graphics
Use the middle area to explain the problem you solve, the application you support, or the demonstration available inside. A visitor should be able to connect the wall to a relevant need before deciding to stop. Keep the statement short enough to scan while walking.
Close-range graphics
Use the reachable area for product specifications, model comparisons, QR codes, case evidence, downloads, or appointment prompts. These details are useful after someone has stopped, but they should not compete with the first message.
Exhibitor Online describes the three-second glance as an industry rule of thumb and recommends concise, benefit-led exhibit graphics (A Rookie’s Guide to Graphics). Treat this as a review test, not a promise of traffic or leads. If your key message takes longer to read than the time a person gives your booth, move the detail to the next layer.
Dimension and Technical Checkpoints for Booth Walls
Use dimensions to test a design, not to replace the current exhibitor manual or the wall supplier’s engineering limits.
| Checkpoint | Practical reference | Boundary |
|---|---|---|
| 10×10 footprint | 10 ft × 10 ft = 100 sq ft before fixtures and circulation | Your contract, not the label, controls the actual footprint |
| Standard wall height example | IAAPA lists 8 ft (2.44 m) for a standard 10 ft-deep linear booth; InfoComm also provides an 8 ft standard backwall example (IAAPA Expo booth guidelines, InfoComm exhibitor rules) | These are event examples, not a universal height |
| Accessible route | Keep at least a 36 in (915 mm) clear walking width where the ADA accessible-route baseline applies (2010 ADA Standards) | The venue, fire marshal and show rules may require more or apply differently |
| Logo and headline position | Place them in the upper, unobstructed visual zone and test from the aisle | There is no universal logo height or font size; sightlines and viewing distance control |
| Product and screen position | Mock up the actual product, reach height, screen glare, queue and staff stance | Load, fixing, power, cable and accessibility checks remain system-specific |
For every wall, mark the gross dimensions, visible dimensions, furniture occlusion, attachment points, power/data path and inspection owner on the drawing. This gives your team a measurable handoff without pretending that one technical standard fits every show.
Compare Wall Options by Total Cost of Ownership
The cheapest wall to purchase is not always the cheapest wall to use. For planning, compare relative cost bands rather than publishing a price that will change with size, venue and scope.
| Wall option | Upfront structure | Recurring graphic cost | Logistics / labor exposure | Usually fits |
|---|---|---|---|---|
| Fabric | Low–medium | Low when graphics are replaceable | Lower weight, simpler packing | Portable, message-led shows and frequent graphic updates |
| Modular | Medium | Low–medium | More parts, setup decisions and storage | Multiple footprints, shelves, screens and repeated use |
| Backlit | Medium–high | Medium | Power, cable, lightbox handling and testing | A priority message that must separate from a busy hall |
| Rigid/custom | High | Medium–high | Highest weight, freight and fabrication exposure | Heavy products, architectural finishes or a fixed long-term concept |
Add structure, graphics, fixtures, freight, installation, dismantle, storage, repairs, power/data and show-order services to your comparison. A simple reuse check is: (initial system + recurring graphics + logistics + storage + repairs) ÷ planned shows. If the footprint, graphics and attachments must change at every event, count those change costs instead of assuming reuse.
For example, if an illustrative wall package totals $12,000 across structure, graphics, logistics and storage, four planned shows put the average at $3,000 per show before repairs. Six comparable shows reduce that average to $2,000. These figures explain the calculation only; they are not a market quote.
Rent when the show is a one-off, the footprint is uncertain, or you do not want to store and maintain the system. Consider buying when you have a repeatable footprint, a parts and graphic library, and a team that can approve, pack and reset the wall. Ask the supplier to show exclusions and change costs in either case.
Supplier Evaluation Checklist
Before you freeze the design, ask each supplier for the same evidence:
- a wall elevation with dimensions, visible areas, furniture, fixtures and attachment points;
- a quote that labels structure, graphics, installation, dismantle, freight, storage, power/data, repairs and exclusions;
- load, fixing, screen, lighting and cable assumptions, plus the applicable warranty or replacement process;
- a current show-manual check and a list of decisions still
TBD; - a revision deadline after which changes may affect cost or schedule.
This checklist lets you compare a rental package with a purchase package on scope and future use, not just the headline price.
Design Booth Walls for Different Booth Layouts
Open sides change the wall job. Use the assigned floor-plan configuration rather than designing every booth with one front.
Inline booth
An inline booth usually has one aisle-facing edge. Let the backwall carry one message; place products or a screen where they can be seen without closing the entrance. Keep sidewalls quiet or lower near the aisle when the manual requires it. To scope that rear wall within a complete rental booth, compare a trade show backwall display with the entrance and product message.
Corner booth
A corner booth can use two visible faces: give one the brand/category job and the other a product, application or interaction. Keep the corner open.
Peninsula booth
With three open sides, use the wall as a rear anchor rather than an entrance barrier. Repeat a concise brand cue toward the other aisle and use the interior side for products, a demonstration or a meeting boundary.
Island booth
An island booth must make sense from all four directions. Use a tower, central structure, four-sided graphics or coordinated wall zones so each aisle has a clear entry and next action.
Improve Visitor Flow with Strategic Wall Placement
Your walls should guide movement, not block product access.
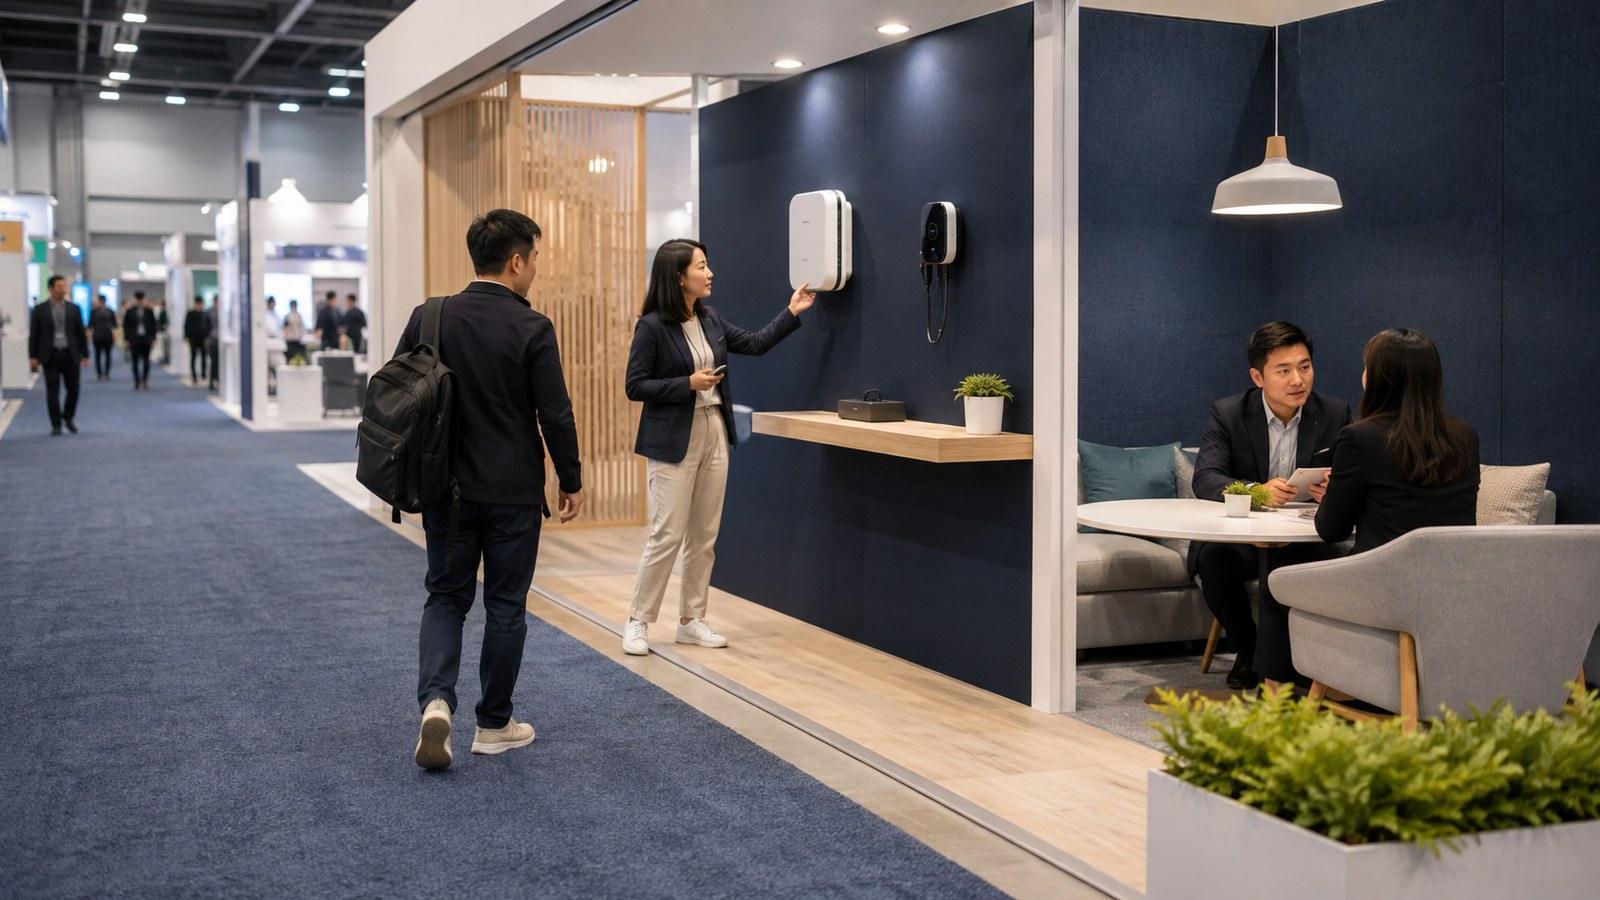
Keep the entrance open
Keep a full-height wall, deep counter or large screen off the only approach. Use a half wall, angled panel or open corner, then check the main and diagonal approaches.
Use walls to create a simple visitor path
Design the sequence as recognize, understand, see/try and act (scan, book or talk). Mark it on the plan; draw any demo queue and staff reset area so it does not spill into the aisle.
Create privacy without losing visibility
Use a sidewall, screen or partial partition for quieter meetings, but keep the entry and one proof point visible.
Use Technology Only Where It Improves an Action
Lighting and technology should make a specific action easier, not fill an empty wall.
Use lighting to create hierarchy
Backlighting can separate a primary graphic; spotlights can direct attention to a sample or demo. Test screen glare and uneven brightness before show day.
Integrate screens and touchpoints
Useful elements include a video screen, touchscreen, configurator, digital catalog, QR resource or appointment prompt. Choose one clear visitor action and provide a fallback if playback or network fails.
Give every technology element an owner
For each screen, lightbox or interactive device, record content owner, mount, power/data, cable route, testing, accessibility and packing. Mark whether it is included, show-ordered, coordinated, by others or still TBD.
Coordinate Booth Walls with Tables, Counters, and Storage
Walls, tables, counters, and storage should divide the work instead of competing for the same space.
Keep your table or counter from hiding the wall’s key message, use hidden storage for replenishment and personal items, and coordinate colors and materials without repeating the same message on every surface.
Prepare Booth Wall Graphics and Installation Correctly
The production check belongs near the end of the design process, after you know what the wall is meant to do.
Confirm event restrictions
Check your current exhibitor manual for booth type, maximum wall height, sidewall sightlines, neighbor-facing finishes, hanging signs, lighting, rigging, fire review, accessibility, utilities, and approval deadlines. Official examples show why you must verify the specific event: InfoComm’s exhibitor rules describe an 8-foot standard backwall and sidewall line-of-sight limits, while IAAPA Expo guidelines use 8 feet for standard linear booths. IAEE’s display rules guideline also frames height and display rules by booth type. These examples are not universal rules for every show.
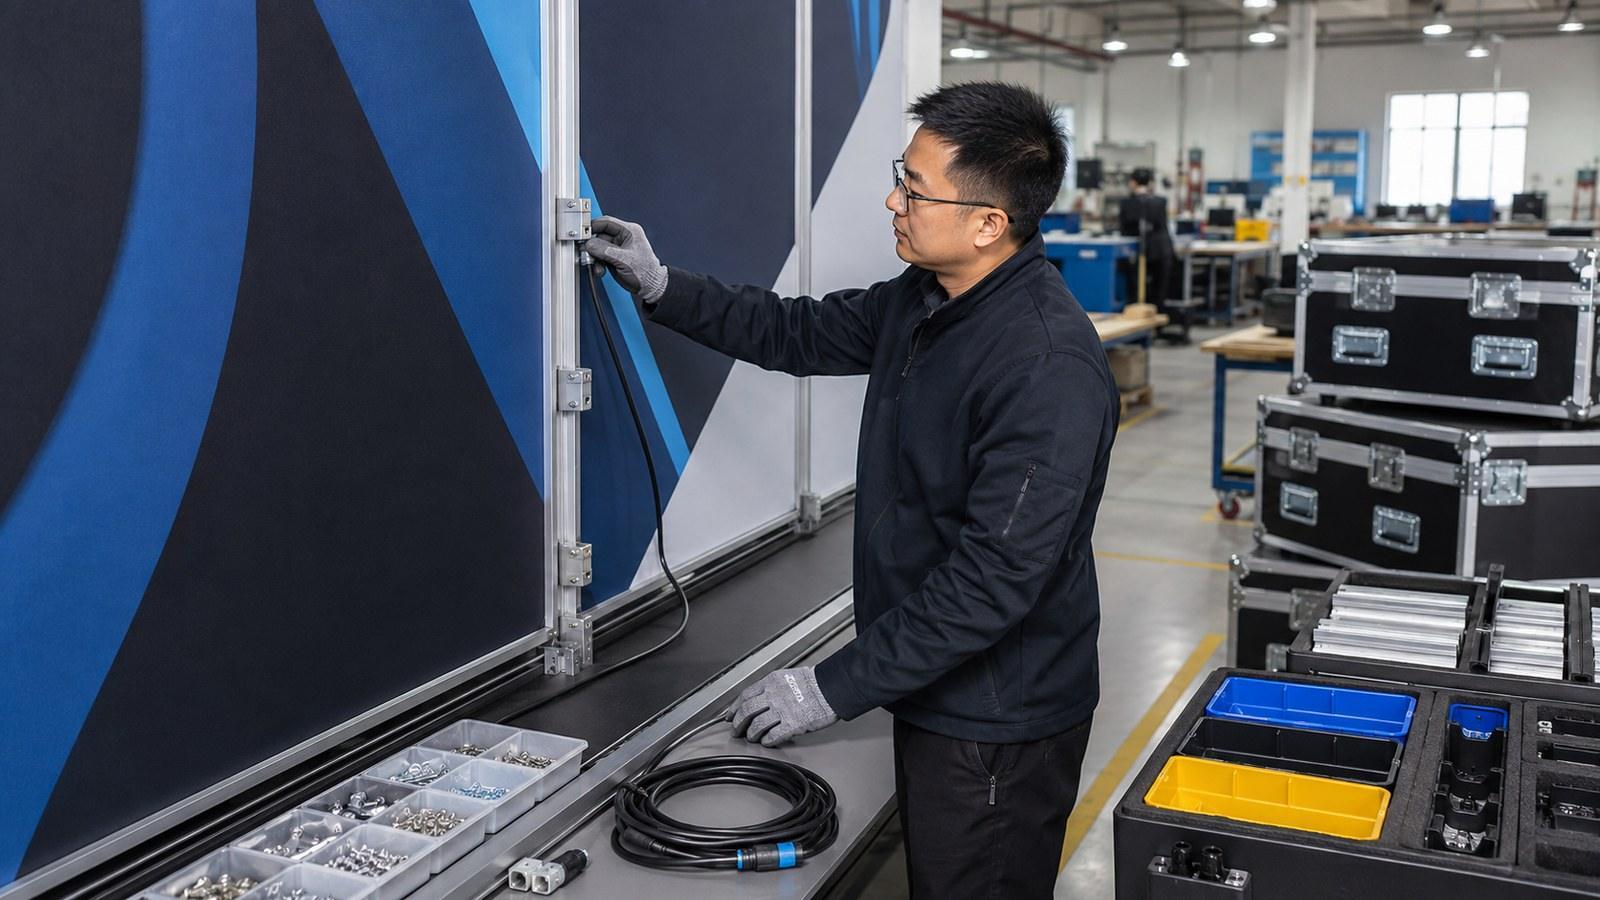
Prepare a production-ready graphic package
Include wall dimensions, material, bleed, safe area, fixing method, screen/shelf/light positions, cable path and proof owner. For a complex wall, add elevations, component quantities, packing labels and installation order, then review the result from the main aisle, diagonal approach and furniture-in-place view before printing.
Maintain and Reuse Your Trade Show Booth Walls
Your wall system remains useful when it survives transport and adapts to the next event. After the show, clean it as specified, inspect connectors and shelves, protect lights and panels, and store graphics correctly.
For reuse, keep an installation guide, parts list, graphic files, replacement notes and packed-system photos. Before the next show, retest footprint, open sides, message, attachments, lighting and rules; a reusable frame does not guarantee a reusable layout.
Run a Simple Wall Performance Check
The wall should help you learn what visitors notice and what they do next. Use the 30-minute sample above, then track only measures your team can actually collect:
- people entering the booth;
- stops or conversations in front of each wall zone;
- product demonstrations or sample interactions;
- QR scans, downloads, or meeting requests;
- qualified leads and the follow-up result;
- questions visitors ask most often;
- areas that staff or visitors rarely use.
After the show, ask your team: Which wall made the company easiest to recognize? Which message was repeated by visitors? Which product was difficult to reach or explain? Did a wall help or obstruct the conversation? Use the answers to change the next graphic, fixture, or visitor path rather than simply adding more decoration.
Common Trade Show Booth Wall Mistakes to Avoid
| Mistake | Practical correction |
|---|---|
| Filling every surface with copy or the same message | Keep one primary message per wall, then move detail to the product or conversation zone. |
| Blocking the approach or hiding graphics behind furniture | Check the first view with the counter, staff and visitors in position; preserve an open entry and visible proof point. |
| Designing for one viewing distance only | Review long-, mid- and close-range layers from the real aisle and diagonal approach before releasing artwork. |
| Adding technology or changing structure before rules are checked | Give each device an owner and fallback, and confirm current height, sidewall, power, fire and approval rules before production. |
Once you have defined the wall functions, dimensions, technical requirements and reuse goals, compare exhibit partners using the same criteria.
Why Work with KingExhibits on Your Booth Wall Project?
When you compare exhibit partners, do not judge a wall from a rendering alone. Look for an approach that connects your event objective, booth footprint, products, graphics, visitor path, technical requirements and next-show reuse plan.
KingExhibits’ advantage for your project
Overall planning advantage. KingExhibits’ value to you is an input-led decision process. Start with your show, location, booth size, open sides, products, staffing, storage, power/data and reuse goals. Those inputs clarify wall jobs, scope assumptions and approval checks before production, so you can compare proposals on what will be delivered—not only on appearance.
Wall-solution advantage. For the wall itself, the practical advantage is a system planned around your actual use:
- a measurable visible area instead of a claim based on total panel size;
- a wall type selected for your transport, graphic updates, product load, lighting and future footprints;
- graphics, shelves, screens, storage, power and visitor flow checked as one wall package;
- replacement graphics, parts information and configuration notes prepared when reuse is a real objective.
Ask KingExhibits to show these assumptions in the quote and drawing set. You should be able to see which items are included, show-ordered, coordinated, by others or still TBD before you approve the wall.
Trade Show Booth Wall FAQ
How do you maximize a small trade show booth wall?
Start with one high-visibility message, one product/sample action and concealed storage. Use the upper wall for recognition, the reachable zone for the product, and a compact counter only when it supports conversation. Do not display your whole catalog.
What is the best wall for a 10×10 trade show booth?
The best choice depends on your objective and show manual. A clean fabric backwall suits a portable, message-led 10×10 booth; modular or backlit may fit reconfiguration, attachments or stronger emphasis. Compare packed size, graphic updates, power, load and open entry.
How many products should you display on a trade show wall?
There is no universal count. Display the smallest set that explains the category and enables a first comparison; keep the rest digital or in storage. If another product makes the message or access unclear, the wall is carrying too much.
What should be included in a trade show booth wall quote?
Ask for wall dimensions, system/material, graphics, fixing, shelves/screens, lighting, power/data, installation, dismantle, freight path and exclusions. Request the show rules assumed. A rendering alone is not a complete quote.
What is a trade show booth backwall?
A trade show booth backwall is the primary rear wall or graphic surface behind your stand. It usually carries the top-level brand/category message; sidewalls support products, demos, meetings or storage. Treat it as an anchor, not the entire plan, and test it with your entrance, furniture, sightlines and booth type.
Final Thoughts
The best trade show booth wall is not the one with the most graphics or technology. It is the one that makes your brand easy to recognize, your product easy to understand, and your booth easy to enter and use. Give each wall one job, build information for different viewing distances, use vertical space intelligently, and check the real show conditions before production.
If you are planning a new wall system or improving an existing exhibit, contact KingExhibits with your booth size, event location, product requirements, graphics, storage needs, and reuse goals. KingExhibits can use those inputs to shape a wall plan that works on the show floor—not only in a rendering.
230 container
231