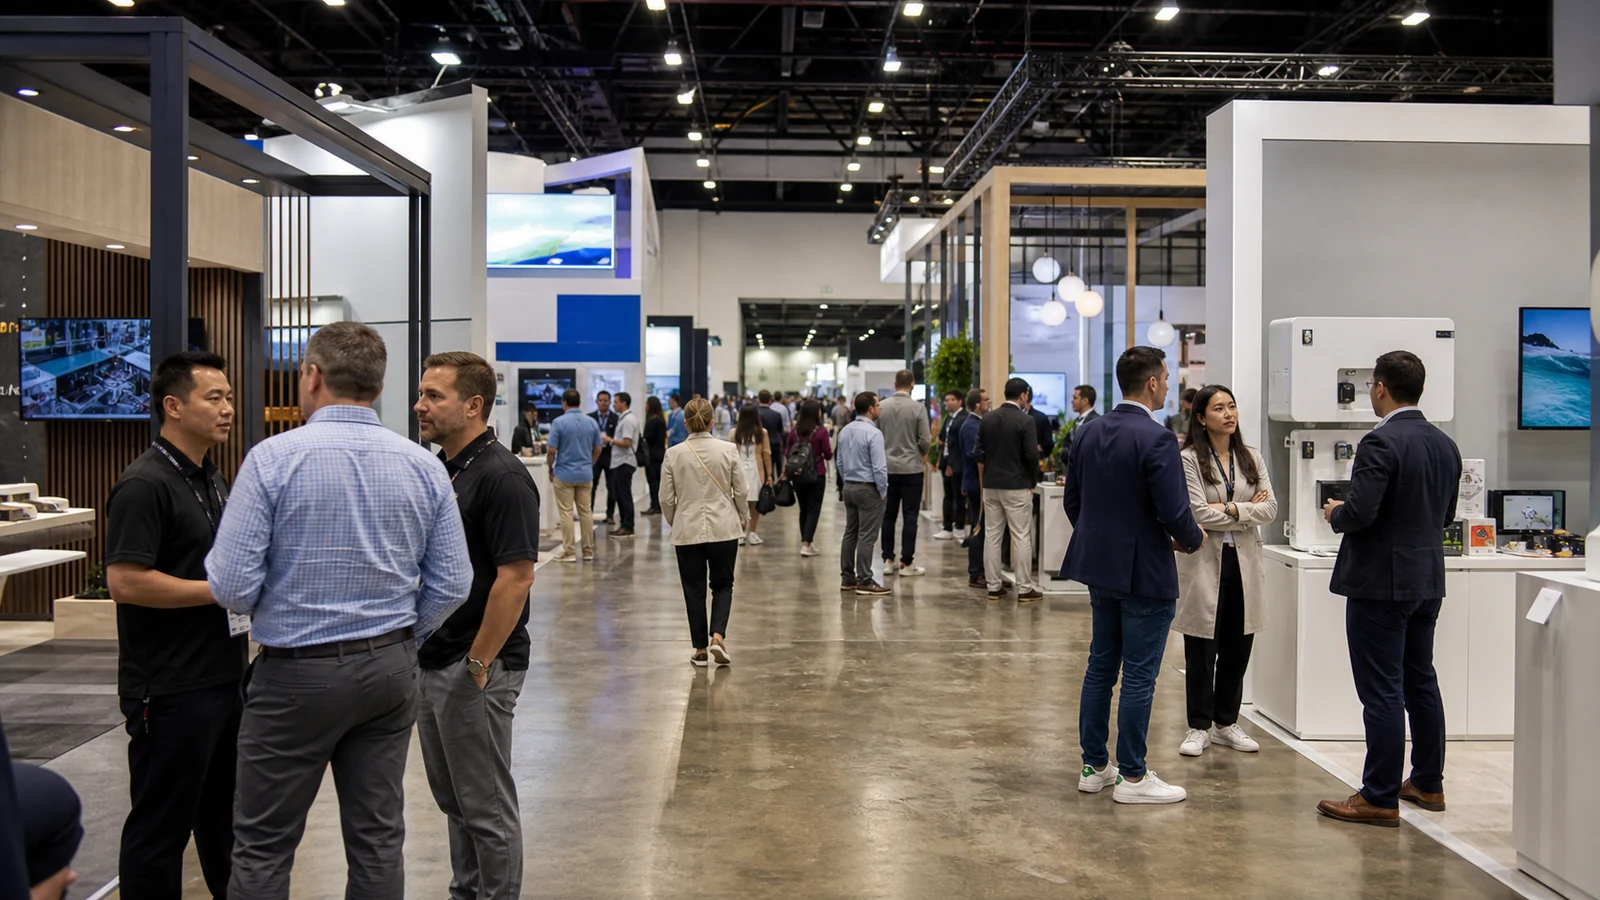
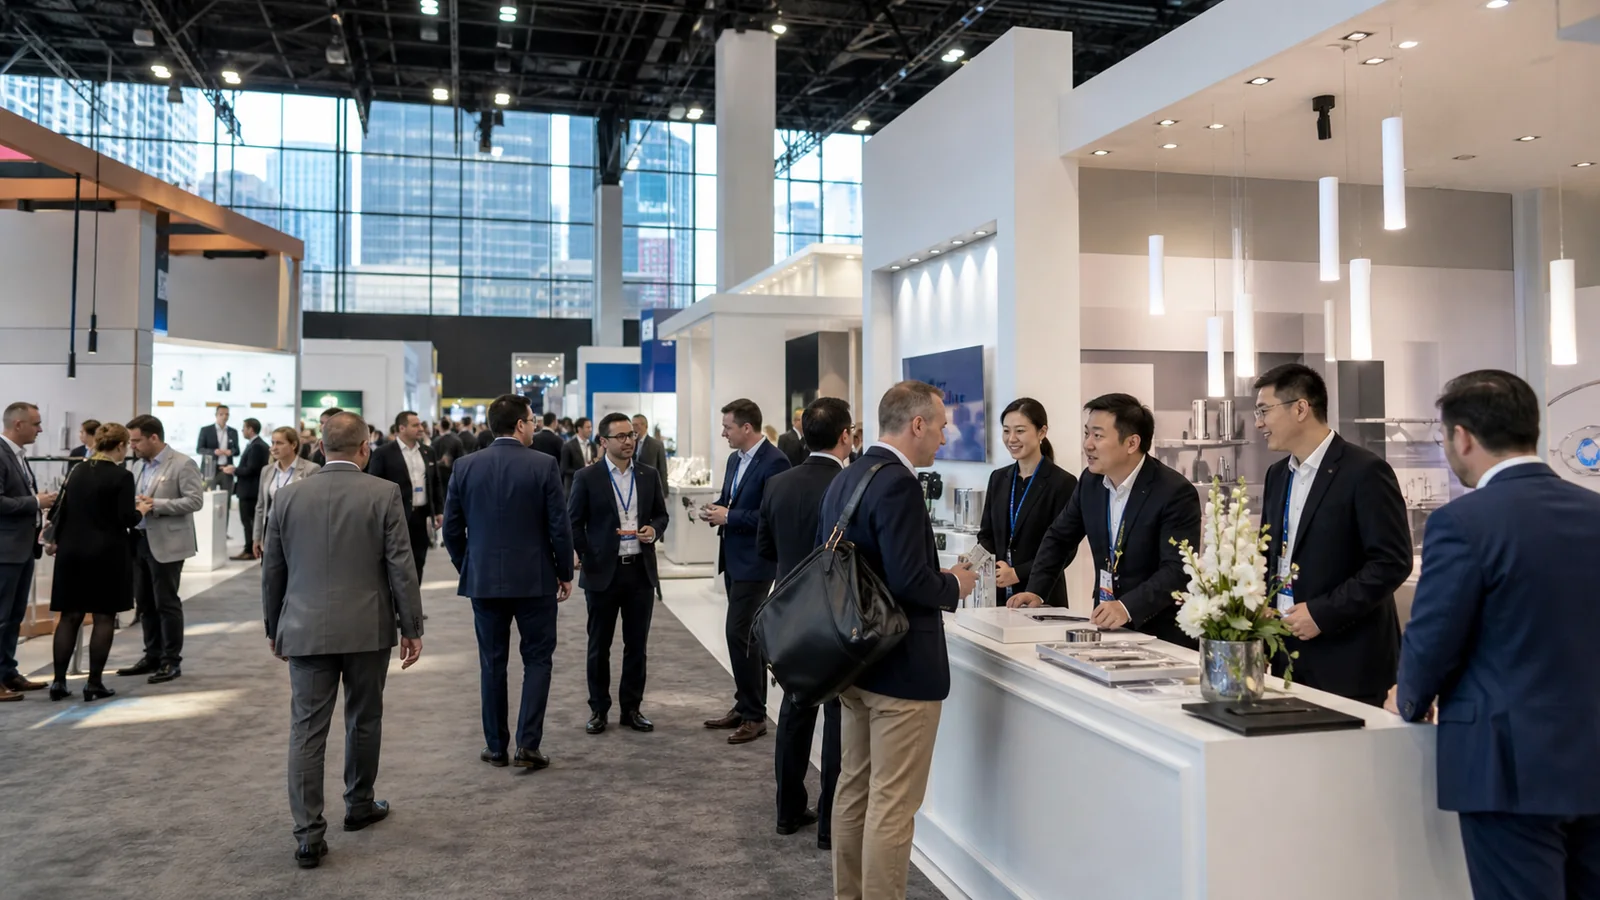
A winning trade show display makes it easy for the right people to notice your booth, understand why it is relevant, and take a useful next step. Good custom trade show booth design supports that journey through the message, layout, products, interactions, and practical details of the space. This guide explains why custom booth design matters, how the four common booth configurations change the design problem, and seven tips you can apply to your next display.
Why Does Custom Booth Design Matter to a Winning Trade Show Display?
Custom booth design shapes what visitors notice, how they interpret your offer, where they move, and how comfortably your team can work. It connects the visual promise of the booth with the experience people have after they enter.
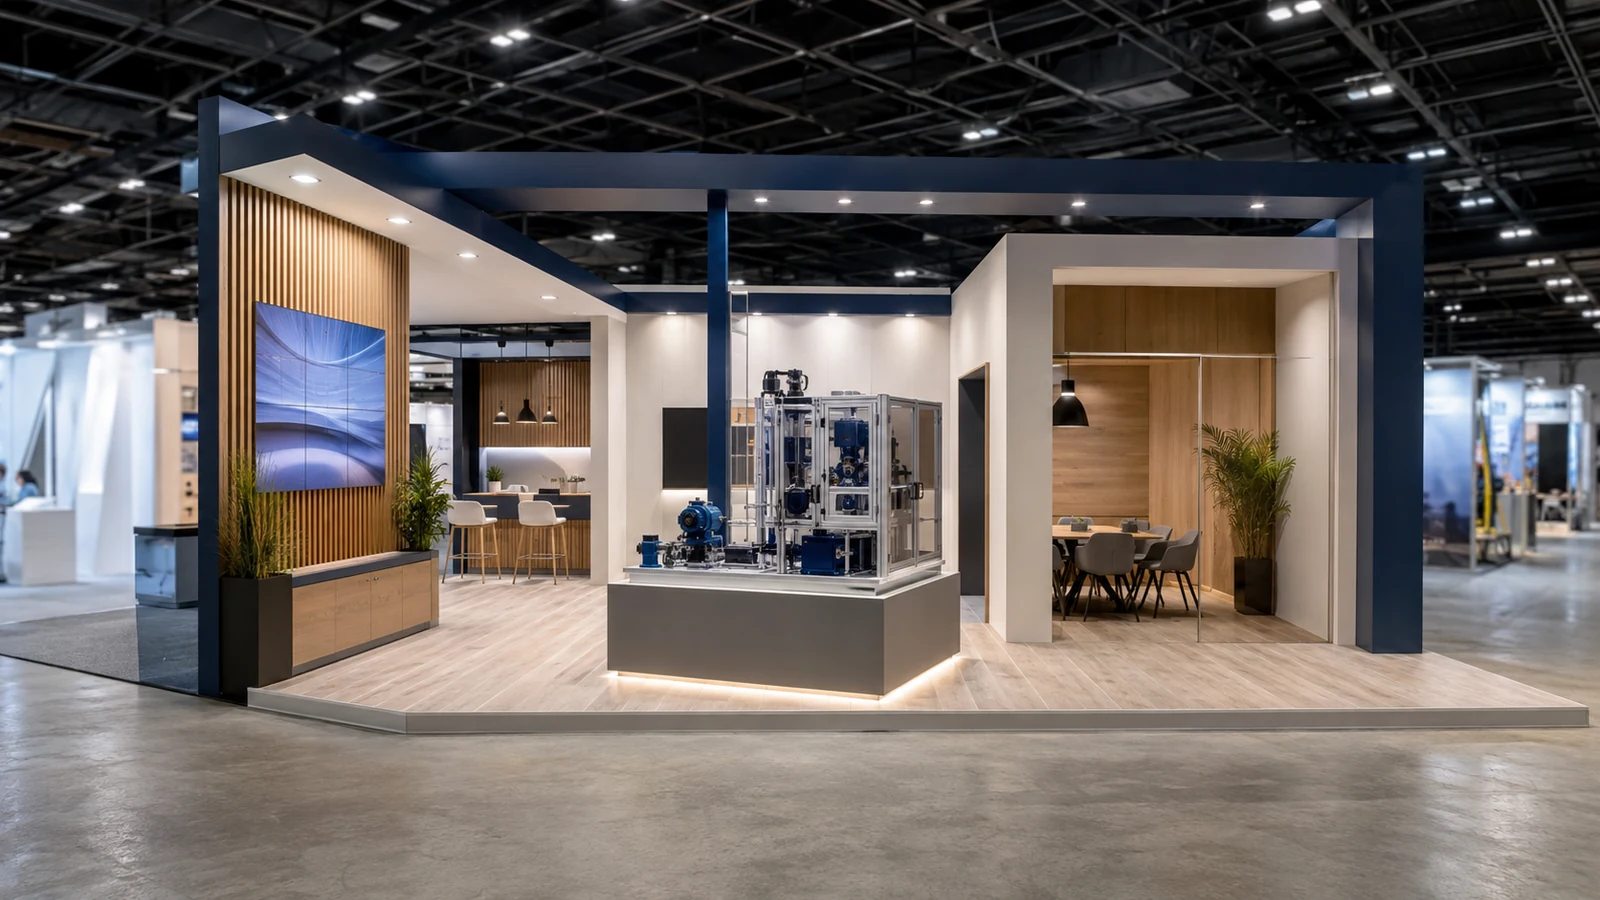
That influence appears in four places. Visibility determines whether the booth registers from the aisle. Message hierarchy determines whether people understand the brand, product, and reason to stop. Layout affects entry, circulation, demonstrations, and conversations. Operational design determines whether staff can reach samples, reset equipment, manage cables, and keep the space presentable during show hours.
Before choosing a style, define what success should look like inside the booth.
| Booth objective | Design response | Useful measurement |
|---|---|---|
| Product demonstration | Clear viewing zone and scheduled demo point | Demo attendance and qualified conversations |
| Sample inspection | Accessible comparison counter | Sample interactions and follow-up requests |
| Distributor meetings | Semi-private meeting area | Completed meetings and next-step commitments |
| Lead qualification | Fast entry conversation and scanning point | Qualified leads, not total scans |
Choose the measurement while the booth is being designed. It helps your team decide whether a feature supports the objective or adds visual complexity. Evaluate the result together with event fit, promotion, staffing, and follow-up.
What Are the Main Types of Custom Trade Show Booths?
The main custom booth types are inline, corner, peninsula, and island configurations. They are classified by their position on the floor and the number of sides open to an aisle. That configuration changes the sightlines, entry points, layout options, and show rules the design must address.
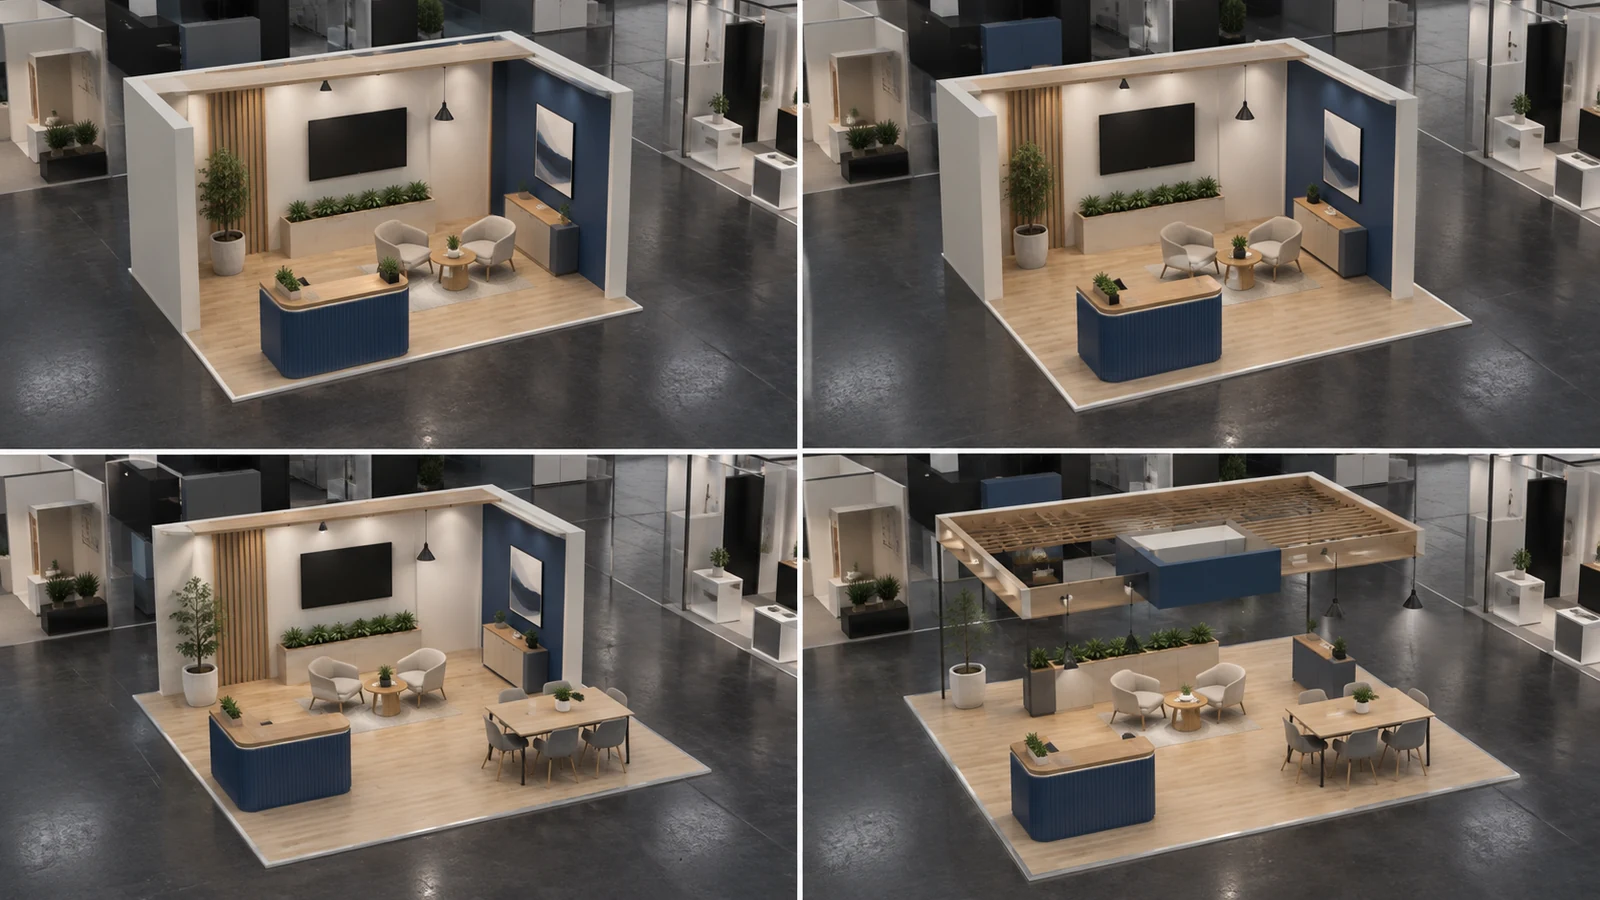
| Type | Open-side pattern | Main design opportunity | Main design risk | Best initial use case |
|---|---|---|---|---|
| Inline custom booth | One aisle-facing side | Concentrate the brand message and product story in one controlled view | A counter, furniture, or product can block the only entrance | Focused presentations, compact demos, and direct conversations |
| Corner custom booth | Two aisle-facing sides | Gain a second sightline and more flexible access | One side may become visually weak or unusable | Displays that benefit from two approaches without needing a fully open footprint |
| Peninsula custom booth | Three open sides | Welcome traffic from several directions and create visible activity | Multiple entry paths can become confusing without a clear destination | Group demos, several engagement points, or a central product feature |
| Island custom booth | Four open sides | Build 360-degree recognition and several visitor routes | Walls, rooms, or screens can unintentionally close valuable sides | Multi-zone experiences, larger product displays, and simultaneous conversations |
Inline Custom Booth
An inline booth needs one strong front-facing story. Use the rear and side surfaces to support the message, but protect the front threshold so a counter, display, or group of staff does not turn the only open side into a barrier.
Corner Custom Booth
A corner booth should treat both aisles as real approaches. Coordinate the graphics and focal points so the second open side adds visibility and access instead of looking like the unfinished side of an inline design.
Peninsula Custom Booth
A peninsula booth can support several engagement points, but visitors still need an obvious destination. Place the main product, demonstration, or brand feature where it can organize traffic from all three open sides without blocking sightlines or turning one approach into a dead end.
Island Custom Booth
An island booth needs recognition and orientation from every direction. Use a clear central feature or zoning logic so multiple entrances lead to meaningful activities rather than producing an open space with no obvious next step.
These are configuration types. Fully custom construction, custom modular systems, and customized rentals describe how a booth may be fabricated or sourced. They are not parallel floor-plan categories. A custom modular trade show display, for example, can still occupy an inline, peninsula, or island space.
The IAEE Guidelines for Display Rules and Regulations explain common North American configurations and display considerations. The current exhibitor manual and written show approvals still control the real project.
Custom Booth Design Tips for Creating a Winning Trade Show Display
Tip 1: Start With Your Show Goal, Audience, and One Visitor Action
Start the design with one show-specific goal and one primary visitor action. “Generate leads” is too broad to shape a booth. Watching a live demonstration, inspecting a sample, comparing specifications, discussing distribution, and booking a follow-up all require different spaces and visual priorities.
Define three things before the first concept:
- Who should recognize that the booth is relevant?
- What question should become clear from the aisle?
- What should that person do next?
Turn the answers into a simple design statement: “The booth should help [visitor] move from [aisle question] to [next action].” This gives the designer a usable brief and gives your internal team a common way to compare concepts.
For a machinery company, the primary action may be seeing a process operate and then discussing specifications. A component supplier may want visitors to compare samples and talk through applications. A software company may need a guided workflow followed by a scheduled technical discussion. Each situation changes the focal point, circulation, furniture, screen position, and staff location.
Secondary goals can remain, but they should not compete with the main action. When every department adds its own message and feature, the booth becomes a collection of requests rather than one coherent experience. Replace vague instructions such as “make it innovative” or “show everything” with a clear action the space must support.
Tip 2: Make Your Brand and Main Message Clear From the Aisle
Your first visual layer should tell a passing visitor who you are, what relevant product or problem the booth represents, and why it is worth a closer look. Strong trade show display design separates that answer into clear visual layers before someone starts reading detailed copy.

Use the brand or product category for identification, one specific headline or value message as the focal point, and supporting proof at the distance where a person can stop and inspect it. Avoid long product lists, several equal-priority claims, small interface screenshots, and paragraphs placed high on a wall. Those elements ask people to decode the booth while they are still moving.
Brand consistency also matters. Colors, typography, imagery, tone, and physical finishes should feel like parts of the same company, but consistency does not mean repeating the logo on every surface. It means that the message and visual treatment remain recognizable as attention moves from the aisle to the product and then to the conversation area.
Ask for concept views from every open aisle. This is especially important for corner, peninsula, and island booths, where a strong front view can hide an empty side or a blocked headline. Then test the real copy at the intended size and contrast. A message that looks clear on a laptop may disappear inside a busy exhibition hall.
The far-read layer should earn attention. The near-read layer should provide the proof that makes the next question worth asking.
Tip 3: Use Graphics, Color, and Negative Space to Build Visual Hierarchy
Graphics, color, scale, contrast, and negative space should tell visitors where to look first, second, and third. Without that order, even high-quality custom booth graphics can turn into visual noise.
A practical hierarchy usually begins with the brand or product category, moves to one focal product or claim, and then offers supporting evidence. Lower-priority information belongs near the product, screen, sample, or conversation point where someone can use it. It does not need to compete for attention on every aisle-facing surface.
For a B2B display, make the focal proof useful. Depending on what you sell, this may be a physical sample, a cutaway, an application photograph, a short process sequence, a live output, or a concise comparison. Lifestyle imagery can establish a mood, but it should not replace the evidence a serious visitor needs to evaluate the offer.
Color works best when it supports the hierarchy. A high-contrast accent can identify a focal point or route, while a controlled background gives products and messages room to register. If every wall, counter, screen, and floor graphic uses the strongest color, nothing remains visually important.
Keep campaign areas replaceable when the message changes by show, market, or launch. Stable brand elements can remain part of the structure; changing products and claims should not require rebuilding every surface. As a final edit, remove any visual element that competes with the focal message but cannot explain a separate job.
Tip 4: Create an Open Layout and Natural Visitor Flow
Plan the floor around four stages: See → Enter → Engage → Next Step. This creates a visitor path instead of a collection of counters, screens, products, and chairs.

| Stage | Design question | Practical implication |
|---|---|---|
| See | What creates relevance from the aisle? | Keep the main message and focal proof visible from the open sides. |
| Enter | Where is the invitation into the space? | Prevent counters, products, furniture, and staff from becoming a barrier. |
| Engage | Where can someone pause and understand more? | Place the demo, sample, screen, or conversation point outside the main route. |
| Next step | What happens after interest is confirmed? | Provide a clear place for qualification, scanning, scheduling, or deeper discussion. |
Adapt that sequence to the booth type. An inline booth must use its single open edge carefully. A corner booth needs two coordinated approaches. A peninsula or island can accept people from several directions, but each route still needs to lead toward a product, activity, or person.
Use zones when activities have different needs. Quick conversations can happen near an open edge. Product engagement needs enough room to stop without blocking circulation. Detailed discussions may need seating or partial separation. Staff work and storage should sit outside the main visitor path.
Open space is not wasted space when it improves sightlines, entry, circulation, and pause points. The goal is not to make the booth empty; it is to prevent the physical elements from competing with the behavior you want to create.
Tip 5: Make Products, Demonstrations, and Interaction the Center of the Experience
Design product displays and demonstrations around what the visitor needs to see, touch, compare, or understand. The structure should support that evidence rather than becoming the only memorable part of the booth.

For physical equipment, show the real operating envelope in the plan. Include product dimensions and weight, doors or panels that open, operator position, visitor viewing points, utilities, heat or noise, service access, safety needs, and reset space. A machine that fits inside a rectangle may still fail once someone has to operate it and a group gathers to watch.
Samples need their own logic. Consider reach, viewing height, lighting, security, replenishment, labels, and a surface for comparison. Software needs a defined interaction mode: self-guided exploration, a presenter-led workflow, or a one-to-one technical review. Each mode requires a different screen position, interface, sound level, and staff role.
Interactive trade show displays also need a next step. Decide who starts the experience, how long it occupies a visitor, where a queue forms, what information the interaction reveals, and how a staff member continues the conversation. A game, touchscreen, or immersive element that attracts attention but does not connect to the offer can consume space without improving the experience.
Before finalizing the layout, provide the product dimensions, operating envelope, audience size, demonstration duration, utilities, consumables, and reset requirements. Then test whether a group can watch without standing in the aisle or preventing other visitors from using the booth.
Tip 6: Use Lighting, Screens, Materials, and Technology With Purpose
Give every lighting, screen, material, and technology choice a specific job. It should identify, focus attention, explain, demonstrate, qualify, or support a conversation. “Make it look modern” is not a sufficient operating requirement.

Use trade show booth lighting to reveal something: a product surface, a critical graphic, a material finish, or architectural depth. Review glare, shadow, color, and the surrounding hall light with the actual product and graphics in mind. More light is not always better if it washes out screens or makes reflective products difficult to inspect.
Define the use of every screen. A motion graphic for aisle visibility, a scheduled presentation, a detailed software workflow, and a one-to-one technical review need different positions, content, sound, and viewing zones. Trying to serve all four with one screen weakens each use.
Materials need the same discipline. Compare appearance with durability, cleaning, repair, edge protection, packing, and installation. A finish that looks excellent in a render may be difficult to touch up after repeated handling. Ask where joints appear, how panels are protected, and how technicians reach lighting, fasteners, and cables.
For interactive technology, confirm content ownership, mounting, power, data, audio, cable routes, cleaning, staff operation, and a fallback if the system is unavailable. The most useful technology is the one your team can run consistently and connect to a meaningful visitor action.
Tip 7: Design for Meetings, Storage, Staff Work, Show Rules, and Reuse
A complete booth design includes the work that happens around the visitor experience. Meeting capacity, storage, utilities, staff movement, show rules, and future reuse should be resolved before the concept is approved.
Size meeting areas by the conversations you expect. Quick qualification may need only a standing point. Sample or specification review may benefit from a semi-private table. Confidential meetings may justify an enclosed room, but walls and doors reduce sightlines and usable space. Estimate how many conversations of each type must happen at the same time before adding furniture.
Inventory what the team needs during show hours: samples, literature, lead devices, chargers, demonstration supplies, cleaning items, giveaways, personal belongings, water, waste, and replacement parts. Show shelves, open doors, cable access, charging points, restocking routes, and chair pullback at true scale. A room labeled “storage” is not enough if staff cannot use it without entering the visitor path.
Keep routes usable and confirm applicable accessibility requirements early. The U.S. Department of Justice 2010 ADA Standards provide the federal reference point for accessible design; the project team should verify how the relevant requirements and show rules apply to the actual space.
If you plan to reuse the booth, identify future footprints and changing graphics now. Ask what remains, moves, changes, or must be added for each confirmed configuration. Reuse becomes credible when it appears in drawings, component plans, service access, and packing logic.
Prioritize the Budget Around Visitor-Critical Elements
When the budget is limited, protect the elements visitors and staff depend on before adding complexity. Prioritize:
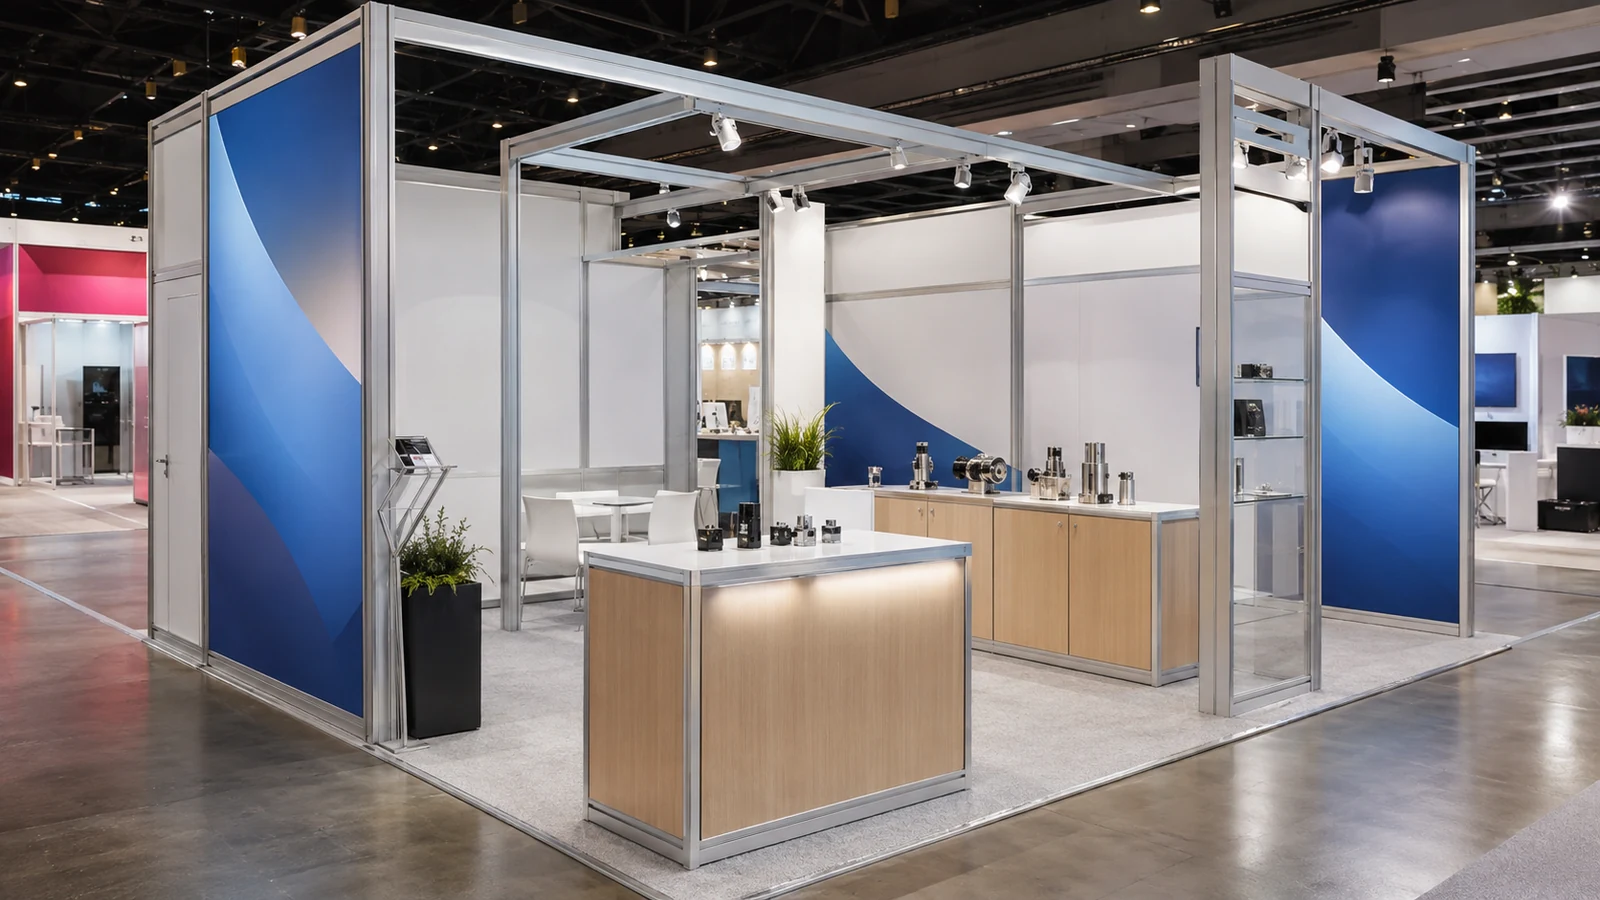
- Main visual recognition and message clarity.
- Product display and demonstration conditions.
- Clear entry points and visitor flow.
- Basic lighting that makes products and graphics readable.
- Storage, utilities, and staff operating space.
After those needs are covered, decide whether complex architectural shapes, large LED walls, enclosed meeting rooms, premium surface finishes, or custom interactive features add enough value to justify their cost. A simpler structure with a strong message and usable demonstration area can do more useful work than an elaborate structure that weakens the product experience.
Protecting these essentials also makes later reductions clearer: your team can remove optional features without reopening the basic visitor journey.
Rental or modular components can control cost where full customization does not improve the visitor-facing result. Standard frames, counters, storage rooms, furniture, flooring, and some lighting or AV equipment can support a custom graphic and product experience. Confirm how the rented or modular parts affect dimensions, finishes, sightlines, service access, and reuse before approving them.
How Do You Choose the Right Custom Booth Type for Your Show?
Choose the booth type by matching the contracted floor configuration to the way people need to see, enter, and use the display. A larger or more open configuration is not automatically better; it creates value only when the design uses the available sides and the team can operate the resulting space.
| Primary need | Strong initial option | What to verify before choosing |
|---|---|---|
| One focused message and compact interaction | Inline | Can the front remain open while the product and message stay visible? |
| Visibility from two aisles | Corner | Can both sides carry a coherent message and usable entrance? |
| Group product demonstrations | Peninsula or island | Can viewers gather without blocking the aisle or other entry paths? |
| Several simultaneous conversations | Peninsula or island | Are the zones easy to find, staff, and supervise? |
| Private meeting priority | Larger peninsula or island, when rules and space allow | How much visibility and circulation will the enclosure remove? |
| Multi-direction brand presence | Island | Does every side lead toward a meaningful product, activity, or conversation? |
Use this as a starting point, then compare the show rules, location, product footprint, visitor action, staffing, and delivery complexity. If the space contract is not final, compare the design implications before selecting the location instead of forcing the planned experience into the first available footprint. The best configuration is the one whose open sides you can use deliberately.
How Should You Review a Custom Booth Design Before Approval?
Review the concept as an occupied working space, not as one empty hero rendering. The approval set should show the floor plan, elevations, every open-aisle view, true dimensions, graphic locations, products, furniture, people, utilities, materials, and storage access.
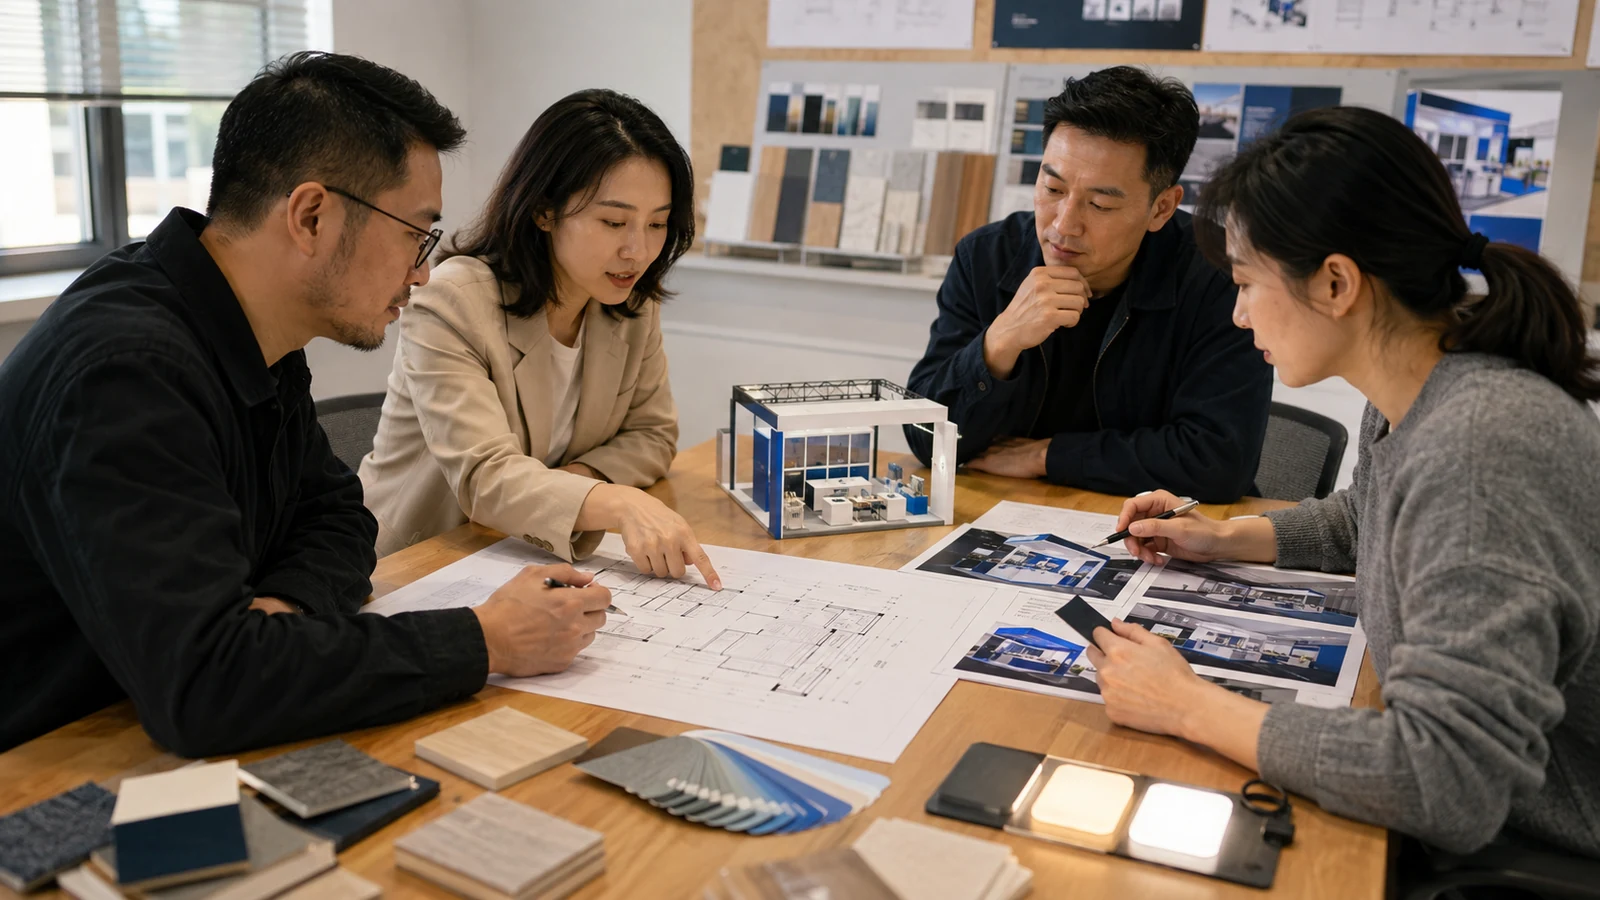
Use one release checklist so visual approval does not hide production gaps:
| Approval item | What to confirm before release |
|---|---|
| Critical dimensions | Entrances, clear routes, product operating envelopes, doors, drawers, and chair pullback work at true scale |
| Graphic schedule | Final copy, image files, sizes, visible areas, finishing, and installation locations are identified |
| Materials and finishes | Physical samples or agreed references match the intended color, texture, durability, and cleaning needs |
| Lighting and AV | Equipment, content, mounts, power, data, sound, cable paths, controls, and fallback plans are assigned |
| Show services | Electrical, internet, rigging, material handling, labor, and other venue orders match the approved drawings |
| Revision control | The team and suppliers are working from the same dated drawing set, with unresolved items clearly marked |
Assign one owner and due date to every unresolved item. Conditional approval is useful only when the condition remains visible and is closed before fabrication, graphic production, equipment booking, or show-service deadlines make the change expensive.
Run three scenarios:
- A normal conversation with the planned staff and furniture.
- The busiest product demonstration or interaction expected during the show.
- A staff reset or restocking task while visitors remain in the space.
Check whether the main message, entry, product use, conversation zones, staff work, and rule-dependent features can operate at the same time. Open doors and drawers in the review. Show people at the demonstration and seated at the tables. Trace cables, service access, and replenishment routes.
Include the people who will use or deliver the booth in this review. Marketing can test message hierarchy, sales can test conversation flow, product specialists can verify demonstrations, and the project or production team can identify rule, utility, fabrication, and installation conflicts. Each person should review the same occupied scenarios rather than commenting on separate drawings in isolation.
Keep a short decision record beside the drawings: the approved visitor action, product and demonstration dimensions, staffing assumptions, final graphic content, confirmed show rules, and items still awaiting written approval. If a revision affects an entrance, sightline, operating envelope, utility, or staff route, rerun the relevant scenario.
Approve the design when the team can explain how it works—not only why it looks good.
Frequently Asked Questions
What makes a good trade show booth design?
A good trade show booth design combines six things: a clear message, a configuration suited to the show, an open and usable visitor path, relevant product proof, a workable staff and storage plan, and a design that can be delivered under the event rules. A booth does not need every feature; it needs the right features to support its primary visitor action.
Which type of trade show booth is best for product demonstrations?
Peninsula and island booths are often the strongest starting points for group demonstrations because they can support several approaches and viewing angles. Inline and corner booths can work well for compact, scheduled, or one-to-one demonstrations. The final choice depends on the product’s operating envelope, audience size, utilities, safety needs, and the show’s display rules.
Should a custom trade show booth use an open or closed layout?
Use an open layout when visibility, easy product access, and short conversations are the priority. Use semi-closed or enclosed areas when privacy, noise control, or detailed meetings justify giving up sightlines and floor space. Many booths work best with an open public zone and only the minimum separation needed for deeper conversations.
What are the most common trade show booth design mistakes?
The most common trade show booth design mistakes include giving too many messages equal priority, blocking the entrance with furniture, planning demonstrations at false scale, adding technology without an operating plan, and leaving storage or staff workflow until the end.
Can a custom trade show booth be reused for different shows?
Yes, when reuse is designed in from the beginning. Replaceable graphics, durable and serviceable components, suitable packing, accessible connections, and plans for future footprints make reconfiguration practical. Ask for drawings that show what stays, moves, changes, or must be added for each confirmed show rather than relying on a general promise of reuse.
Final Thoughts
A winning trade show display combines visibility, clarity, relevant interaction, and practical operation. Choose the booth configuration around the real show space, then apply the seven custom booth design tips to the goal, message, hierarchy, flow, products, technology, and staff workflow. When all seven point toward the same visitor action, the design becomes easier to understand, approve, build, and use.
If you are planning a custom booth, share the event, booth type and size, open sides, product dimensions, demonstration needs, target visitors, primary action, meeting needs, and future footprints. We can use those inputs to discuss a practical design direction for your trade show program.