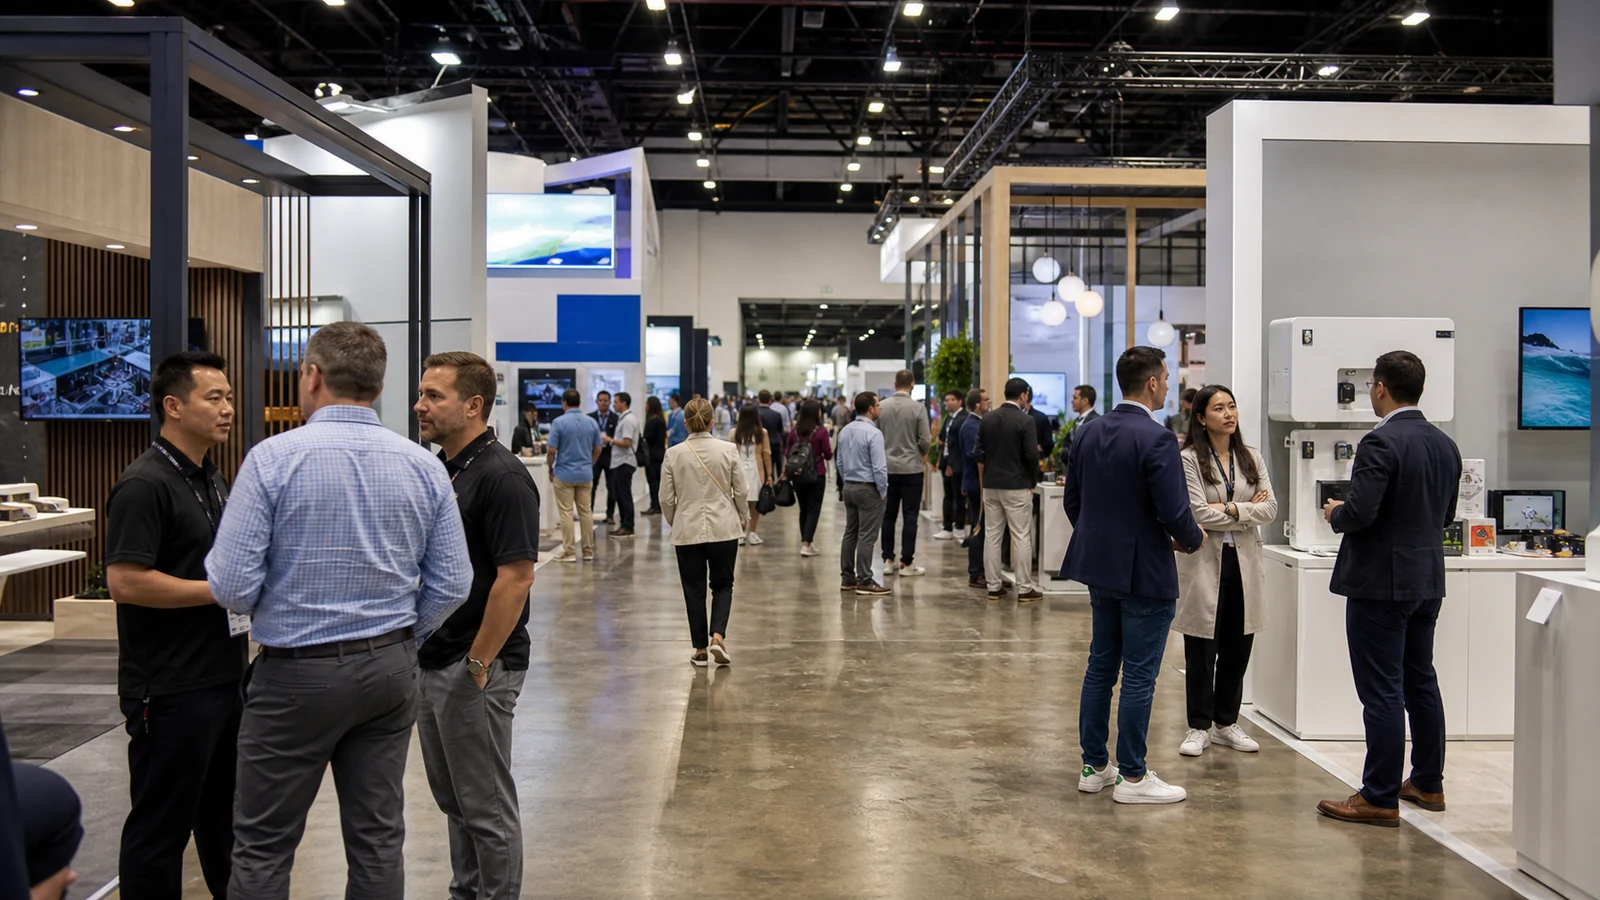
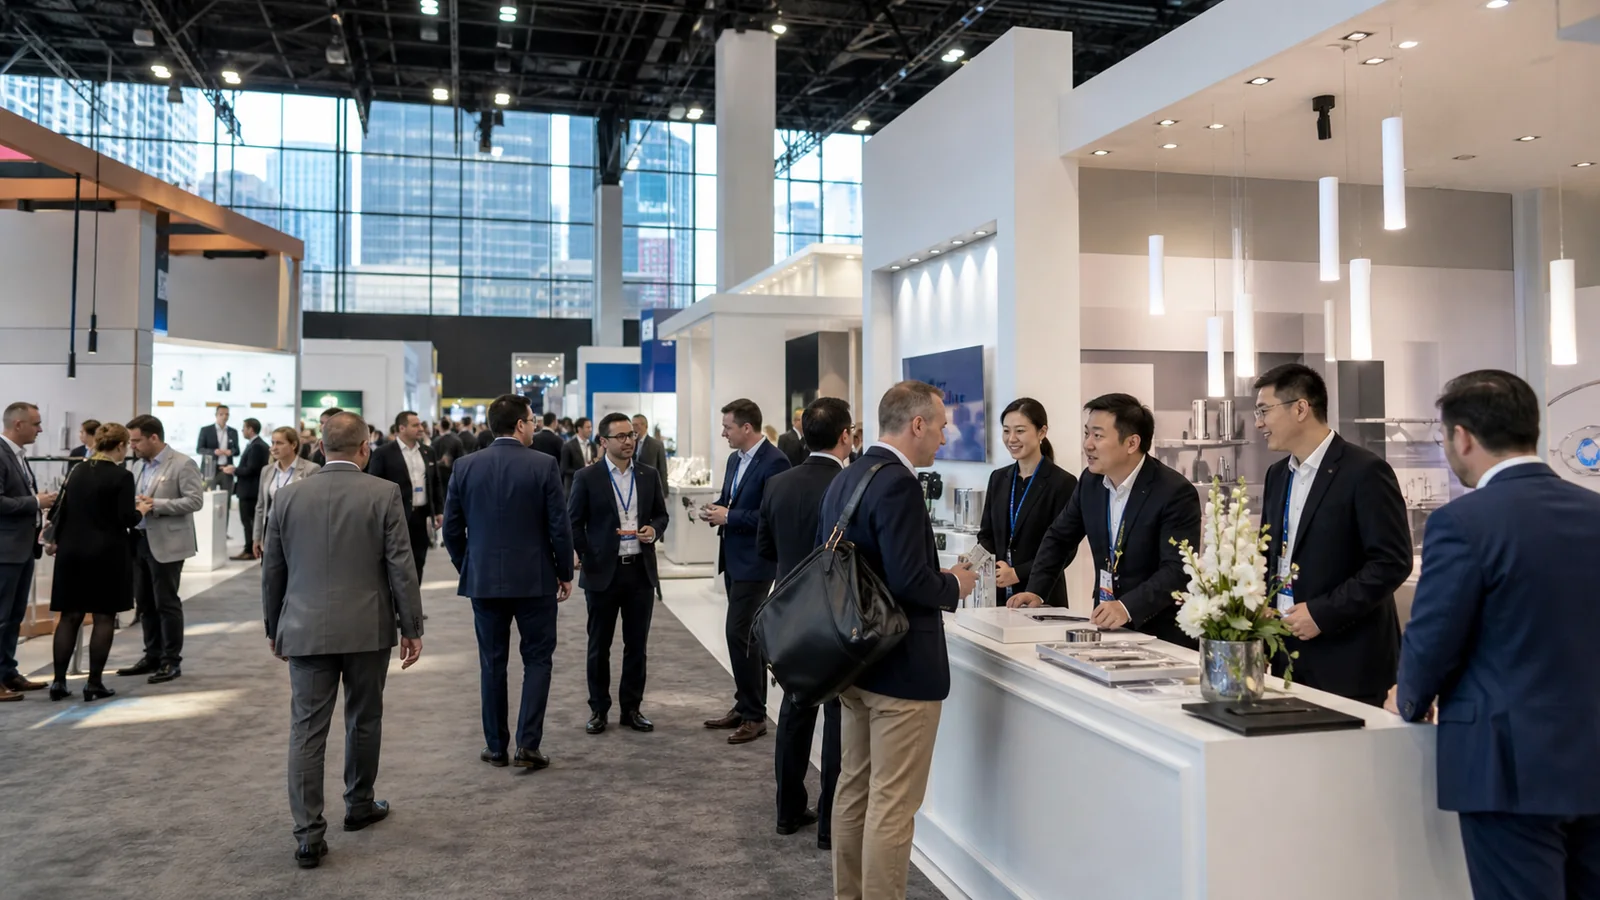
A booth can look bright in a rendering and still be difficult to read on the show floor. The hall lights may flatten the product, a spotlight may reflect straight into the aisle, and the feature your team wants to discuss may remain in shadow. This trade show booth lighting guide helps you decide what the lighting must reveal before you choose fixtures or order power.
Give Every Light a Specific Job
Start with the object or action that deserves attention. Do not begin with a fixture count.

Walk through the booth as a visitor would and name the first three things you want that person to notice. In a small inline exhibit, the sequence might be the product category on the back wall, one physical sample, and the demonstration surface. In a larger island, it may be a high-level brand marker, a hero product, and the entrance to a meeting or demo zone.
Now assign one lighting job to each priority:
- Recognition: make the booth and its main message legible from the aisle.
- Product proof: reveal shape, finish, color, texture, controls, or a working result.
- Task support: give staff enough useful light to run a demonstration, read a label, or reset equipment.
- Atmosphere: create contrast or warmth only after the first three jobs work.
This order matters. Decorative color can make a booth memorable, but it cannot rescue a dark product or an unreadable claim. When the budget or power allowance is tight, protect recognition and product proof first.
Do Not Treat Convention-Hall Light as Your Lighting Plan
General hall lighting helps people move through the building. It is not aimed at your display, and you do not control its direction, intensity, or color. It may be enough for a simple reception counter and printed wall, but it is a weak assumption for detailed products, reflective finishes, samples, demonstrations, or photography.
Use the hall as background light, then add only the light your booth needs to create hierarchy. The aim is not to make every surface equally bright. When the back wall, counter, shelves, floor, and ceiling all compete at the same level, the visitor has to decide where to look. A useful lighting plan makes that decision easier.
Before adding a fixture, ask what becomes harder to understand if it is removed. If the answer is “nothing,” it is decoration. Decoration is allowed, but it should not consume the circuit, rigging position, or budget needed by a product light.
Build the Plan in Three Layers
Most booths can be understood through three lighting layers. You may not need all three, but separating them prevents one fixture from being expected to do everything.

1. Display Lighting
Display lighting makes the main graphics and structure readable. Track heads, arm lights, wall washers, and integrated lightboxes often do this work.
Aim for an even result where the visitor needs to read a continuous wall. A row of narrow spots can create bright circles and dark gaps across a large graphic. Conversely, a broad wash can flatten dimensional lettering or a textured surface that needs shadow to show depth. Judge the installed effect from the aisle, not from directly beneath the fixture.
2. Product and Accent Lighting
Accent light creates a clear focal point. It is useful for a hero product, a finish sample, a model, a shelf, or the output of a demonstration.
The beam needs to fit the object. A narrow beam on a large machine lights one patch and leaves the rest looking accidental. A wide flood on a small sample spills onto the wall and weakens the contrast. If a product will be handled, opened, or rotated, test every position rather than lighting only the pose shown in the rendering.
Reflective products need special attention. Glass, polished metal, glossy packaging, and screens can return the source as a bright glare spot. Moving the fixture farther to one side or higher above the normal viewing line often helps more than reducing every light in the booth.
3. Task Lighting
Task lighting supports the work your team must repeat all day. It may sit above a demonstration counter, inside a product cabinet, or beneath a shelf. The source should illuminate the work without blocking the visitor's view or shining into the presenter's eyes.
Test the task with hands, tools, samples, cables, and staff in their real positions. A counter can look evenly lit when empty and become dark as soon as the presenter leans over it. If staff need a flashlight to connect a sample or read a control, the task lighting is not finished.
Match the Fixture to What the Visitor Must See
Fixture names are less useful than the result they produce. Use this table to begin the conversation with your exhibit designer or lighting supplier.
| What needs to be seen | Useful starting point | What to test before approval |
|---|---|---|
| Large back-wall message | Wall wash, wide track light, or integrated lightbox | Evenness, shadows from headers, readability from the aisle |
| One hero product | Adjustable spotlight or controlled accent light | Beam size, glare, product position, heat and access |
| Several small samples | Shelf-integrated linear light or several controlled accents | Color consistency, labels, hand shadows, cable concealment |
| Live demonstration | Broad task light plus a product accent if needed | Presenter shadow, camera view, reset position, visitor sightline |
| Fabric graphic | Front wash or tested backlighting system | Hot spots, wrinkles, frame shadows, approved graphic material |
| Dimensional logo | Grazing or angled light | Legible shadow, unwanted reflection, visibility from both approaches |
| Hospitality or meeting area | Softer ambient layer | Faces, table use, separation from brighter product zones |
Do not approve a generic note such as “six LED spotlights.” The drawing should show what each fixture illuminates, where it mounts, which direction it aims, and how it receives power. That information is what lets the production team find a conflict before move-in.
Choose Color Temperature for the Product, Not for a Trend
Correlated color temperature, or CCT, describes whether white light appears warmer or cooler and is expressed in kelvins. The U.S. Department of Energy notes that CCT describes appearance; a higher number is not automatically better. Color rendering describes how the source affects the colors of objects, and CRI is one familiar metric used to express color fidelity.

For a booth, consistency usually matters before novelty. A warm shelf light beside a cool wall wash can make the display look patched together even when each fixture is acceptable on its own. Start with one white-light family, then introduce a different tone only when it has a clear purpose.
The product should drive the choice:
- Warm light can suit wood, food, hospitality finishes, or an intentionally comfortable meeting area.
- Neutral white often gives B2B products and graphics a clean appearance without pushing them too blue.
- Cooler light can support a crisp technical look, but it may make skin, natural materials, or warm brand colors feel less inviting.
These are visual tendencies, not universal specifications. Test the actual product, final graphic sample, flooring, and camera under the proposed fixtures. If accurate color comparison is part of the sale, ask for color-rendering data and review the sample in person. A high CRI number does not tell you whether the beam angle, intensity, and surrounding sources are right for your display.
Control Glare, Spill, and Shadows Before Adding Brightness
Visitors usually experience lighting problems as glare or confusion, not as a missing technical specification. Stand at the main aisle approaches, at the conversation point, and at the product viewing position. If you can see an exposed bright source instead of the object it is meant to light, change the angle, shielding, height, or fixture position.
The IAEE Guidelines for Display Rules and Regulations say that lighting and fixtures should remain within the exhibit boundaries and that light, including gobos, should be directed inside the booth rather than into aisles or neighboring exhibits. They also advise exhibitors to submit hanging-light drawings for organizer approval and to obtain written approval for potentially harmful or disruptive effects such as lasers, ultraviolet light, flashing, or strobes.
Use those points as an early design screen, then follow the current event manual and organizer decisions. A fixture that fits inside the booth drawing can still throw light across the aisle. Show its aiming direction, not just its mounting point.
Shadows deserve the same test. Headers, shelves, monitors, people, and products can block light that looked unobstructed in an isolated rendering. If the presenter stands between the source and the demonstration, move the light or add a controlled fill from another direction. Do not solve one shadow by flooding the whole booth.
Light Graphics, Products, and Screens as One Scene
The graphic designer, exhibit designer, AV team, and lighting supplier can each produce a correct element that fails when everything is turned on together.
An internally lit fabric graphic may already be the brightest surface in the booth. Adding strong front lights can wash out nearby dimensional products and make every photo expose for the wall instead of the people. A monitor may look vivid in the office but show reflections from track lights on the show floor. A glossy counter can bounce an overhead source into the eyes of seated visitors.
Review the scene in this order:
- Turn on the lightbox and screens.
- Set the product and final material samples in place.
- Add display light until the main message reads clearly.
- Add product light only where it reveals something important.
- Run video, cameras, and the live demonstration.
- Remove or redirect anything that causes glare, flicker, hot spots, or a second unwanted focal point.
If the booth will be photographed or streamed, test the actual camera settings and content. Some sources and dimming systems may appear acceptable to the eye but flicker on video. The right answer is a mock-up with the proposed equipment, not a blanket promise that all LEDs behave the same.
Put Lighting on the Electrical Plan
A trade show display lighting plan is not finished when fixtures appear in the rendering. It needs a fixture schedule and an electrical path.
For every light or lighting group, record:
- fixture model or supplied type;
- quantity and mounting location;
- input voltage and rated wattage;
- plug, driver, transformer, dimmer, or control requirement;
- circuit or power-drop assignment;
- cable route and connection point;
- aiming note;
- who supplies, installs, connects, focuses, and tests it.
Separate rated load from guesswork. Add the actual ratings of the proposed equipment and have the exhibit provider and official show electrical service confirm the order, distribution, connection rules, and any required labor. Do not copy the electrical order from the last show unless the fixture list and booth configuration are genuinely unchanged.
Show where drivers, power supplies, and control boxes will live. They need ventilation where required, physical access for troubleshooting, and concealment from visitors. A lightbox power supply buried behind a finished wall may be visually clean and operationally useless.
Cable routing must protect the visitor path. The U.S. Department of Justice's 2010 ADA Standards use a 36-inch minimum clear width for walking surfaces where the accessible-route provisions apply. Your full compliance obligations depend on the facility and layout, but the practical lesson is straightforward: do not use a floor cord, transformer, or lighting stand to narrow or trip the route you designed for visitors.
Adjust the Plan to the Booth Type
The same fixtures behave differently in a 10×10 inline booth and a large island.

In an inline booth, the rear wall is usually the main lighting surface. A small number of well-aimed fixtures can create useful contrast, but neighboring walls and lower height limits may restrict mounting positions. Check the current show rules before assuming a forward arm, tall lighting pole, or overhead solution is allowed.
In a peninsula or island booth, people can approach from several directions. One bright face and three dark backs make the exhibit look unfinished. Map the main view from each aisle and decide which products need lighting from more than one direction. Overhead truss may open additional options, but it also introduces approval, rigging, power, labor, engineering, and schedule questions that should be resolved before the design depends on it.
For a double-deck or enclosed meeting area, lighting must also work beneath structures and inside rooms. Do not assume the decorative overhead system will reach the shaded lower zone. Coordinate lighting with structural, fire-safety, egress, ceiling, and organizer requirements through the qualified teams responsible for those approvals.
Test at Full Scale, Then Focus Again After Installation
A rendering shows intention. A full-scale test shows whether the intention survives real materials, real viewing angles, and real people.
Build the most important section before shipping. Use the final fixture, graphic sample, product finish, shelf depth, monitor, and counter surface. Mark the aisle and normal eye positions. Photograph the result from the visitor approach, but also stand there without a camera and ask a person unfamiliar with the design what they notice first.
Record accepted fixture positions, angles, settings, and control scenes. Label the equipment and match it to the packing list and electrical drawing. If a fixture is adjustable, “install on the wall” is not enough information for the crew that will focus it.
Plan time during move-in for final focusing. The IAEE lighting guidance recommends identifying lighting issues early during move-in while equipment is available and booths remain accessible. Turn on the actual hall conditions if possible, place the products, and make corrections before crates, visitors, and neighboring exhibits limit access.
Booth Lighting Approval Checklist
Do not approve the lighting package until the team can answer these questions with the actual drawings and equipment:

- What are the first three things a qualified visitor should notice?
- Which fixture is responsible for each priority?
- Is the main graphic evenly readable from the real aisle approaches?
- Does each product light reveal useful detail rather than create glare?
- Have final products, finishes, graphics, and screens been tested together?
- Are white-light sources intentionally consistent in CCT and color quality?
- Do people, headers, shelves, and monitors create untested shadows?
- Are all fixtures and light beams inside the booth boundaries?
- Has any hanging or special-effect lighting received the required organizer review?
- Does the electrical plan show real wattage, connection, control, and cable routes?
- Are drivers and power supplies concealed but still accessible?
- Does the installed plan protect usable visitor paths?
- Who installs, connects, focuses, tests, and signs off each group?
- Is there enough move-in time to focus the lights with products in place?
If the team can answer only with the rendering, the plan is not ready for the show floor.
Frequently Asked Questions
Can we rely on the venue's overhead lighting for a small booth?
Sometimes, but make that decision after viewing the actual display needs. A reception counter and one clear printed wall may work with hall light. Detailed samples, dimensional products, demonstrations, dark finishes, and camera work usually need controlled light. Ask the organizer or service team what hall lighting will be active during show hours, then test whether your priority objects remain clear without booth fixtures.
Should every light in the booth use the same color temperature?
Use one consistent white-light family as the default because mixed whites are easy to see on adjacent graphics and products. A second color temperature can work when it intentionally separates a hospitality area or creates a specific material effect. Test the transition with final samples; do not mix sources simply because they came with different rental components.
How do we know how much electrical service to order for lighting?
Create the real fixture schedule first and total the rated wattage by the circuits and voltages proposed. Include drivers, lightboxes, controls, and any equipment sharing power. Then ask the exhibit provider and official electrical service to confirm the service order, distribution, connection rules, and margin required for the actual setup. A booth-size formula cannot replace the equipment list.
Is it better to rent booth lights or bring our own?
Bring your own when the fixture is integral to a repeatable display, has been tested with the product, and can be packed and accepted at each event. Rent when local availability, rigging, installation responsibility, or changing booth configurations make ownership less practical. Compare the installed result and total handling—not only the fixture price—and confirm who is responsible if a lamp, driver, or mount fails during move-in.
When should lighting be mounted on an overhead truss?
Use overhead positions when they solve a real aiming or coverage problem that the booth structure cannot solve. Before the design depends on them, confirm organizer approval, allowable height and setback, rigging points, drawings, power, labor, focusing access, and deadlines. A truss is not automatically better; it can add cost and coordination without improving a small display.
Make the Lighting Brief Buildable
The most useful lighting brief is not a mood board. It identifies what visitors must notice, shows what each fixture illuminates, records the actual equipment and power path, and gives the installation team enough information to reproduce the tested result.
Before you ask an exhibit partner to price or revise the plan, send the show name, booth number and type, current exhibitor manual, floor plan, renderings, final graphics, product photos and dimensions, demonstration details, screen list, fixture schedule, and electrical requirements. Add photographs of the lighting mock-up if color or finish is important. Those inputs make it possible to discuss the installed booth instead of guessing from a bright image.