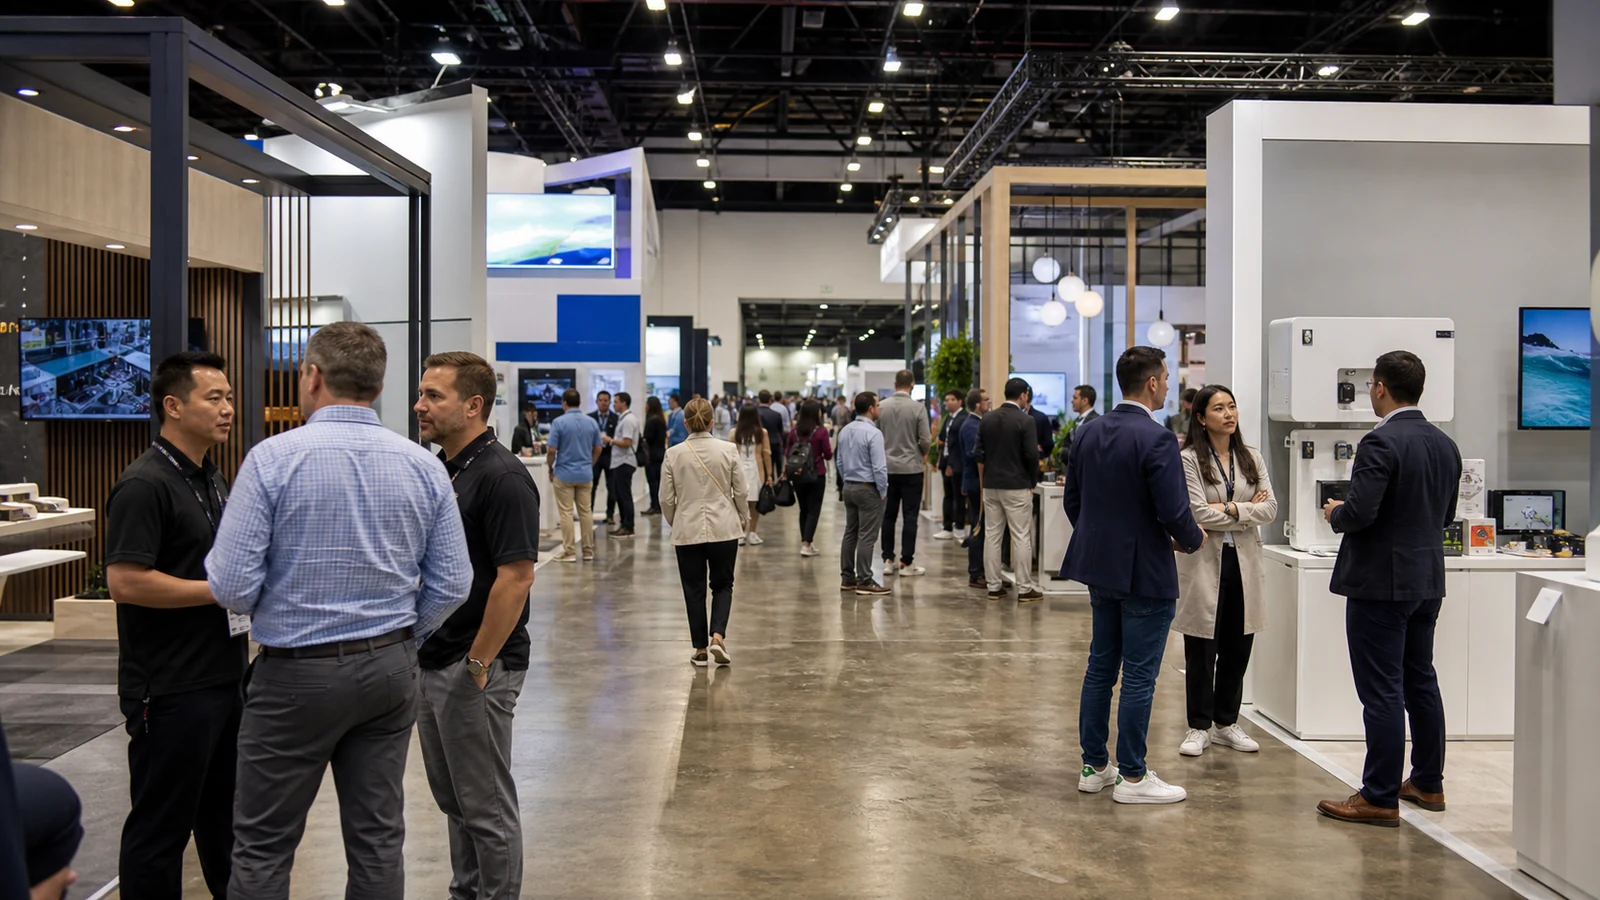
Your show floor map has arrived, your booth size is confirmed, and your designer is waiting for direction—but the drawing does not tell you whether visitors will see the right message, enter comfortably, watch a demo, or meet your team without blocking the opening. The problem is that a trade show floor plan can mean two different drawings: the organizer’s hall map and the layout inside the footprint you rented.
This trade show floor plan guide is for the B2B marketing manager who must connect those two drawings before approving a design. It shows you how to judge the assigned location, turn your marketing goal into a workable trade show booth layout, test the plan at scale, and give your designer a rules-aware brief—so you can find layout problems before they reach the show floor.
Start With the Two Plans, Not the Render
The show floor map—also called an exhibition floor plan—is controlled by the organizer. It identifies booth numbers, aisles, entrances, feature areas, and fixed parts of the venue. Depending on the event, it may also show columns, service areas, freight access, food, stages, registration, or utilities.
Your booth floor plan is a scaled top view of the space you will occupy. It places walls, counters, displays, equipment, screens, meeting areas, storage, and circulation inside the exact footprint. It also shows which sides face an aisle and where visitors can enter. When the drawing must also reconcile equipment, graphics and installation interfaces, review 3D exhibit design and engineering before releasing production.
These plans answer different questions. The hall map tells you what approaches your booth and what surrounds it. The booth plan determines whether your team can welcome, qualify, demonstrate, and meet with visitors without getting in its own way. A strong design needs both.
Read the Hall Map Before You Accept the Space
Do not judge a booth only by its distance from the main entrance. Start by tracing the routes that your likely visitors may actually use: registration to a conference room, an education stage to the next session, or a product zone to a food area. A location can be busy yet deliver the wrong audience, while a quieter aisle can be useful when it serves a concentrated product category.
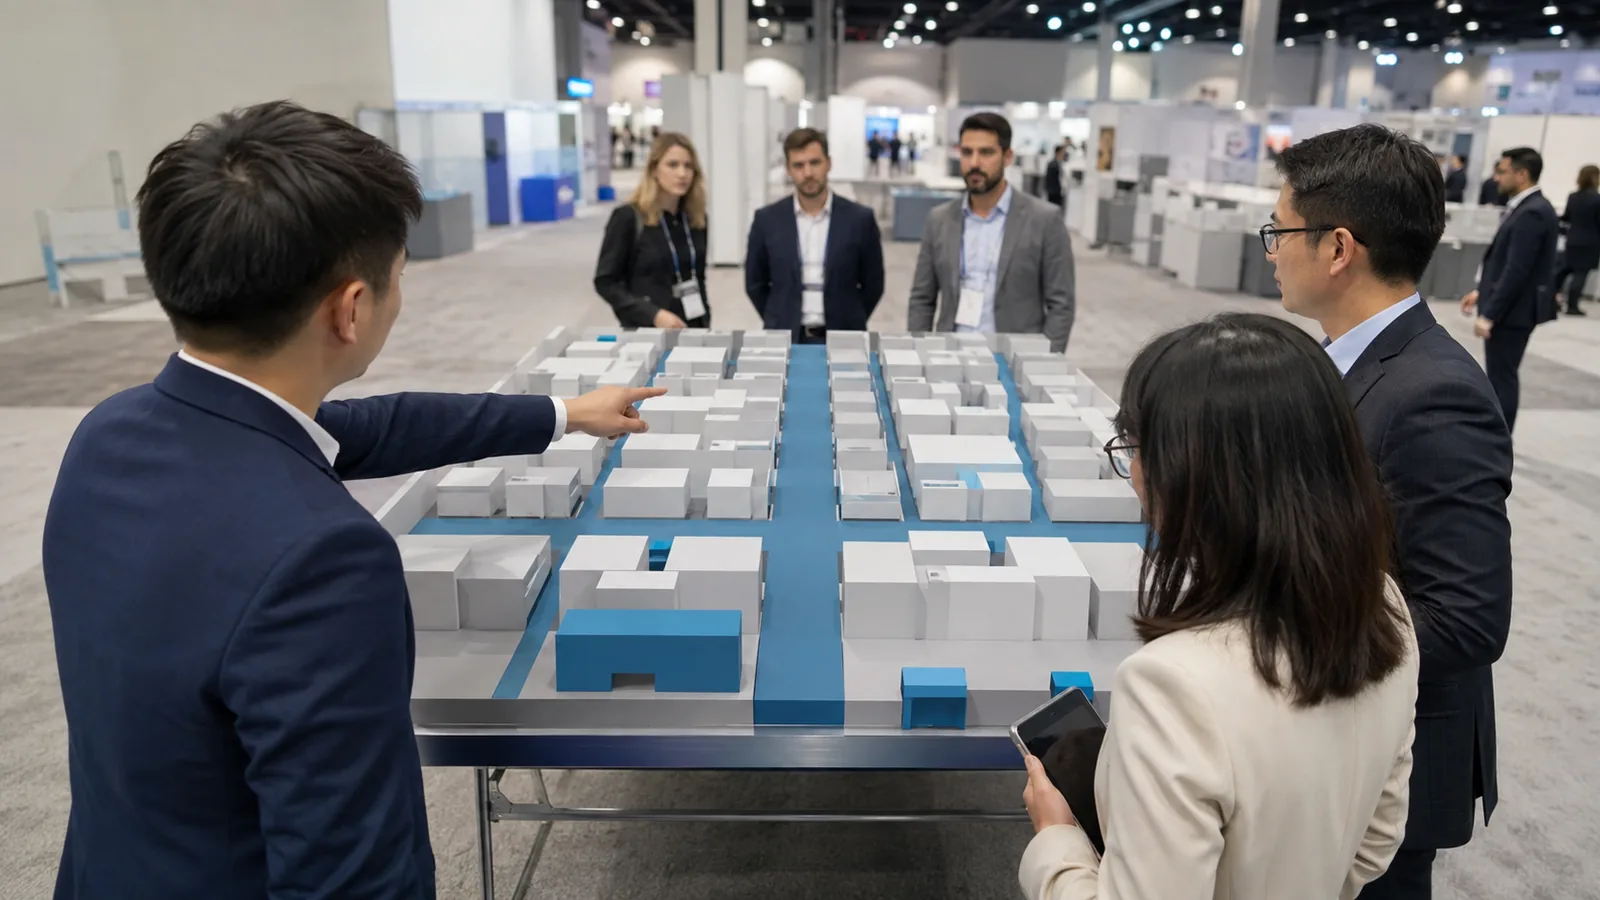
Then inspect the space itself. Mark every open side, the direction of each aisle, nearby intersections, columns, walls, service doors, and any feature that may block a sightline. Look at the neighboring booth sizes as well as the company names. A large structure across the aisle can shape the approach to your exhibit even when it does not cross your boundary.
Finally, check the map revision. Floor plans change as booths are combined, sponsors move, and feature areas are adjusted. Put the revision date on your internal brief so your designer, sales team, and show contact are discussing the same version.
| What you see on the show map | What to ask | What it changes in your booth plan |
|---|---|---|
| Entrance, stage, lounge, or food area | Which direction will your priority visitors approach from? | Turn the strongest message and clearest opening toward that approach. |
| Corner, peninsula, or island exposure | Which sides must remain open or visually clear? | Decide where walls, demos, reception, and storage can sit. |
| Column or fixed venue element | Is it inside, beside, or in front of the contracted footprint? | Integrate it only after you have confirmed its exact position and restrictions. |
| Utility location | Where can power, data, air, water, or drainage enter? | Keep cables and service runs away from visitor routes and visible product areas. |
| Freight or service access | Will move-in activity or a permanent service zone affect the space? | Confirm build access and do not assume a marked service area is visitor traffic. |
Define the One Job the Booth Must Do
Before drawing zones, finish this sentence: “The most valuable visitor should enter, understand ___, do ___, and leave with ___.”
For one company, the missing action may be a ten-minute equipment demonstration. For another, it may be a qualified conversation that leads to a scheduled technical review. Those booths should not share the same floor plan. The demonstration needs viewing distance, an operator position, product clearance, and a way for passersby to keep moving. The consultation booth needs a fast qualification point and a meeting space that does not consume the entire entrance.
Choose one primary action. Secondary activities can support it, but they should not make a visitor guess where to stand or what to do first. When every department asks for its own counter, screen, table, and message, the floor plan becomes an inventory list instead of a customer journey.
Build Only the Zones Your Visitor Journey Needs
Most exhibits use some combination of five zones: attraction, qualification, demonstration, conversation, and support. You do not need all five as separate rooms or pieces of furniture.
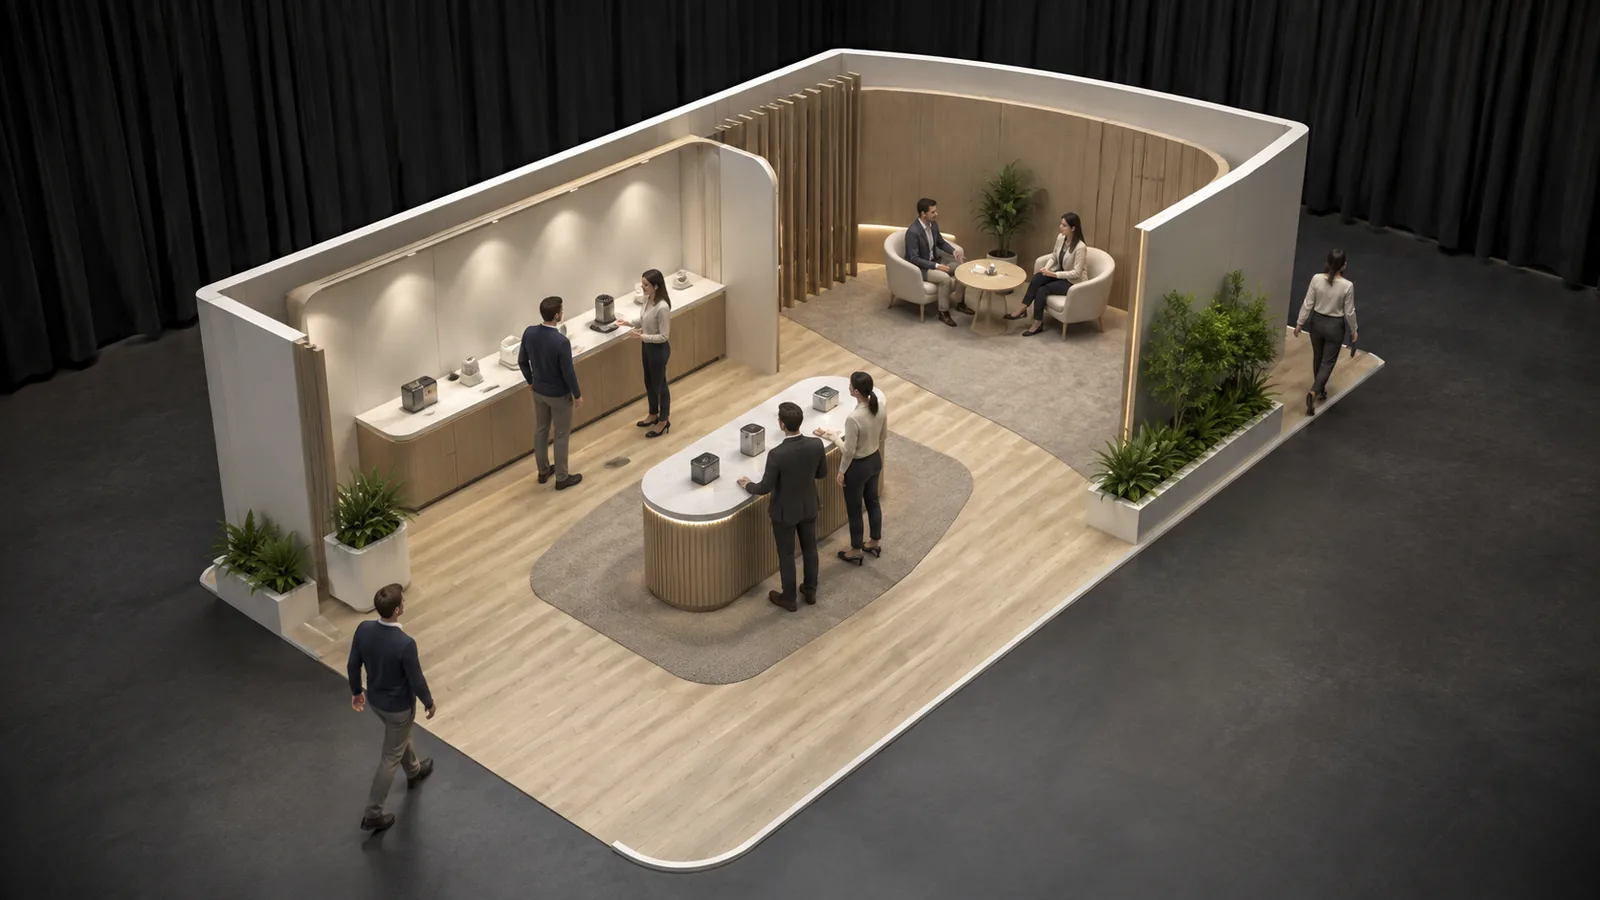
The attraction zone is what a person can understand from the aisle. It may be a product, a short message, motion, or a working demonstration. Keep this area legible from the real approach direction shown on the hall map, not only from the front view used in a presentation.
The qualification zone gives a staff member enough room to greet a visitor and learn why they stopped. It should not become a barrier across the opening. A reception counter is useful only when it has a specific job; otherwise, it often turns into a place for staff to stand behind.
The demonstration or product zone needs the product’s operating envelope, viewing distance, safety boundary, and service access drawn at scale. Do not place equipment by its shipping dimensions if doors, covers, trays, samples, or operator movement require additional space.
The conversation zone can range from a standing discussion point to an enclosed meeting room. Privacy has a cost: walls take space, create doors and corners, and may reduce visibility. Reserve an enclosed room for conversations that genuinely require it.
The support zone holds what visitors should not see—bags, literature cartons, cleaning supplies, staff items, and sometimes technical equipment. Storage needs a usable door and an access path. A closet that cannot be opened when the booth is busy is not functional storage.
Choose a Layout Pattern That Fits the Work
An open-corner layout works when fast conversations and product visibility matter most. Keep the corner free, place the visual anchor deeper in the space, and let staff approach from the side instead of forming a line across the opening.
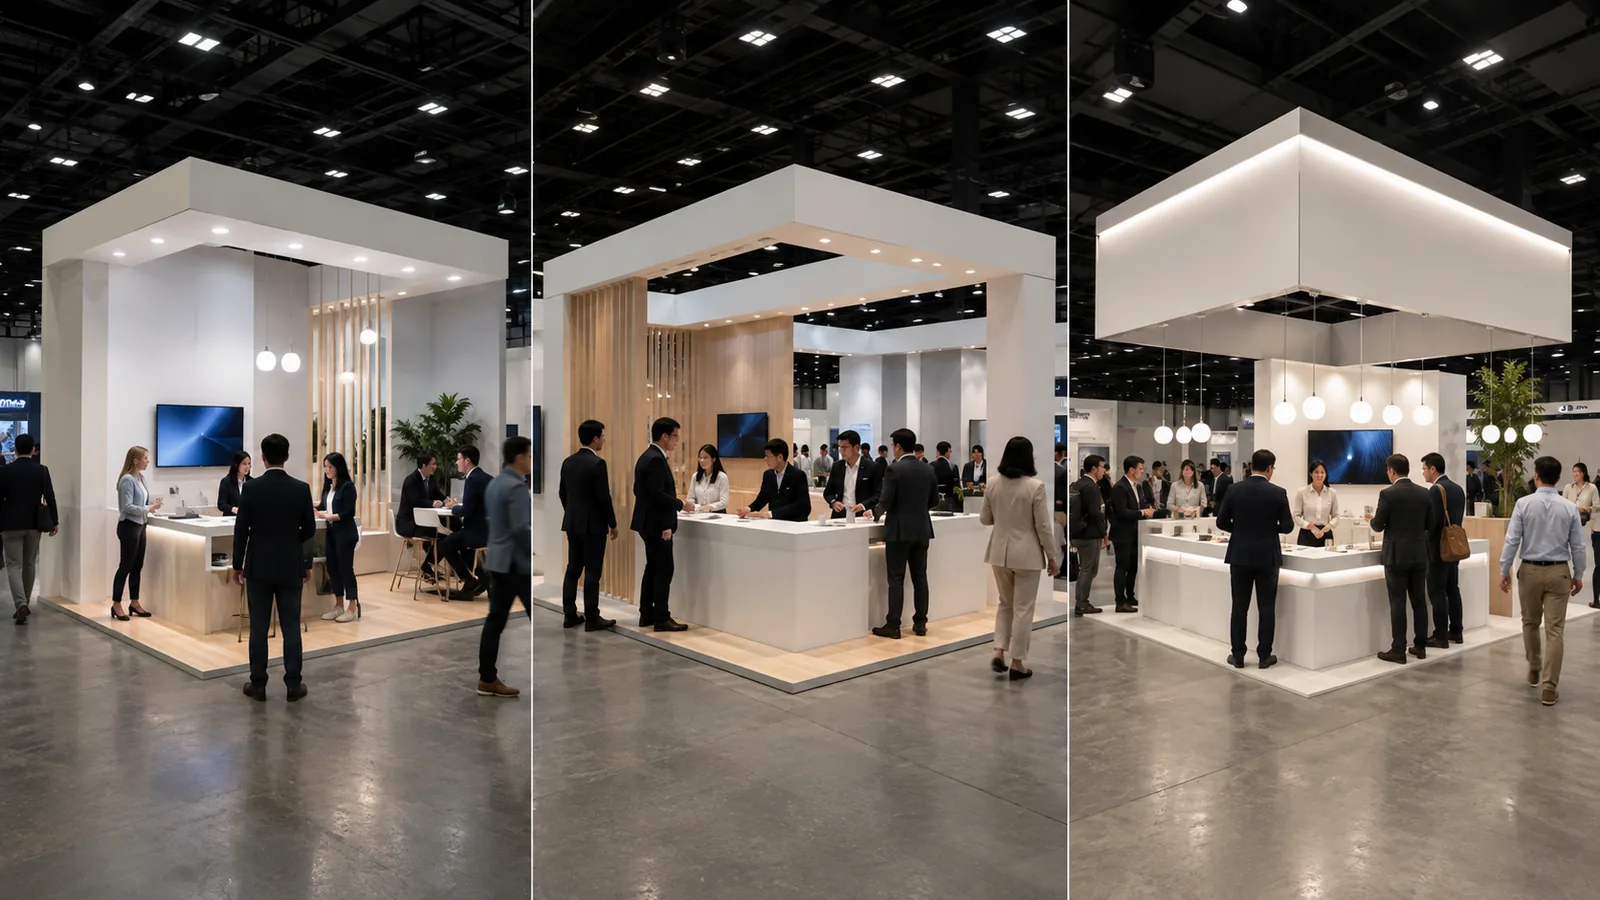
A guided-demo layout is better when the product story has a sequence. The entry point should make the first step obvious, but the route cannot trap visitors or block people who want to leave early. Staff positions, screens, controls, and samples belong on the floor plan because they determine whether the sequence works.
A consultation layout gives more area to qualification and meetings. It still needs an outward-facing reason to stop. If the meeting room occupies the visible edge, the exhibit may appear closed to people who do not already know the brand.
A product-gallery layout can handle several product families, provided the grouping is clear from the aisle. Do not use every wall equally. Give the priority product the strongest approach and enough room for a visitor to stop without blocking the next display. For a seasonal product mix, the Halloween & Party Expo display guide explains how costume rails, coordinated party collections and sample access affect the layout.
The right pattern is the one that protects the booth’s primary action under real operating conditions. It is not necessarily the layout with the most furniture or the largest meeting room.
Test the Plan at Full Scale
A top view should use exact dimensions for the exhibit footprint, structures, products, doors, counters, furniture, screens, and storage. Add the space objects need while in use: a cabinet door opening, a chair pulled back, an equipment service panel, or a staff member standing beside a demonstration.
The South Dakota Ag Expo 10×10 booth example shows why you should place an included 8-foot table on the drawing before adding more furniture.
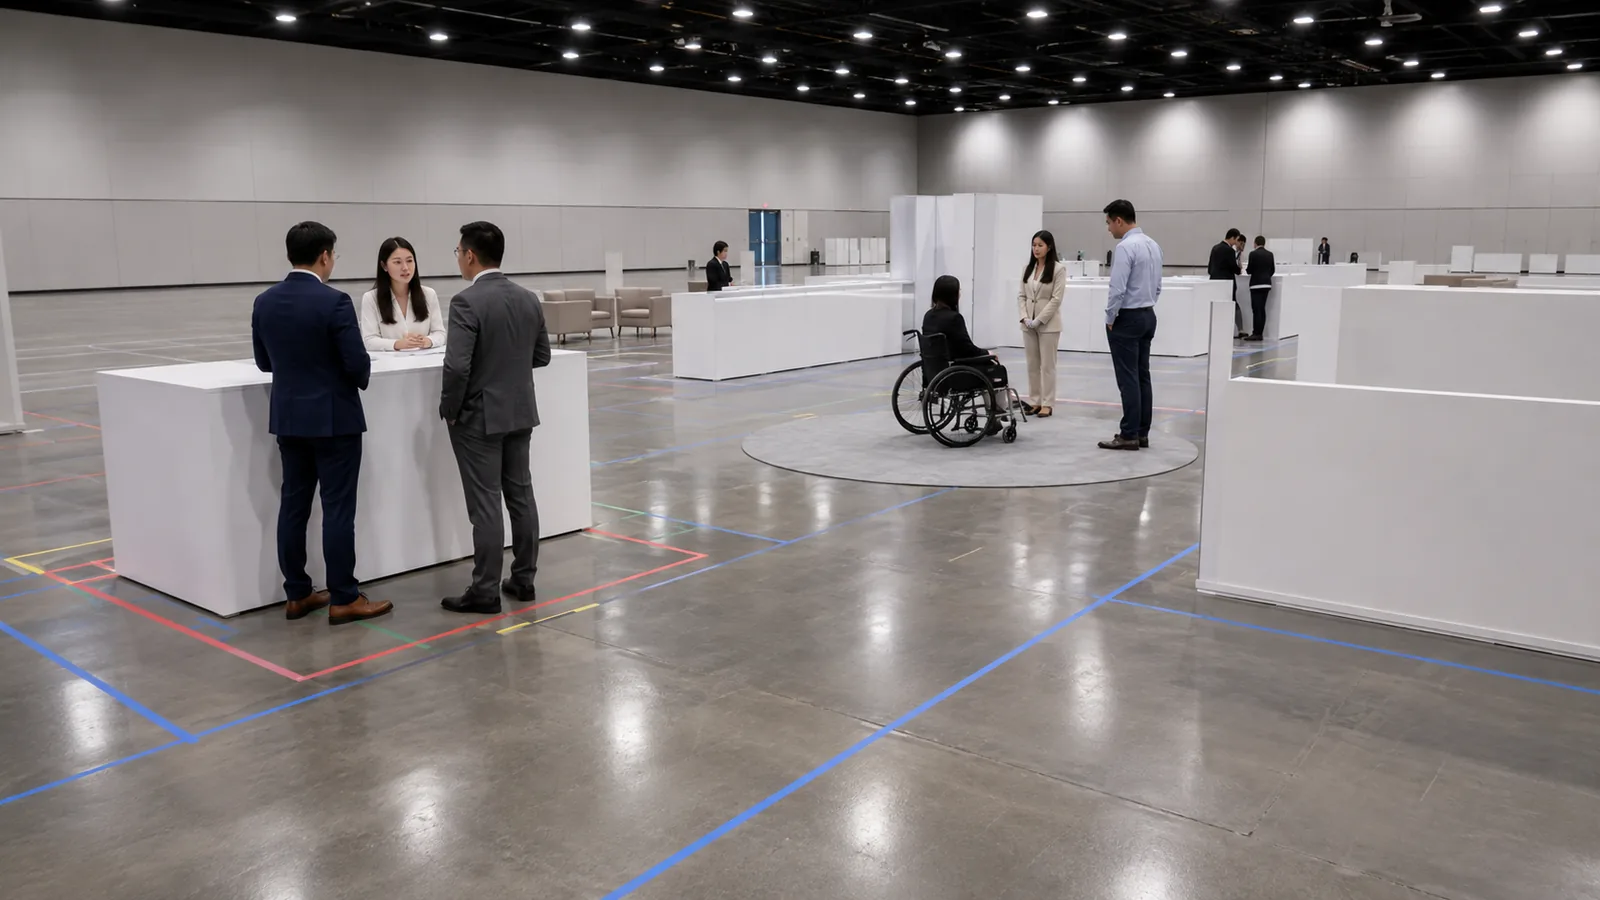
Next, test people rather than empty aisles. Place the expected staff in their working positions. Add a small group at the demonstration, a conversation at the qualification point, and a person entering or leaving the meeting area. Trace how someone using a mobility device would reach the same core experience. If one active conversation blocks another visitor’s route, the drawing has found a problem before the show floor does.
The U.S. Department of Justice’s 2010 ADA Standards for Accessible Design specify, among other provisions, a 36-inch minimum clear width for walking surfaces that are part of an accessible route and define 60-inch circular or T-shaped turning spaces. Those figures are useful design checks, but they are not a complete booth-compliance checklist. Confirm the current show manual, venue requirements, applicable law, and any required review before approval.
Check Show Rules Before You Develop the Structure
Start with the current exhibitor manual, not a plan from last year or a rule remembered from another event. Confirm the booth type, dimensions, open sides, height limits, sightline treatment, hanging-sign rules, floor-covering requirements, fire and electrical requirements, accessibility provisions, and the plan-submission process.
Industry guidance helps explain why these details matter. The IAEE Guidelines for Display Rules and Regulations describe a peninsula booth as open to aisles on three sides and an island booth as open on all four. The document also illustrates typical height and line-of-sight treatments. However, the event’s adopted rules control your project. Do not convert an industry example into a show approval assumption.
Put each controlling rule directly on the working floor plan or its review notes. A wall can fit inside the contracted footprint and still be unacceptable because of its height, location, finish, door swing, or effect on an adjacent booth. Resolve those constraints before the design team spends time perfecting a render.
Review the Floor Plan With the People Who Will Use It
Marketing should confirm the message and priority visitor action. Sales should test greetings, qualification, demonstrations, and handoffs. Operations should check products, utilities, storage, replenishment, cleaning, freight, and staff access. The exhibit designer or builder should resolve structure, materials, show rules, service orders, and drawing submissions.
Run the review as a short simulation. Ask one person to arrive from each important aisle, another to operate the demo, and another to move between storage and the public area. Record conflicts on the plan. “It feels open” is not an approval criterion; “six staff can work without blocking the demo entrance or storage door” is testable.
Freeze the plan only after the team agrees on the primary action and the controlling constraints. Later graphic and finish decisions can refine the experience, but they should not quietly move a counter, door, product, or screen in a way that breaks the approved flow.
Final Floor Plan Approval Checklist
- The show floor map revision and booth number match the current assignment.
- The booth dimensions, type, open sides, and aisle directions are correct.
- Columns, utilities, service areas, and other fixed conditions are confirmed rather than estimated.
- The strongest message and primary action face the most relevant visitor approach.
- Products are drawn with operating, viewing, and service space—not only their closed dimensions.
- Staff positions and peak visitor groups have been tested on the scaled plan.
- Doors, chairs, counters, storage, and equipment can be used without blocking circulation.
- Visitors using mobility devices can reach the core experience; accessibility review is not limited to one aisle-width measurement.
- The current exhibitor manual has been checked for display, fire, electrical, hanging-sign, and submission requirements.
- Marketing, sales, operations, and the exhibit team are reviewing the same dated version.
Make the Plan Prove the Experience
A useful trade show floor plan does more than show that the pieces fit. It proves that the right visitor can see why to stop, enter without hesitation, complete the booth’s most valuable action, and leave without crossing staff or service traffic.
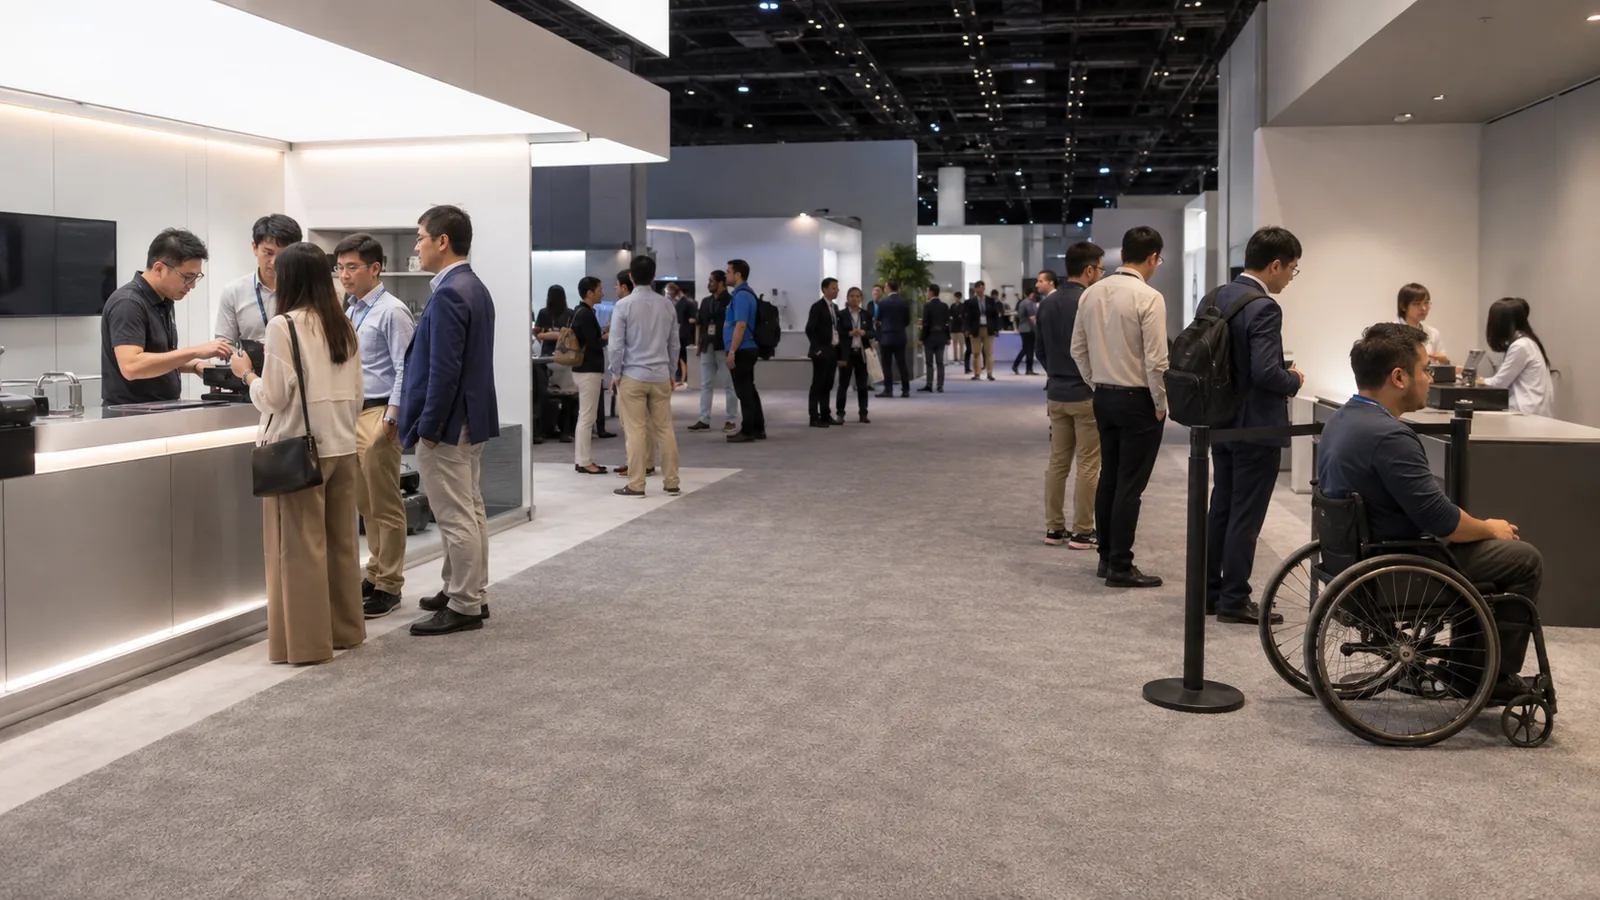
Use the hall map to understand the conditions around your space, then use the booth plan to make deliberate choices inside it. Once the plan works at scale and against the current show rules, the render can show what the experience will look like. It should not be asked to hide a layout that has never been tested.
Frequently Asked Questions
What files should I send a trade show booth designer?
Send the current show floor map with your booth highlighted, the current exhibitor manual, the booth confirmation, any venue or utility drawings, product dimensions and operating requirements, expected staff count, required demonstrations, meeting needs, storage needs, brand assets, and known submission deadlines. Label unknown items instead of allowing the designer to assume them.
Can I reuse one booth floor plan at different trade shows?
You can reuse a planning concept, but not an unchecked drawing. A different booth type, aisle orientation, footprint, height rule, utility location, or venue condition can change the layout. Redline the plan against the new show map and manual before reusing it.
What scale should a trade show booth floor plan use?
Use a consistent, stated scale that keeps small clearances readable; your designer may choose the specific scale to suit the sheet size and drawing standard. Do not rely on a PDF remaining to scale when someone prints it. Include dimension strings, a scale bar, units, and a version block so reviewers can verify critical distances even if the page has been resized.
Can the floor plan change after it has been submitted?
That depends on the show and the scope of the change. Moving a chair is different from changing a wall, door, sign, overhead element, or utility requirement. Treat any change that affects structure, access, fire or electrical review, sightlines, or submitted services as a possible resubmission and ask the designated show contact before fabrication.
How many people should a trade show booth floor plan accommodate?
Do not derive this number from total event attendance. Count the people who must share the space at the busiest useful moment: on-duty staff, demo operators, visitors watching or meeting, and anyone who must pass through. Test a normal operating period, a busy period, and a short peak. If the peak works only by blocking the opening, an accessible route, or storage access, reduce the furniture or simultaneous activities—or secure a larger footprint.
Final Thoughts
Before approving a floor plan, ask whether your team can demonstrate the main visitor action on the scaled drawing without explaining away a blocked route, missing clearance, or unverified rule. If not, revise the plan before the render or fabrication advances.
KingExhibits can help you turn the current show map, exhibitor manual, product requirements, and meeting goals into a booth plan that is ready for design review. Share your confirmed footprint and operating needs to start with the layout decisions that matter before fabrication.