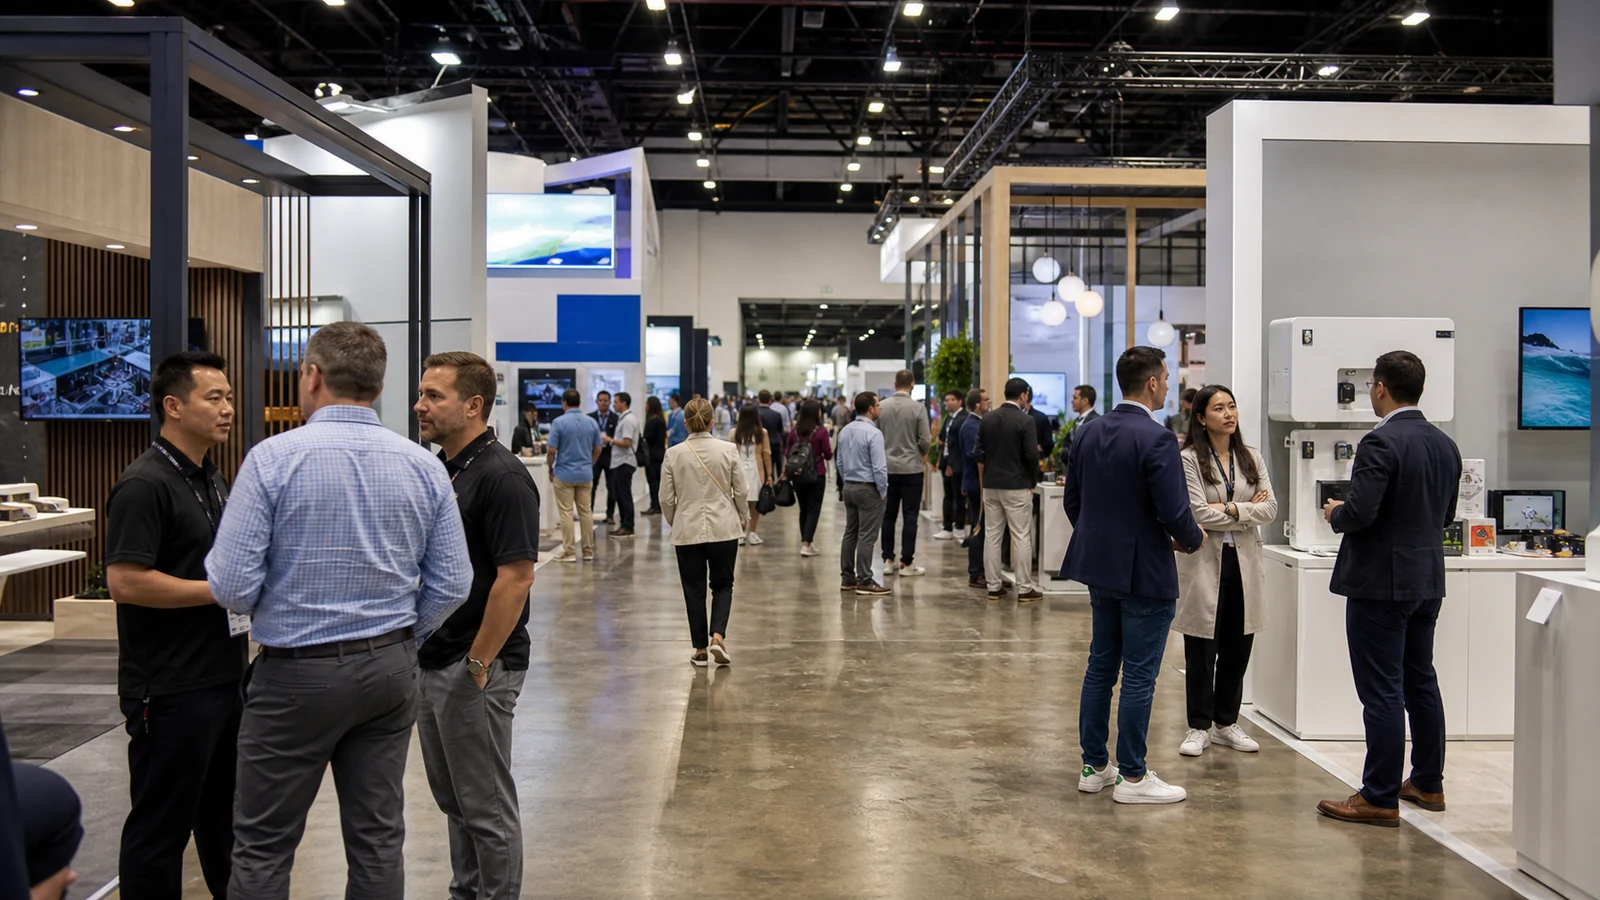
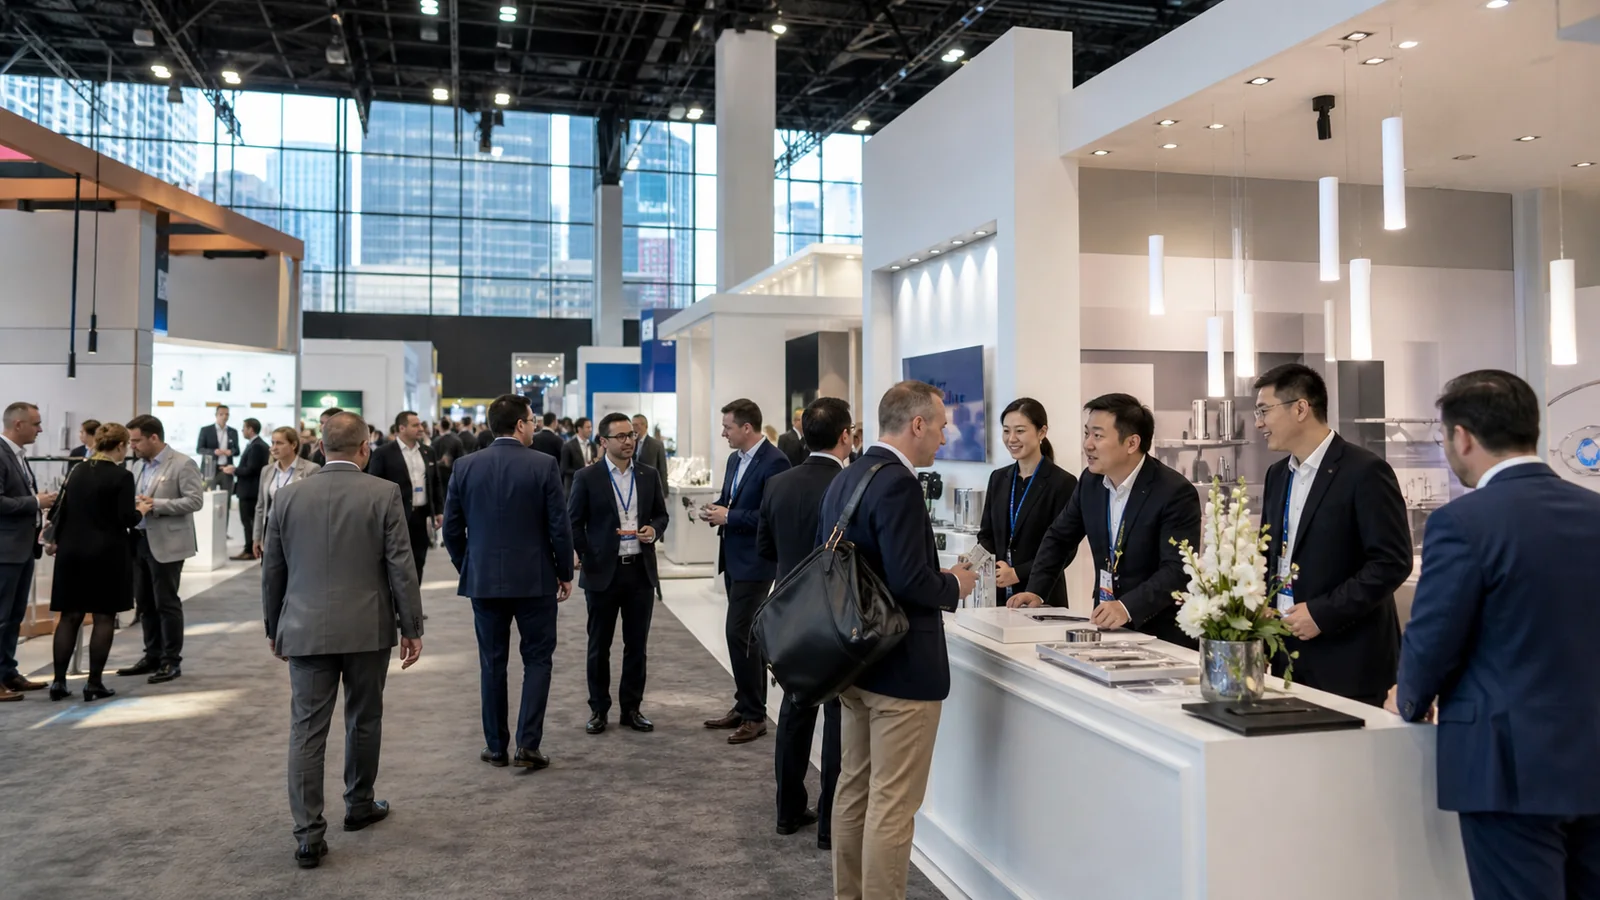
“We have four open sides. How do we use the space without making the booth feel empty or confusing?” That is the right question to ask before filling an island booth with towers, meeting rooms, counters, and screens. A good island design makes the next move obvious: people can see what you offer, choose where to enter, and find the right person to speak with without walking around the entire structure.
Read the Floor From All Four Aisles
An island booth is exposed to aisles on all four sides. That gives you more possible entrances, but it does not mean all four sides deserve the same treatment.

Mark the booth on the show floor plan and look beyond its boundary. Which aisle leads from registration? Where are the main entrances, food areas, seminar rooms, and large neighboring exhibitors? A corner facing the main arrival route may carry more useful traffic than the opposite side, even though both are technically open.
Give each side a job rather than repeating the same wall four times:
| Booth side | Possible job | What the visitor should understand |
|---|---|---|
| Main approach | Brand and category recognition | “This is the company and product area I came to see.” |
| Product side | Demonstration or hero product | “I can see what it does before I enter.” |
| Conversation side | Reception and qualification | “This is where I can ask a question or check in.” |
| Quieter side | Meeting access or supporting content | “I can continue a serious discussion without crossing the demo crowd.” |
These jobs can change with the floor plan. The important point is to design from real approach routes, not from a perfectly centered rendering that assumes equal traffic on every side.
Decide What Happens in the Center
The center of an island booth often becomes a collection of everything the team requested. One group wants a meeting room, another wants three products, and someone adds a large LED wall. The result may use every square foot while giving visitors no clear reason to enter.
Decide what you want an interested visitor to do first. Common answers include watching one product demonstration, comparing a system, meeting a technical specialist, or beginning a sales conversation. Put that action where it can be seen and reached from the strongest aisle.
Other functions should support it. If the main action is a live machine demonstration, reception cannot create a queue across the viewing area. If private meetings matter most, the meeting room should be easy to reach without forcing scheduled guests through product traffic. A list of required zones is not yet a layout; the movement between them is what makes the layout work.
Keep the Edges Open Without Leaving Them Empty
Open does not mean blank. It means a visitor can understand where to step in without squeezing between a counter and a wall.

Use the perimeter for low or narrow elements that explain the offer quickly: a product at the aisle edge, a short demonstration counter, a readable category line, or a staff position with room beside it. Pull bulky storage, enclosed rooms, and tall opaque walls farther inward unless the current show rules require a different placement.
Then draw the paths people will take:
- a visitor who only wants a quick answer;
- a scheduled customer going to a meeting;
- a small group stopping for a demonstration;
- a staff member moving between reception, storage, and the meeting area;
- a technician reaching equipment without crossing a visitor queue.
If two paths repeatedly cross in the same narrow area, the booth will feel crowded before the show is busy. Moving one counter on the drawing is cheaper than asking staff to manage that conflict all day.
Keep at least one clear, step-free route from an aisle to the booth’s main demonstration, product, or meeting area. If raised flooring needs a ramp, keep the ramp inside the contracted booth space rather than letting it project into the aisle. Confirm the exact requirements in the current show manual and facility rules.
Use Height to Help People Orient Themselves
An island booth can often use more vertical space than a standard inline booth, but the current exhibitor manual still controls maximum height, hanging signs, setbacks, covered areas, and plan approval.
The public IAEE display guidelines, labeled as a 2019 North American update, describe island booths as typically 20 by 20 feet or larger with aisles on all sides. They present 16 to 20 feet as a usual maximum-height range, including signage. Treat this as an early planning model only; the rules for your specific event may differ.
Use height to answer a viewing problem. A tower can carry a category message visible beyond the nearest aisle. A suspended sign can help invited visitors find the booth from farther away. A tall product can become the landmark if it is recognizable. Height adds little when it carries small copy, hides behind neighboring structures, or blocks the booth below. If overhead identification is under consideration, review the trade show hanging sign guide before committing to the structure and rigging plan.
Review elevated elements from the actual aisle directions. A tower that looks impressive in a front rendering may show a blank side to the busiest approach.
Separate Conversations Without Building a Box
Meeting space is useful only when the level of privacy matches the conversation. Many booths build a fully enclosed room for discussions that would work at a quieter table, then lose valuable sightlines and floor area.

Choose the lightest boundary that solves the problem:
| Conversation | Suitable treatment | Main caution |
|---|---|---|
| Quick product question | Standing counter near the relevant display | Keep it outside the main entrance path |
| Short qualification talk | Seated table with partial screening | Control chair movement and bags in the aisle |
| Planned commercial meeting | Semi-private room or screened lounge | Keep the entrance easy to find |
| Confidential or technical review | Enclosed room if rules and space allow | Check ceiling, fire, access, lighting, and ventilation requirements |
Transparency can preserve sightlines, but glass and open slats do not automatically create acoustic privacy. If the conversation truly cannot be overheard, confirm how the room will control sound rather than approving it from appearance alone.
When meeting demand is high enough to justify a second level, the decision changes from room planning to engineering, stairs, approvals, and show-floor operation. The double-deck trade show booth guide covers that separate decision.
Design the Demonstration Around the Crowd It Creates
A product demonstration needs space for the product, the operator, viewers, and the people who keep walking past. The equipment footprint is only the beginning.
Place the active face of the demonstration toward a useful aisle, then draw the likely audience depth. Keep controls, moving parts, hot surfaces, cables, samples, and technician access away from the public edge when the demonstration requires it. If the audience would stand in the aisle, move the demo inward or reduce the group size.
Screens should support what visitors cannot see directly. Use a close-up camera for small operations, a simple process animation for hidden movement, or a results screen for data that proves the claim. A large screen playing a brand reel beside a live machine often creates two competing centers of attention.
Give Storage and Utilities Real Space on the First Plan
Storage is easy to shrink in a rendering because closed doors do not sell the concept. During the show, however, boxes, coats, devices, cleaning supplies, samples, and staff bags still need somewhere to go.
List what enters the booth each morning and what accumulates during the day. Then size storage around those objects and the door swing needed to reach them. Do not hide an electrical panel, network equipment, water connection, or product control point behind tightly packed cartons.
Put utility locations on the same floor plan as the exhibit. A floor port, main power drop, wired internet line, plumbing connection, and suspended service point can change where products and counters belong. Sending separate sketches to the booth builder, electrical provider, AV team, and product technician invites each party to solve a different layout.
Review the Layout From the Aisle
Materials, lighting details, and finishes matter, but the first review should use a simple view showing masses, openings, products, screens, signs, and people at realistic scale. This exposes blocked entrances and competing focal points before colors and finishes make a weak layout look more complete than it is.

Review the design in this order:
- Approach: Can visitors recognize the company and offer from the important aisles?
- Entry: Is there an obvious, comfortable way to step into the booth?
- Main action: Can people see and reach the demonstration, product, or conversation the booth is built around?
- Movement: Can visitors, staff, and technicians move without creating one repeated conflict point?
- Sightlines: Do rooms, towers, screens, and products hide one another?
- Operations: Are storage, utilities, cleaning, accessibility, and service access shown?
- Rules: Does the current manual permit the heights, covered areas, hanging elements, materials, and construction method?
- Finish: Only now approve colors, surface details, lighting treatment, furniture, and decorative elements.
This order catches layout problems before engineering and production make them expensive to change. A different laminate is usually manageable. A meeting room blocking the main approach is not.
Frequently Asked Questions
Is a 20×20 booth automatically large enough for every island-booth feature?
No. A 20×20 footprint may qualify as an island booth under common definitions, but a meeting room, large demonstration, storage area, and four open approaches can compete for the same space quickly. Choose the main visitor action first, then add only the functions that can support it without closing the perimeter or creating crossing paths.
When is an island booth the wrong choice?
An island booth may be the wrong choice when you have one small product or one short message, limited staff to cover several approaches, and no demonstration or meeting program that needs the extra floor area. Choose it because four-sided access and a larger working area solve a real show objective, not because the format looks more important on a floor plan.
Can the same island booth structure be reused at different shows?
Often yes, if the structure can change orientation and the graphics, counters, storage, and meeting elements are modular. The next show may place the strongest aisle on a different side or use different height, rigging, fire, and service rules. Reuse the physical system, but review the floor plan and manual again instead of treating the previous layout as automatically approved.
How should you staff an island booth with four open sides?
Do not assign one person to each side by default. First mark where reception, demonstrations, scheduled meetings, and quick product questions will happen. Keep someone responsible for each active visitor area, then use a product specialist who can move between conversations instead of leaving one entrance overstaffed and another unattended. Test the staffing plan on the floor plan and make sure team members can see one another before fixing the headcount.
Before You Approve the Island-Booth Concept
An island booth works when its four approaches lead people toward one understandable experience. Check the important arrival routes, protect the main action from crossing traffic, and make sure rooms, towers, screens, and products do not hide one another. The trade show booth graphics guide can then help you match each visible surface to the distance and direction from which it will be read.
When asking for an island booth plan, provide the current exhibitor manual, booth number, floor plan, product and demonstration dimensions, meeting needs, storage list, utility requirements, and the aisle directions that matter most. Those inputs make it possible to design the booth visitors will actually walk through, not only the view that looks best in a presentation.