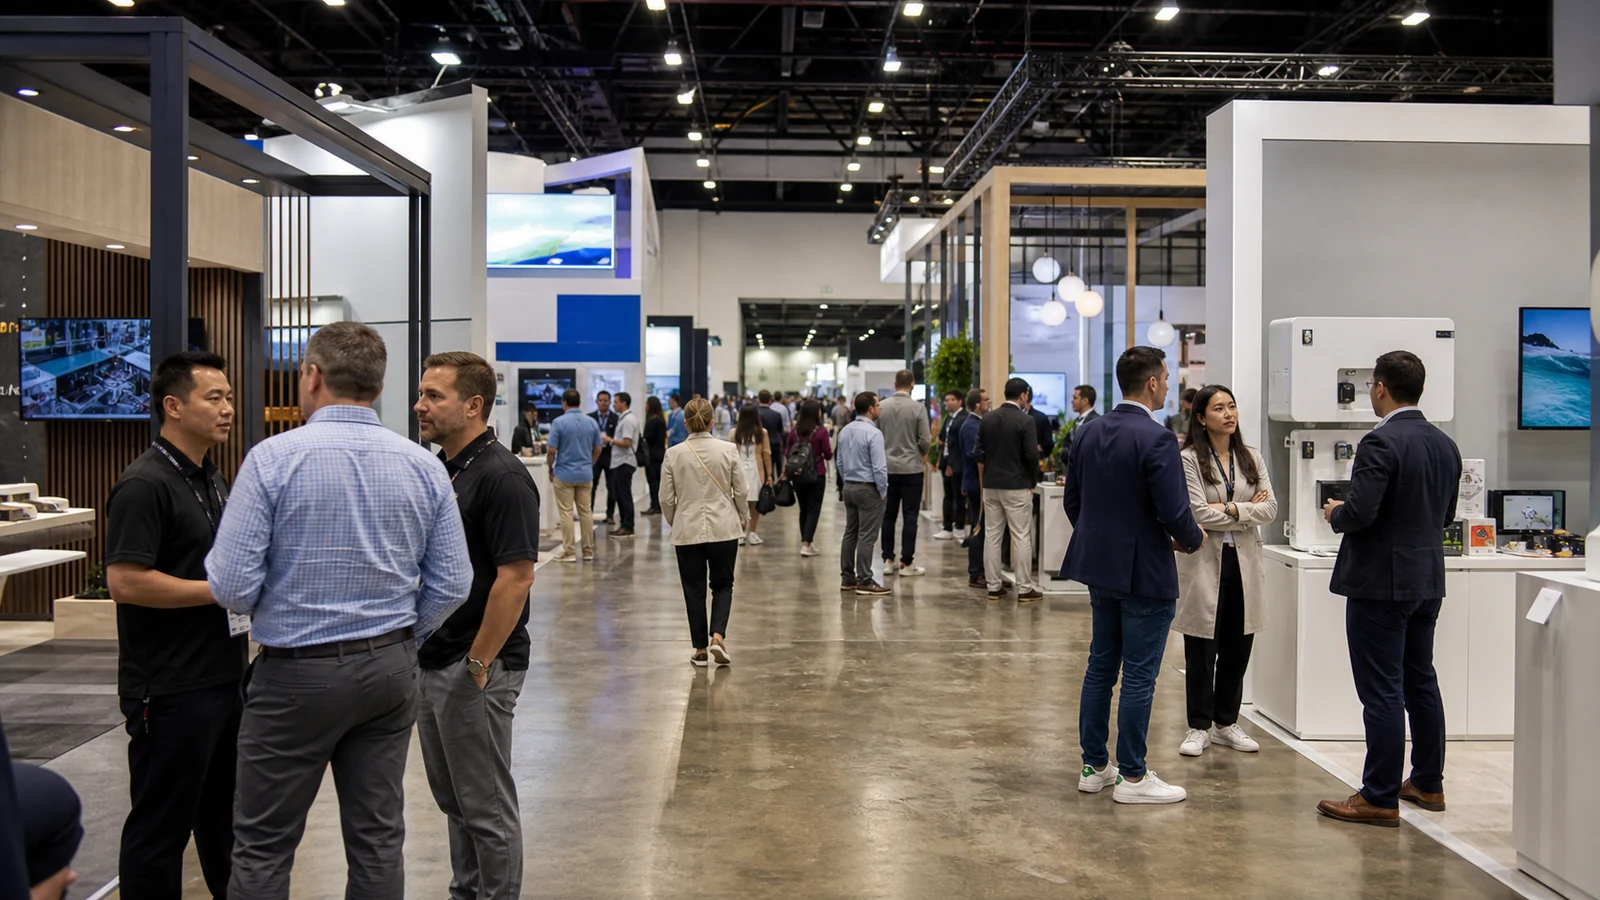
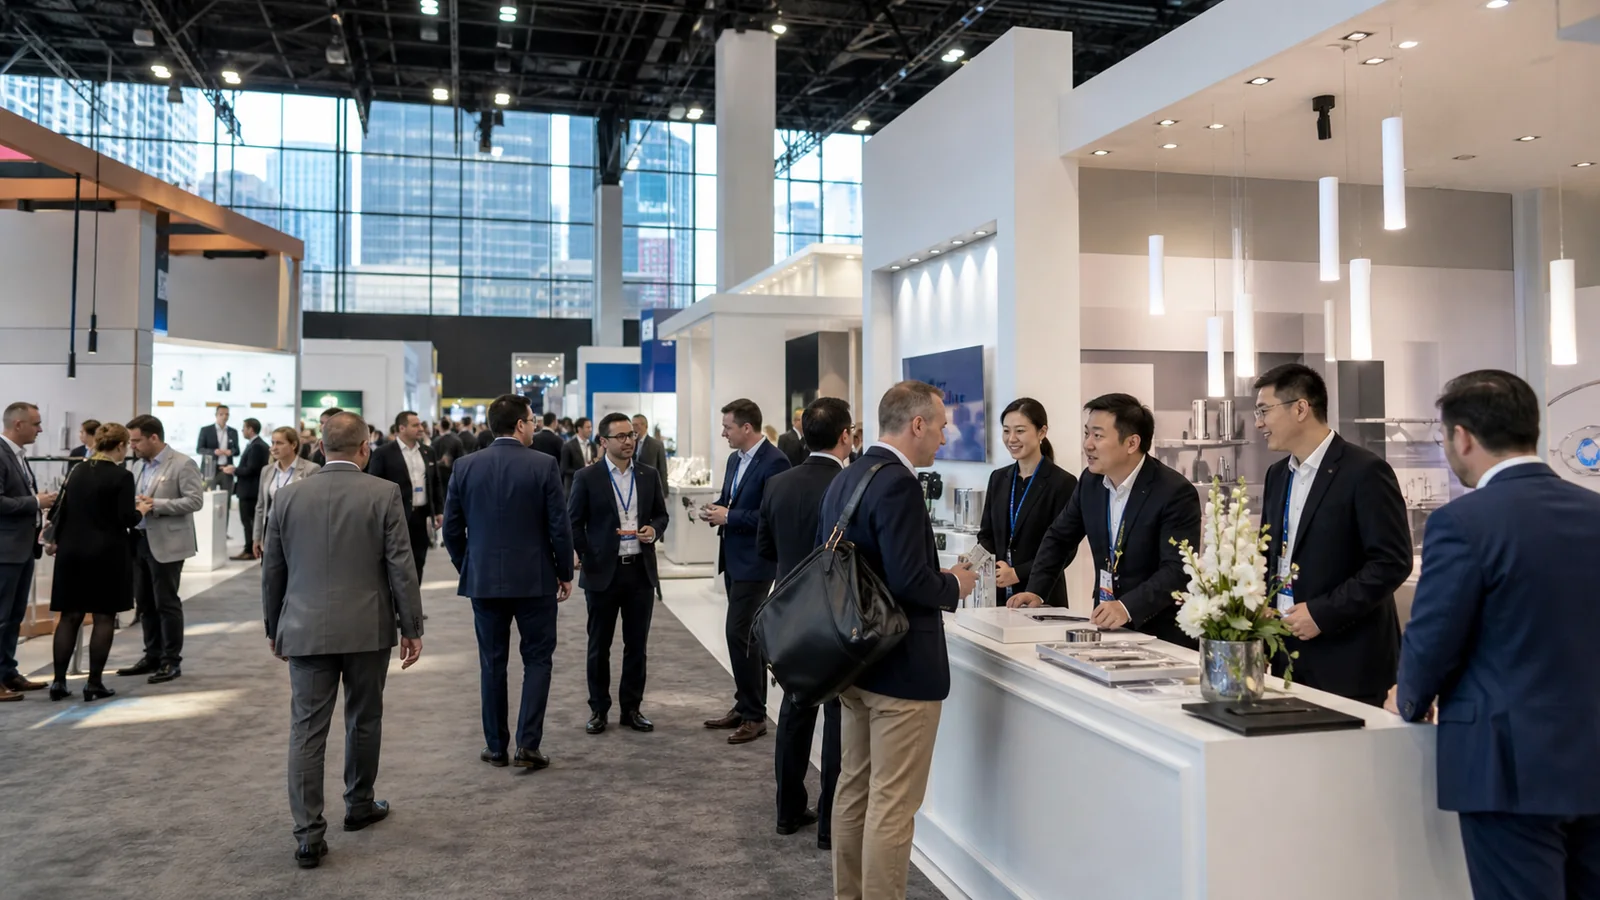
A 20×20 trade show booth gives you 400 square feet for a product, a demonstration, conversations, and a clear next step. The risk is not a lack of ideas; it is paying for a booth that looks impressive but does not help the right visitor understand, test, or discuss your offer.
If you are deciding whether a Chicago show deserves that investment, screen the event before you choose the design. Does the audience match your application? Can your product be shown under the event rules? Can your team handle the conversations and follow-up? The eight 20×20 trade show booth ideas below help you turn those answers into a practical layout.
What Changes When You Plan a 20×20 Booth for a Chicago Trade Show?
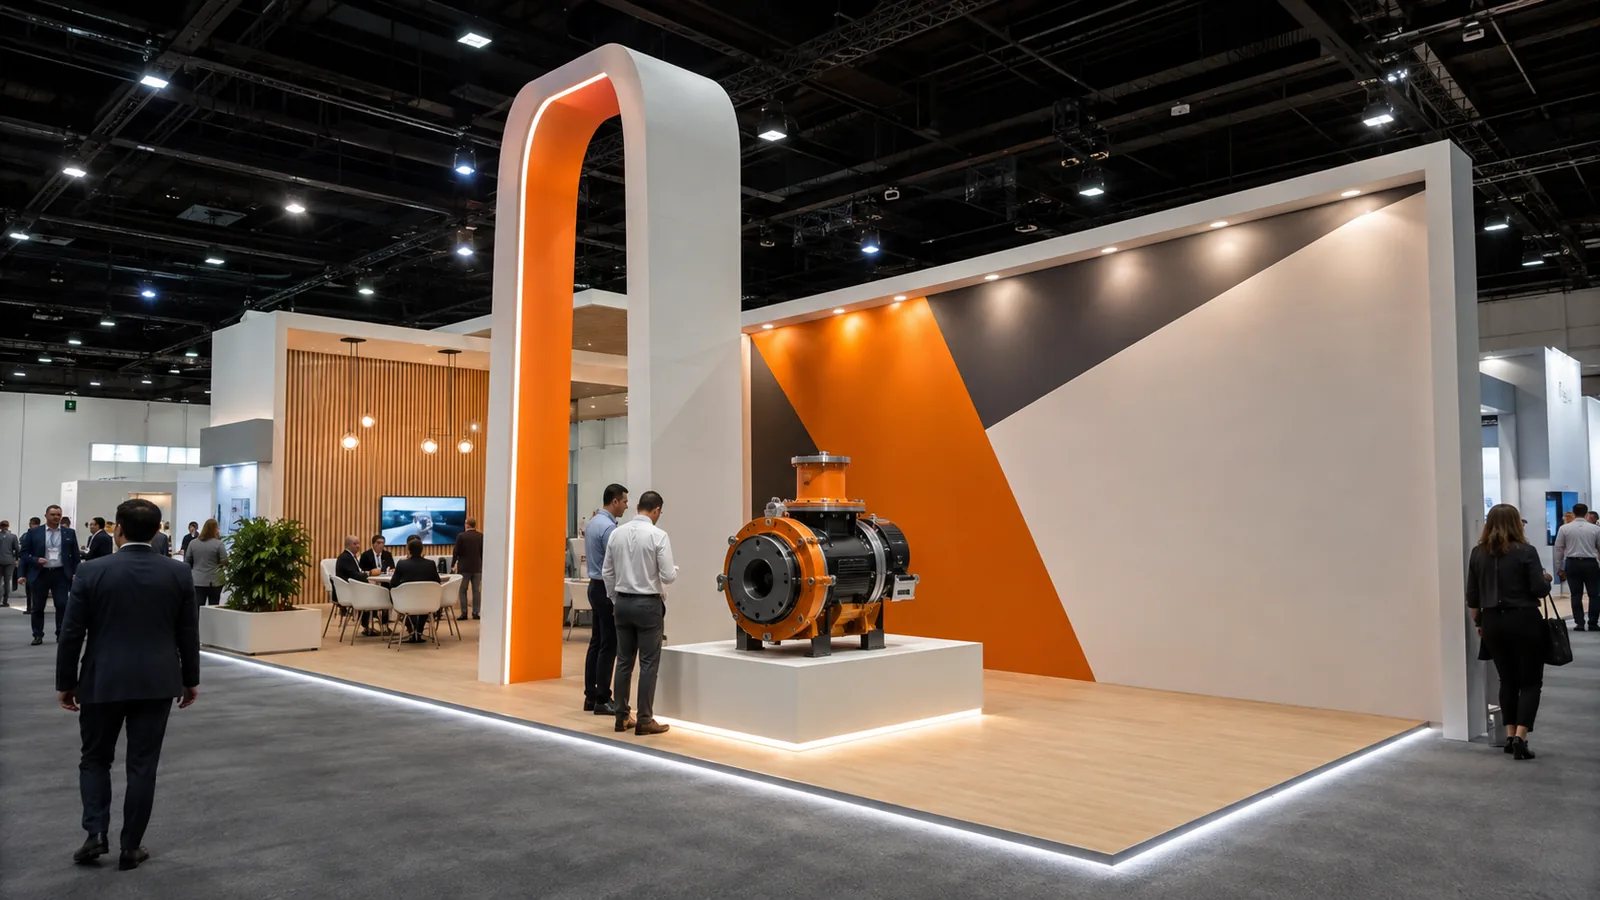
Chicago does not have one universal booth rule. Your assigned building, level, hall, booth number, open sides, neighboring structures, organizer, general service contractor, and current exhibitor manual determine what you can build. The IAEE display guidelines define an island booth by four aisle-exposed sides and a peninsula by three; a 20×20 footprint is not automatically an island.
Chicago Trade Shows Commonly Using 20×20 Booths
These are useful industry scenarios, not a claim that every exhibitor uses a 20×20 exhibit:
| Chicago show scenario | Visitor need | Layout starting point |
|---|---|---|
| Manufacturing and automation, such as IMTS at McCormick Place | See equipment, automation, integration, or technical proof | Hero island, demo theater, or comparison bar |
| Medical imaging and healthcare technology, such as RSNA Technical Exhibits | Understand a workflow, product claim, or technical application | Demo theater, comparison bar, or consultation corner |
| Foodservice and hospitality suppliers, such as the National Restaurant Association Show | Sample, compare equipment, and discuss service applications | Hands-on loop or two-speed follow-up layout |
| Commercial interiors and architecture, such as NeoCon at The Mart | Touch materials, view finishes, and discuss specifications | Corner invitation, comparison bar, or consultation corner |
McCormick Place also has building- and hall-specific service conditions. Its West Building brochure shows floor-port, catwalk, entrance, and transportation details, while South Building specifications show that freight access can vary by room. Use your assigned hall and level when placing a landmark, demo, storage, or staff route; do not reuse a generic McCormick Place booth design.
Choose the Visitor Job Before You Choose the Visual Feature
Decide what a good visitor should do first: identify a physical product, watch a short demo, test a sample, compare options, start a conversation, or move into a scheduled meeting. Give that job the best position in the plan.
A screen, private room, product tower, and hospitality counter can all look attractive, but each takes sightline, floor space, staff attention, and services. Keep one primary job and make the other features support it. This simple decision is more useful than starting with a list of furniture.
Open-Access Ideas for a 20×20 Booth
The Four-Side Product Island with One Clear Hero
Core layout: Keep four approaches open and place one hero product or working sample at the center or slightly off-center. Use a small service pocket at the rear only if the floor plan allows it.
Best for: An island booth where visitors need to inspect a physical product from several aisles.
Why it works: A passerby can enter, orient, inspect, and leave without finding a formal front. One hero also gives your staff a consistent explanation point.
Watch for: Too many products, furniture, or cable routes can turn the center into an obstacle. Draw the product in use, with doors open and staff standing beside it, before approving the island booth design.
The Two-Approach Corner or Peninsula Invitation
Core layout: Give the long face the main message and use the corner or secondary face for a second invitation. Put storage and staff access on the rear or closed side.
Best for: A corner booth layout or peninsula with two useful aisle directions.
Why it works: Visitors from either approach know where to begin, while the open turn lets them see into the booth.
Watch for: Trying to make every face equally dense can block the corner. Use one visual thread—color, material, or product detail—rather than repeating the same wall on every side.
Visibility Idea for a Large Chicago Hall
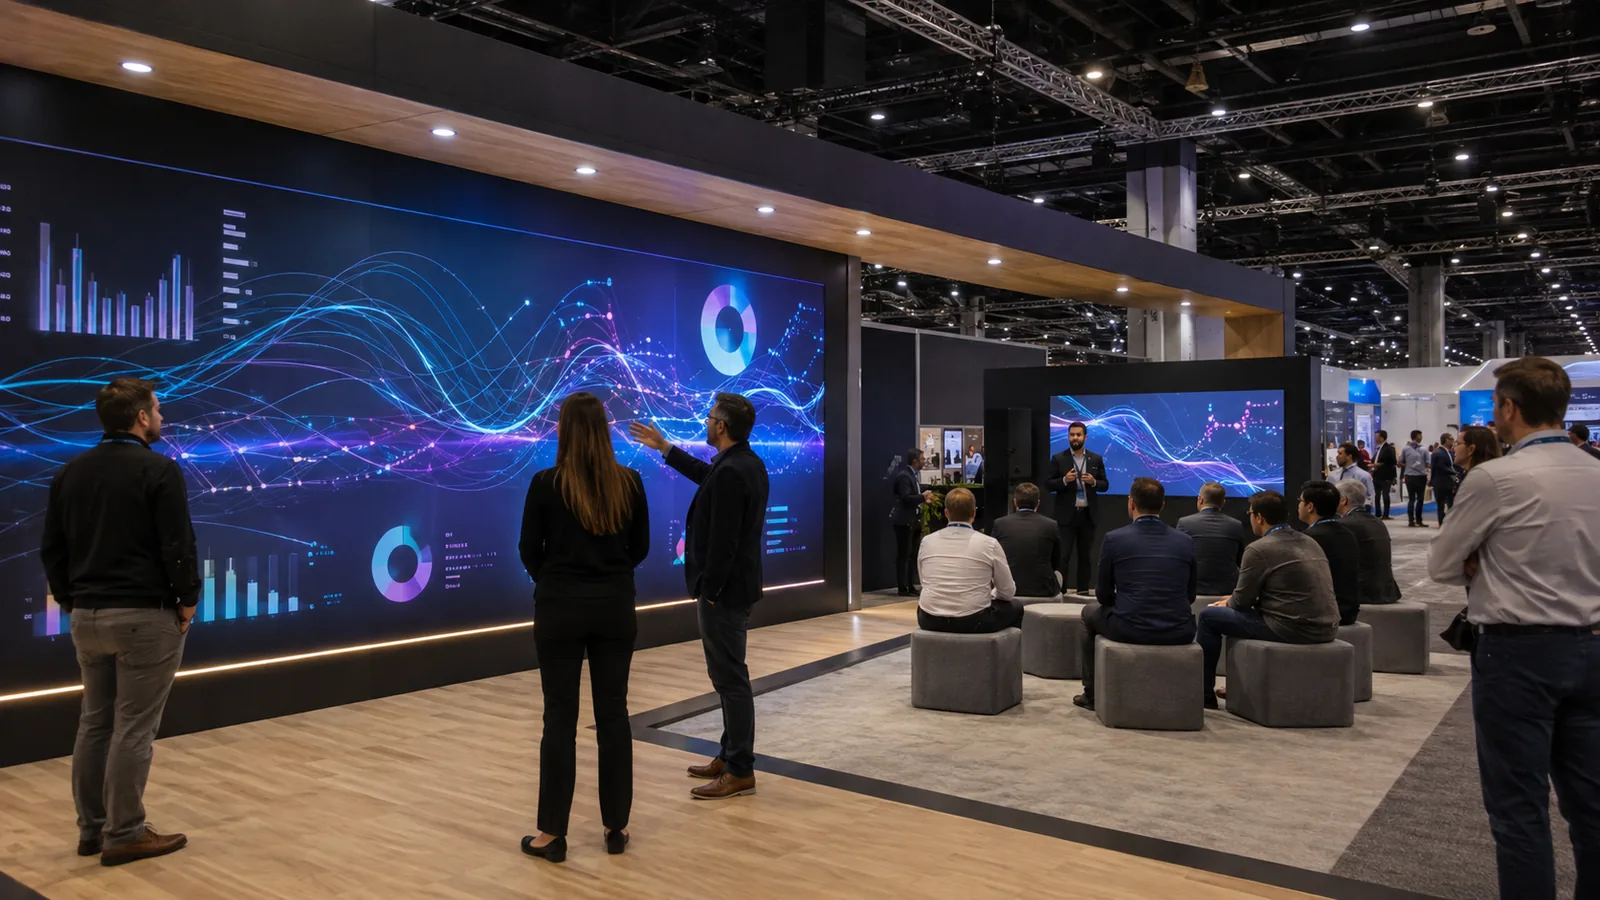
The Long-Hall Landmark with an Open Ground Plane
Core layout: Use one approved tower, hanging sign, or backlit element for distance recognition. Keep the ground plane low and the first few feet open for stopping and turning.
Best for: A large hall where people need to locate your booth before they can read product detail.
Why it works: One landmark improves wayfinding without filling the floor with structures.
Watch for: Height and rigging are event-specific. Treat the landmark as a design option that needs the current manual, engineering, and approval—not as a default Chicago requirement.
Demo and Hands-On Ideas for a 20×20 Booth
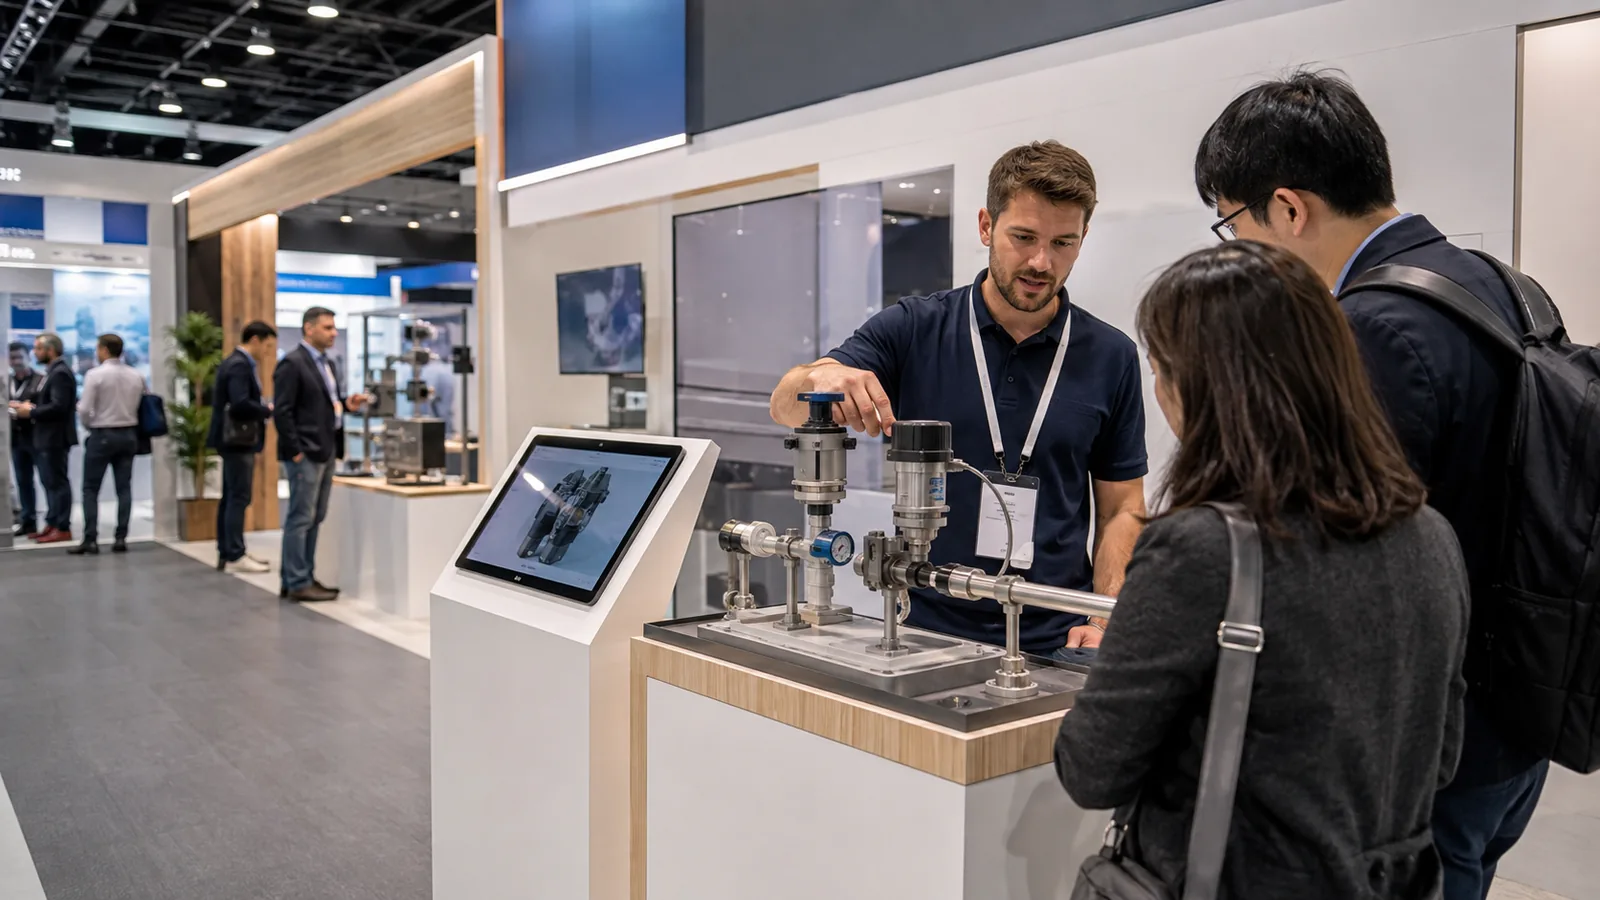
The Demonstration Theater with a Side-Flow Buffer
Core layout: Place the demo counter or screen along one side, keep the audience inside the booth, and reserve a side buffer for entering, waiting, and leaving.
Best for: Equipment, software, or processes that are easier to understand in a repeatable sequence.
Why it works: A short invitation can lead to proof, a question, and a handoff to a staff conversation. Scheduled micro-demos prevent one presentation from taking over the whole floor.
Watch for: Audience size, sound, power/data, operator position, and reset time. A screen loop without a product question is not a demo strategy.
The Hands-On Perimeter Loop
Core layout: Place touchable samples or test points around the perimeter and leave the center for turning, observation, and staff coverage.
Best for: Products that visitors must try, compare, or understand one component at a time.
Why it works: Each station can answer one question and point to a next step without requiring a formal presentation.
Watch for: More stations create more cleaning, replenishment, reset, and coverage work. Simulate several people stopping at once so queues and cables do not spill into the aisle.
Product Comparison and Proof Idea
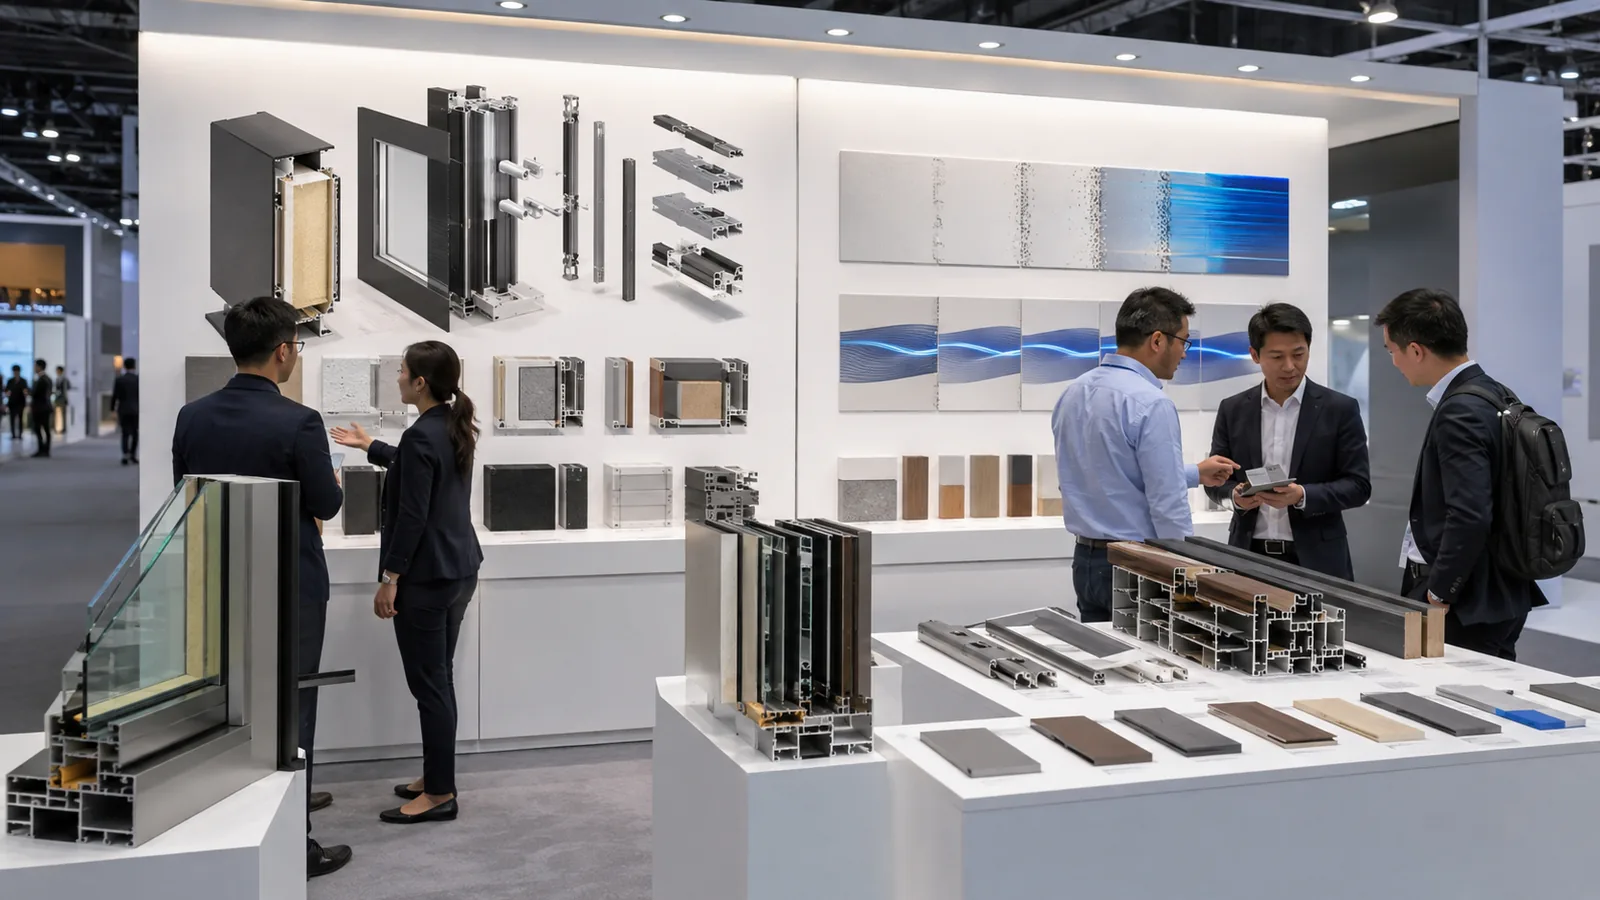
The Side-by-Side Comparison Bar
Core layout: Use a linear sample wall or counter with two, or a deliberately small set of, options in one visual field. Put detailed specifications at the close-reading point.
Best for: Components, variants, or systems whose differences affect a real buying decision.
Why it works: Visitors can see the difference before a staff member explains the technical detail.
Watch for: A comparison bar can become a catalog. Select the few dimensions that change the decision, label samples consistently, and confirm any test result or product claim before graphics production.
Meeting and Hospitality Ideas for a 20×20 Booth
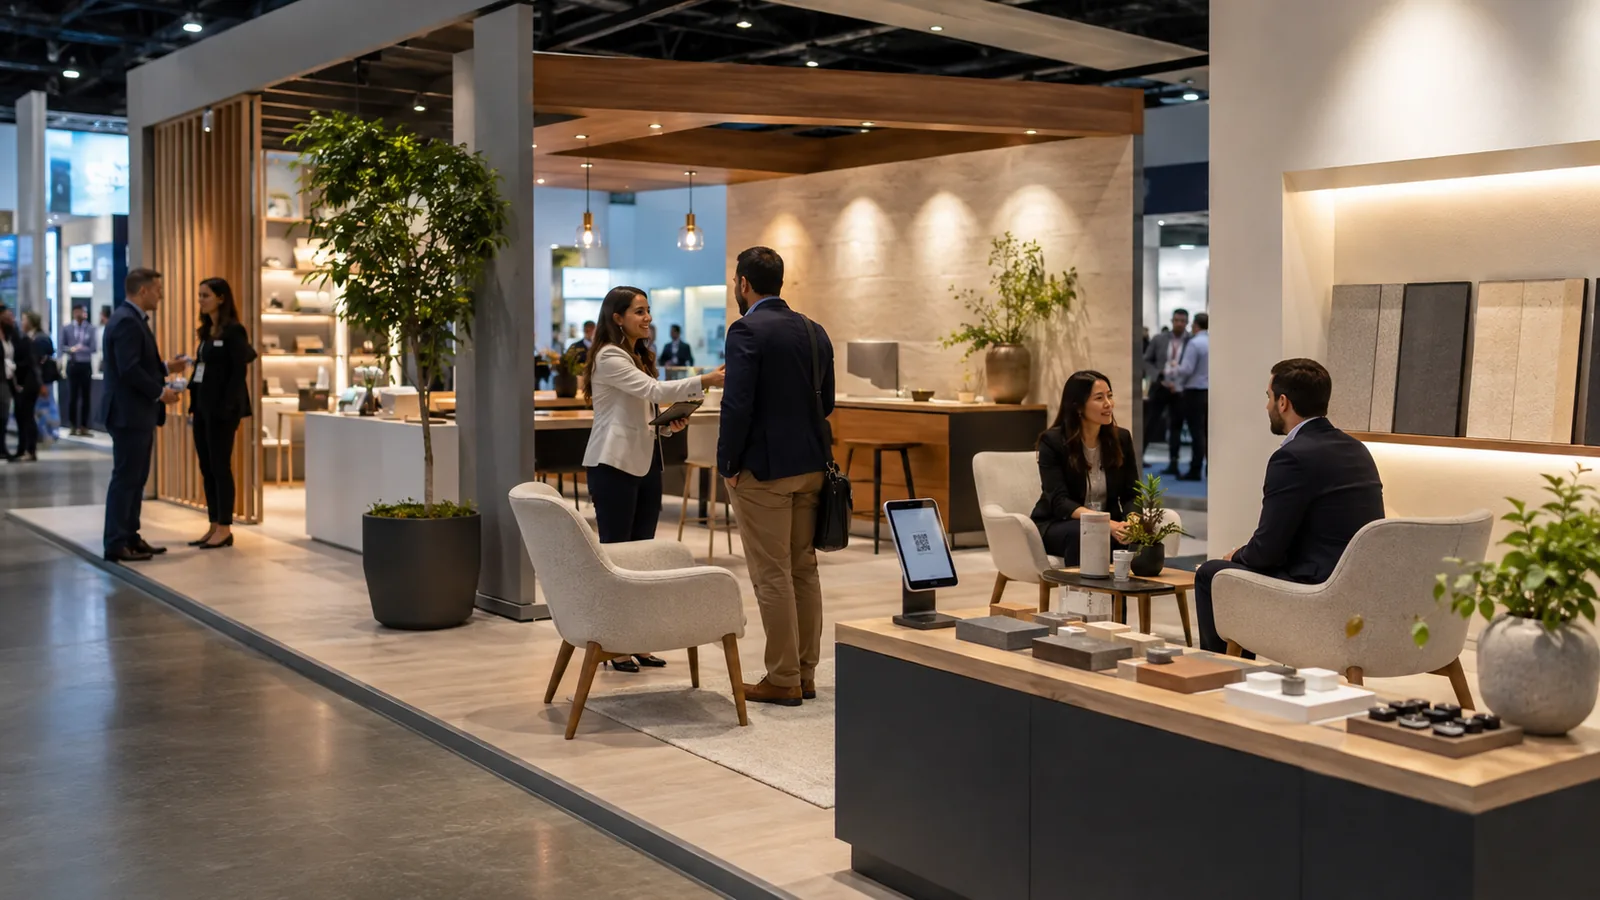
The Consultation Corner with a Visible Proof Spine
Core layout: Put a semi-private meeting corner at the rear or side, while keeping a product, application image, or approved proof point visible from the aisle.
Best for: Technical, healthcare, industrial, or complex service conversations that need focus.
Why it works: Partial screening signals a serious conversation without making the booth look closed.
Watch for: Opaque walls and oversized furniture can hide your offer. Keep the entry clear and give visitors a visible route back to the open floor.
The Two-Speed Hospitality and Follow-Up Layout
Core layout: Use one side for browsing, samples, or a brief welcome and the other for visitors with a defined interest or appointment. Connect the two with a visible staff handoff.
Best for: Teams balancing walk-up conversations with scheduled meetings.
Why it works: A visitor can move from a short interaction into a deeper conversation without crossing a queue or service area.
Watch for: Hospitality should support the conversation, not become a pantry or storage zone. Confirm any food, beverage, waste, and service requirements for the specific show.
8 ideas at a glance
| Idea | Suggested zoning | Visual focus | Visitor flow | Furniture/display |
|---|---|---|---|---|
| 1. Hero island | Center hero, open perimeter | One working product | Enter → inspect → talk → exit | Product plinth, slim info blades |
| 2. Corner invitation | Long-face message, turn display | Message plus open corner | See → turn → engage | Low counter, corner rack |
| 3. Hall landmark | Approved tower, open ground | One distance identifier | Spot → read close message → enter | Sign/tower, low plinth |
| 4. Demo theater | Side demo, audience pocket | Live proof sequence | Notice → watch → ask → handoff | Demo counter, screen |
| 5. Hands-on loop | Perimeter stations, center turning | Touch/test point | Choose → try → compare | Sample ledges, test fixtures |
| 6. Comparison bar | Linear samples, staff point | Two or few options | See difference → inspect → discuss | Labeled counter, sample wall |
| 7. Consultation corner | Semi-private rear, proof spine | Product/application proof | Quick question → focused talk | Partial screen, small table |
| 8. Two-speed follow-up | Browsing side, meeting side | Short-to-deep handoff | Browse → qualify → appointment | Standing ledge, compact lounge |
Use the table as a sketching prompt. Draw the visual focus first, then a visitor path with arrows, then the furniture or display that enables the action. If the arrows cross the service pocket, audience, or meeting entry, the idea needs editing before you add finishes. This quick sequence keeps the article’s design ideas connected to a real 400 sq ft plan while leaving the final dimensions to your product, staff, and show rules.
For visual review, ask for one aisle view and one occupied view for the concept you favor. You should be able to point to the message, product or demo, conversation point, and route between them without explaining the drawing. That is the minimum visual test before you invest in custom finishes or additional technology. If you cannot explain the route in one sentence, simplify the layout.
Which Idea Fits Your Chicago Show?
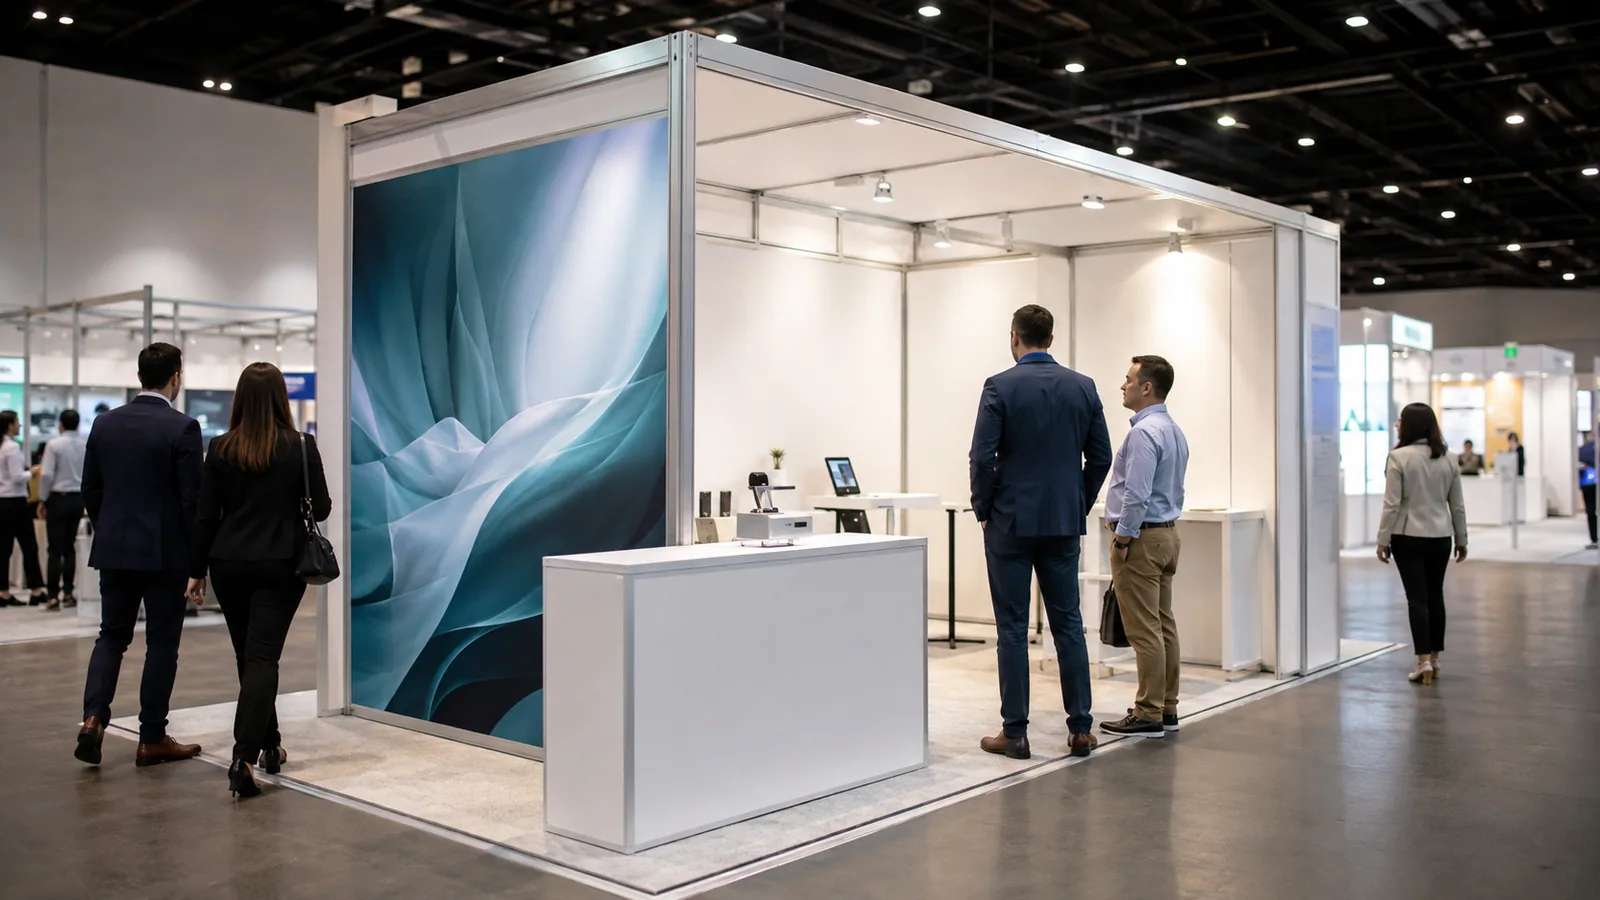
Use the visitor job, budget, industry, and show format together. The table gives you a starting point—not a fixed specification.
| Decision filter | Starting direction | Protect first |
|---|---|---|
| Controlled budget or first Chicago appearance | Idea 1, 2, or 6 | One hero, readable graphics, open approach, and simple services |
| Demo-led program | Idea 4 or 5 | Equipment clearance, power/data, audience buffer, and reset |
| Meeting-led or technical program | Idea 7 or 8 | Conversation privacy, visible proof, staff handoff, and storage |
| Industrial equipment or components | Idea 1, 4, or 6 | Product access, weight/mounting, operation, and technical comparison |
| Software or technology | Idea 4, 5, or 8 | Data, screen angle, device reset, sound, and appointment flow |
| Healthcare or regulated application | Idea 6 or 7 | Approved claims, privacy, cleaning, accessibility, and controlled explanations |
| Foodservice or sampling | Idea 5 or 8 | Sampling approval, sanitation, refrigeration/water, waste, and replenishment |
| Island, peninsula, or corner assignment | 1 for four sides; 2 for two/three approaches | The actual floor plan and the strongest visitor approach |
Starting zoning ranges for a 400 sq ft trade show booth
Use these only to sketch a first 20×20 booth layout. They are not code, capacity, or a universal venue rule, and they are not additive:
- Demo zone: about 100–140 sq ft, including operator, viewer, equipment, and reset space.
- Semi-private meeting zone: about 80–120 sq ft for a compact table or short-conversation positions.
- Storage/service zone: about 40–70 sq ft when samples or consumables need daily access.
- Hero product or comparison zone: about 60–100 sq ft, depending on inspection sides and mounting.
- Primary planning path: sketch a 4–6 ft clear route, then verify the show’s accessibility and egress requirements.
A practical budget framework
Use four scope levels when you compare a custom 20×20 exhibit, modular booth, or Chicago trade show booth rental proposal:
- Basic rental display: reusable structure, focused graphics, essential lighting, and limited furniture.
- Mid-range modular booth: more finished surfaces, product display, meeting furniture, and moderate AV.
- Custom exhibit: engineered structure, custom graphics, integrated product zones, and a defined reuse plan.
- High-complexity demo booth: equipment, power/data, sound control, rigging or tall elements, technical labor, and additional approvals.
There is no verified universal Chicago price range that would make these labels a quote. Ask each supplier to separate design, graphics, AV/lighting, utilities/rigging, freight/material handling, installation/dismantling, travel, and exclusions before comparing totals.
How to Turn the Concept Into an Approved Build?
Use a short pre-build checklist:
- Confirm the show, date, booth number, building, level, hall, open sides, neighbors, floor plan, and current exhibitor manual.
- Check height, rigging, enclosure, flooring, fire, accessibility, AV, power, network, and product-specific requirements before artwork or fabrication.
- Review the occupied plan with the real product, staff, furniture, demo viewers, storage doors, screens, cables, and queues.
- Align packing, freight, material handling, installation, dismantling, and on-site contacts with the same plan.
McCormick Place advises exhibitors to coordinate freight and truck marshaling with the official service contractor; shipments before the licensed move-in date may not be accepted. Read the current freight guidance for the event instead of treating the booth as a normal parcel delivery.
Common Mistakes in 20×20 Chicago Booth Concepts
- Treating every 20×20 footprint as an island.
- Giving every internal request equal priority instead of choosing one visitor job.
- Showing too many products or hiding the hero behind furniture and screens.
- Designing an empty rendering that fails when doors open, chairs are occupied, or an audience gathers.
- Adding storage, power, graphics, or freight assumptions after the visual concept is approved.
- Comparing rental or custom proposals without aligning inclusions and exclusions.
Frequently Asked Questions About 20×20 Booth Ideas in Chicago
How Much Does a 20×20 Trade Show Booth Cost in Chicago?
Use a scope formula: design/engineering + rental or fabrication + graphics + AV/lighting + utilities/rigging + freight/material handling + installation/dismantling + travel/hotel + contingency. A supplier’s headline rental or build number is not the total show cost unless the responsibilities match.
How Many People Can Work in a 20×20 Booth?
There is no universal capacity. Build a staffing scenario from demo operators + hosts + meeting seats + service/replenishment roles. For example, two demo operators, two hosts, four meeting seats, and one service role is a nine-person occupied scenario, not a code limit. Test it with your actual product and furniture.
What Is the Best 20×20 Booth Layout for Product Demonstrations?
Use the demonstration theater when one repeatable sequence needs an audience buffer. Use the hands-on perimeter when visitors must try several points themselves. Choose by interaction time, queue behavior, equipment reset, and staff coverage—not by screen count.
How Early Should I Start Designing a Chicago Trade Show Booth?
Start when the organizer releases the floor plan and exhibitor manual, then work backward from each submission and service deadline: visitor job and inputs → layout review → engineering and graphics → approvals and orders → prebuild, freight, and staffing. The event’s dates control; a generic “weeks before” promise does not.
What Flooring Is Best for a Trade Show Booth?
Choose flooring for walking comfort, cable protection, cleaning, product weight, edges, and the venue-approved system. A raised floor can hide services but may affect accessibility, door swings, freight, and installation. Confirm the show specification before ordering.
Final Thoughts
The best Chicago 20×20 trade show booth idea is not the one with the most elements. It makes your main visitor action easy to see, easy to start, and practical to deliver under the current show rules.
Need help turning one of these 20×20 concepts into a buildable Chicago booth? KingExhibits can help with booth design, custom fabrication or rental, graphics, logistics, installation, dismantling, and show-site coordination, with the final scope confirmed against your show manual. Send us your floor plan, booth number, and primary visitor action to start a focused layout review.