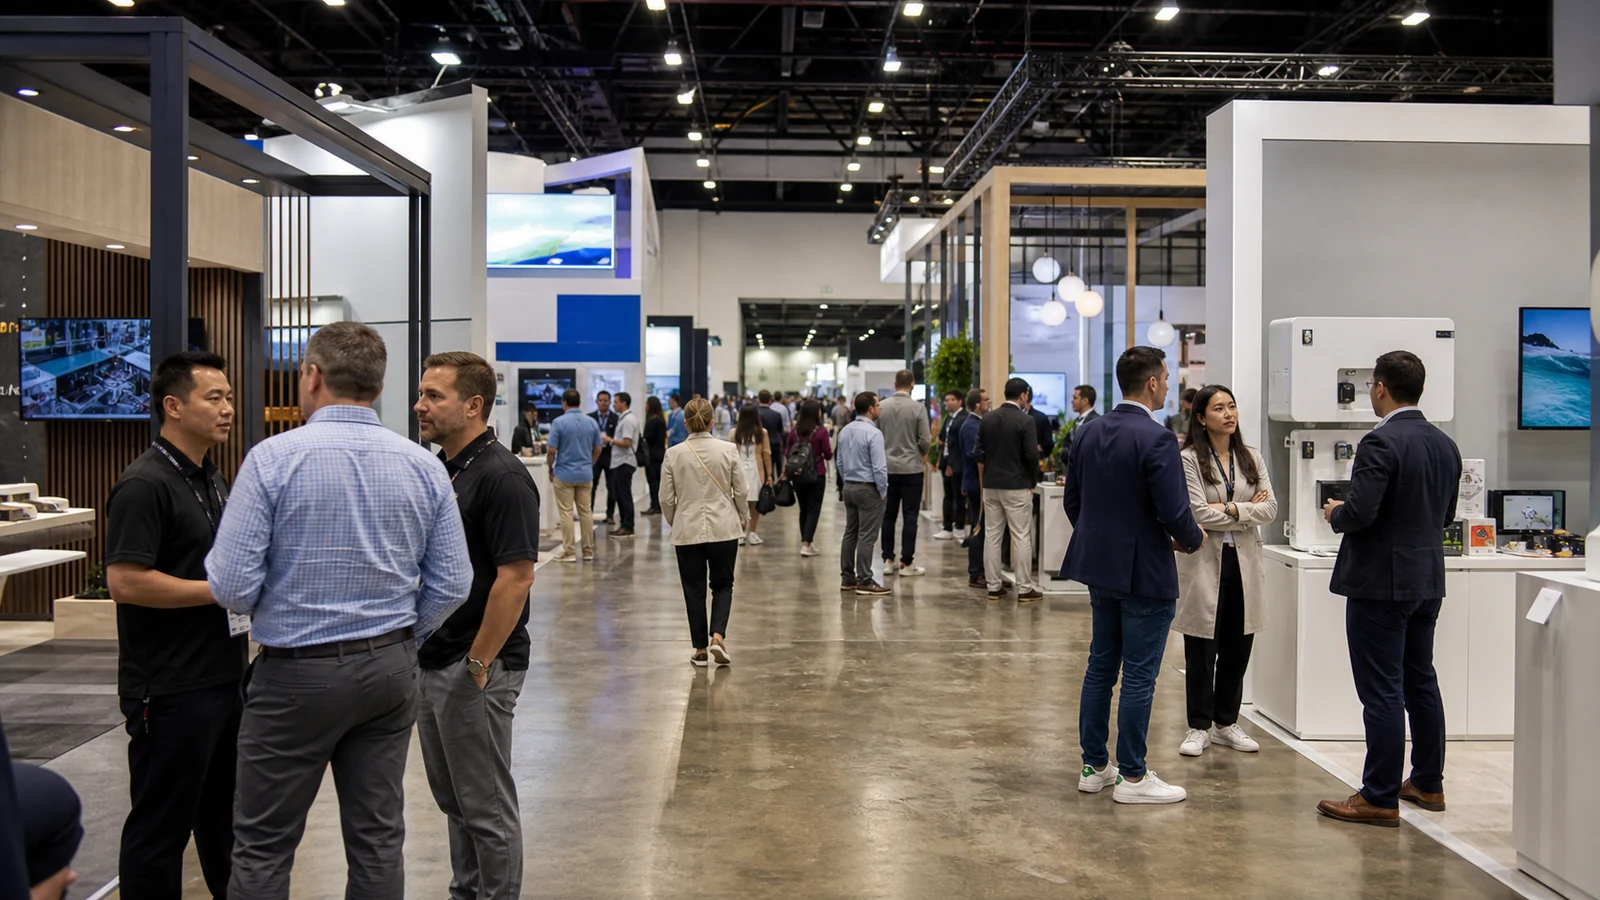
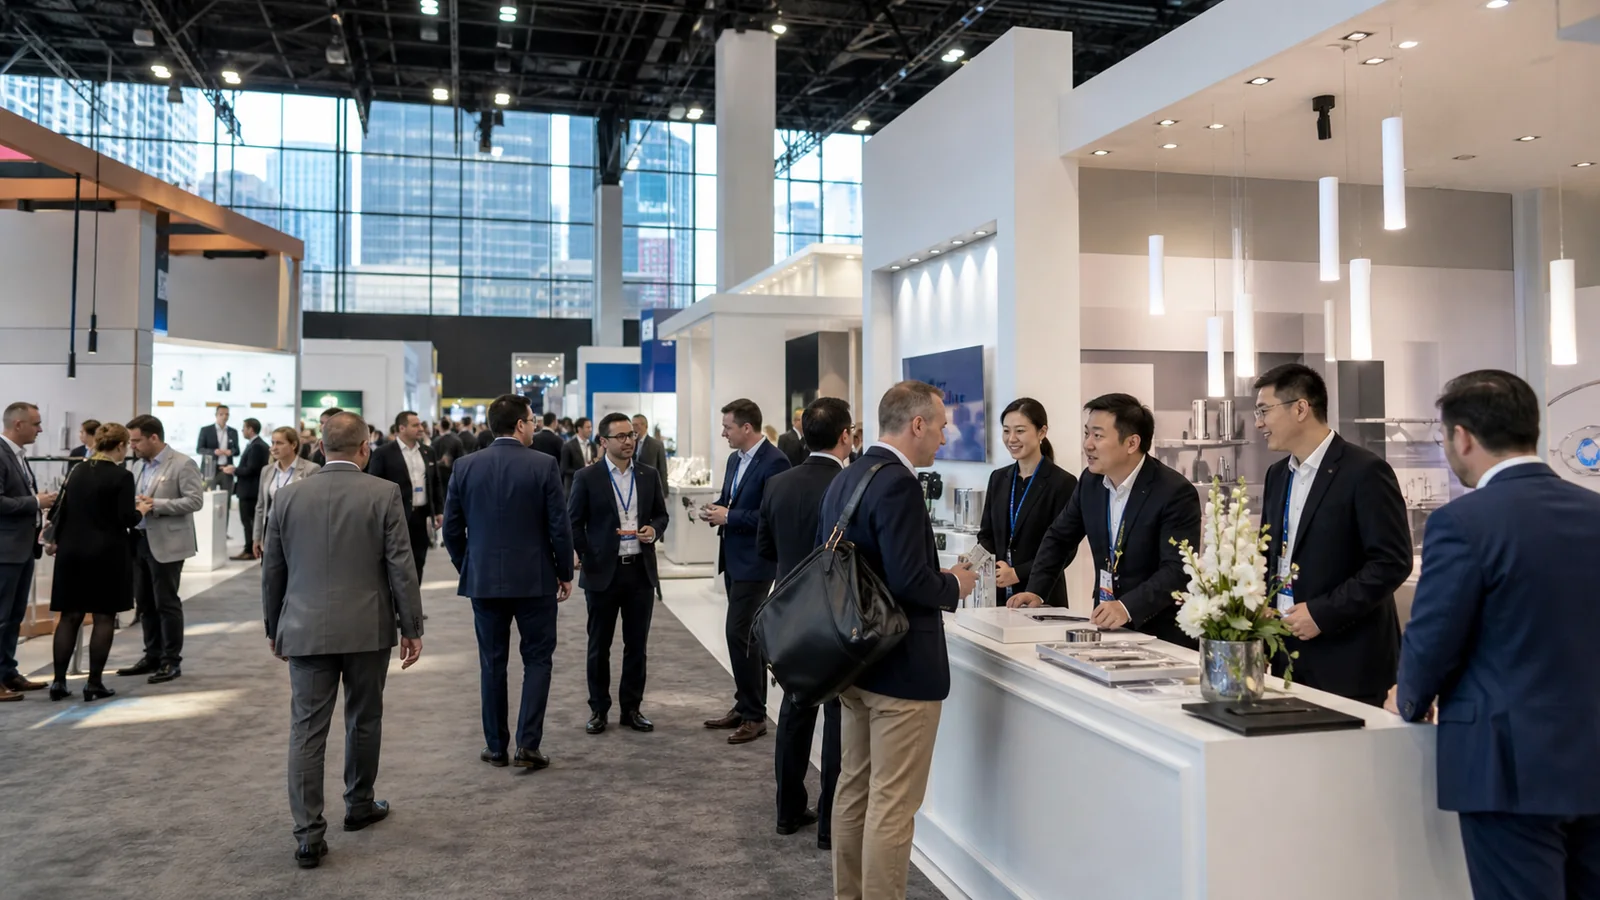
A 10×10 booth can look complete in a rendering and still fail on the show floor. Put one counter across the entrance, add two chairs, and the 100-square-foot space may be full before a visitor steps inside. This guide shows how to choose the booth's job first, then build a workable layout around it.
Begin With One Primary Visitor Action
A useful 10×10 trade show booth is built around one primary visitor action. It may support a second action, but it cannot work as a showroom, theater, reception desk, stockroom, and private meeting room at the same time.
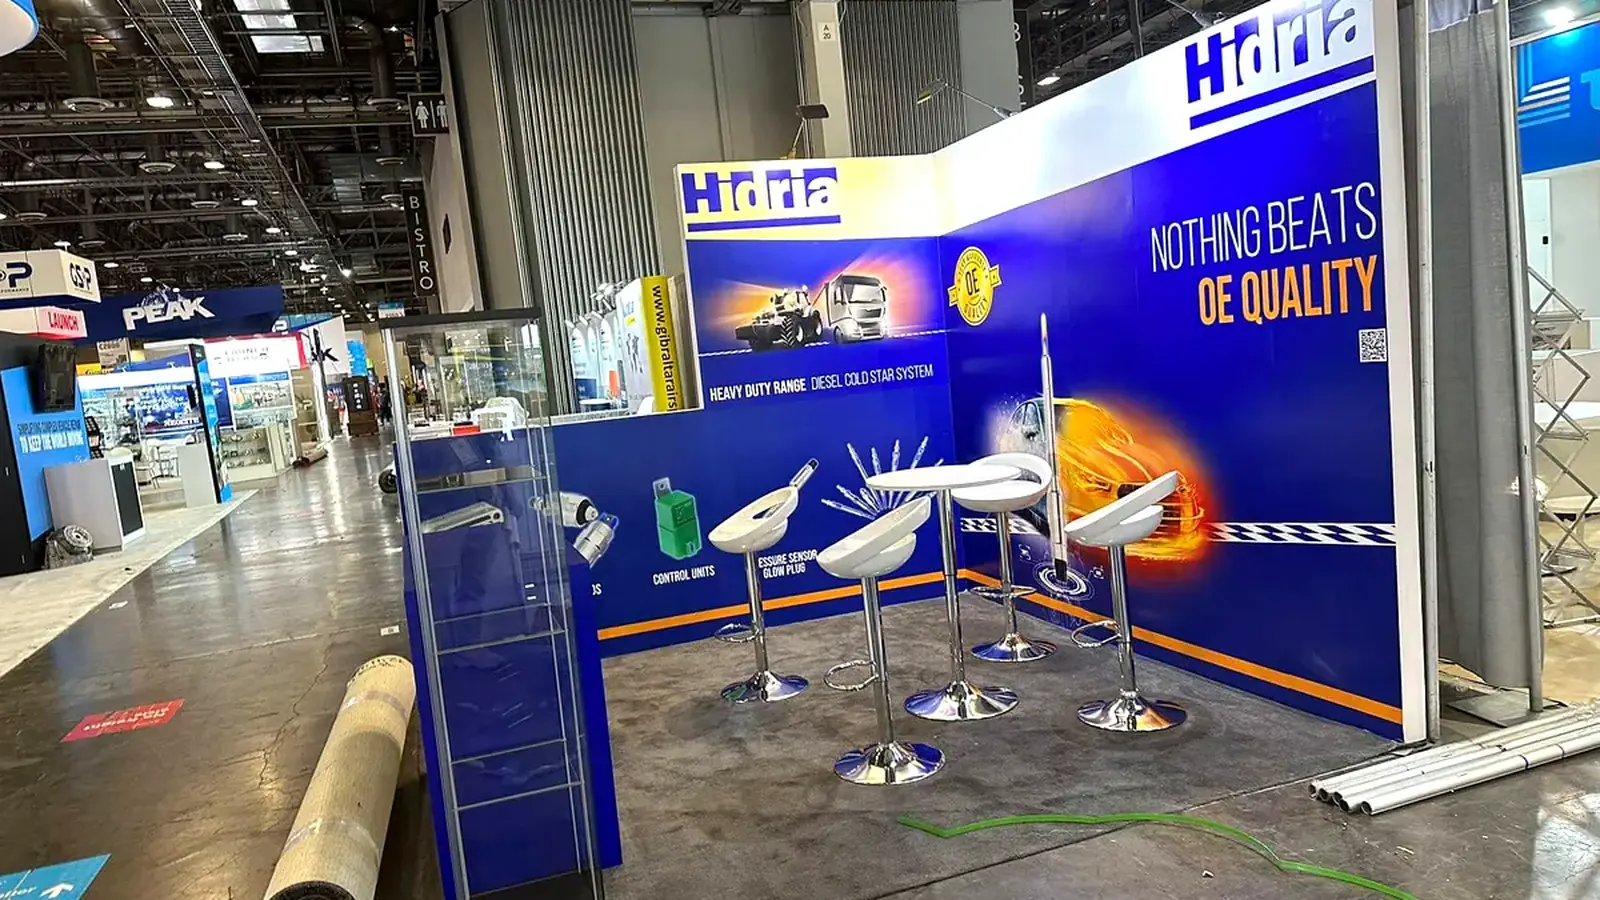
Start by completing this sentence:
When the right person stops, we want them to ______ before they leave.
“Learn about our company” is too vague. “Compare two material samples,” “see the machine complete one cycle,” “identify the right product family,” or “book a technical meeting” gives the designer something concrete to organize.
| Primary job | Give the space to | Remove or reduce |
|---|---|---|
| Start qualified conversations | Open entry, one clear message, standing discussion point | Large table, lounge seating, brochure racks |
| Compare samples | Well-lit comparison surface, labels, accessible sample storage | Full catalog display, unrelated giveaways |
| Run a compact demonstration | Demonstration counter, viewer position, power and cable route | Decorative furniture, a second competing screen |
| Present one feature product | Product sightline, safe viewing space, supporting graphic | Secondary products that weaken the focal point |
This is the most important design decision in the guide. If every item is described as essential, the priority has not been decided yet.
Read the Booth Rules Before You Draw the Layout
Most 10×10 spaces are linear, or inline, booths with neighboring exhibits on both sides and one side open to the aisle. A corner booth has a second open aisle side, but it may still be governed by the linear-booth rules.
The IAEE Guidelines for Display Rules and Regulations illustrate a common North American line-of-sight model. In the example, a 10-foot-wide by 10-foot-deep linear booth may use an 8-foot height in the rear 5 feet. Display materials in the front 5 feet are limited to 4 feet. The same document also explains that an organizer may instead allow cubic-content rules.
Treat those dimensions as a planning reference, not permission. Your show organizer, facility, and exhibitor service manual control the actual project. Confirm at least these items before approving a rendering:
- maximum heights and side-wall setbacks;
- whether hanging signs or overhead elements are allowed;
- fire-safety and material requirements;
- electrical order location and cable treatment;
- flooring requirements;
- storage and empty-container rules;
- demonstration, sound, sampling, and machinery restrictions.
Accessibility also belongs in the first layout, not the final correction. The 2010 ADA Standards use a 36-inch minimum clear width for accessible walking surfaces in the situations covered by the standard. The complete application depends on the facility and design, but a counter, literature rack, or loose case should not turn the only usable entry into a narrow gap.
Choose a Layout That Matches the Job
You do not need dozens of floor plans. Four layout families cover most serious B2B uses of a 10×10 booth. The right one depends on where the product explanation happens.
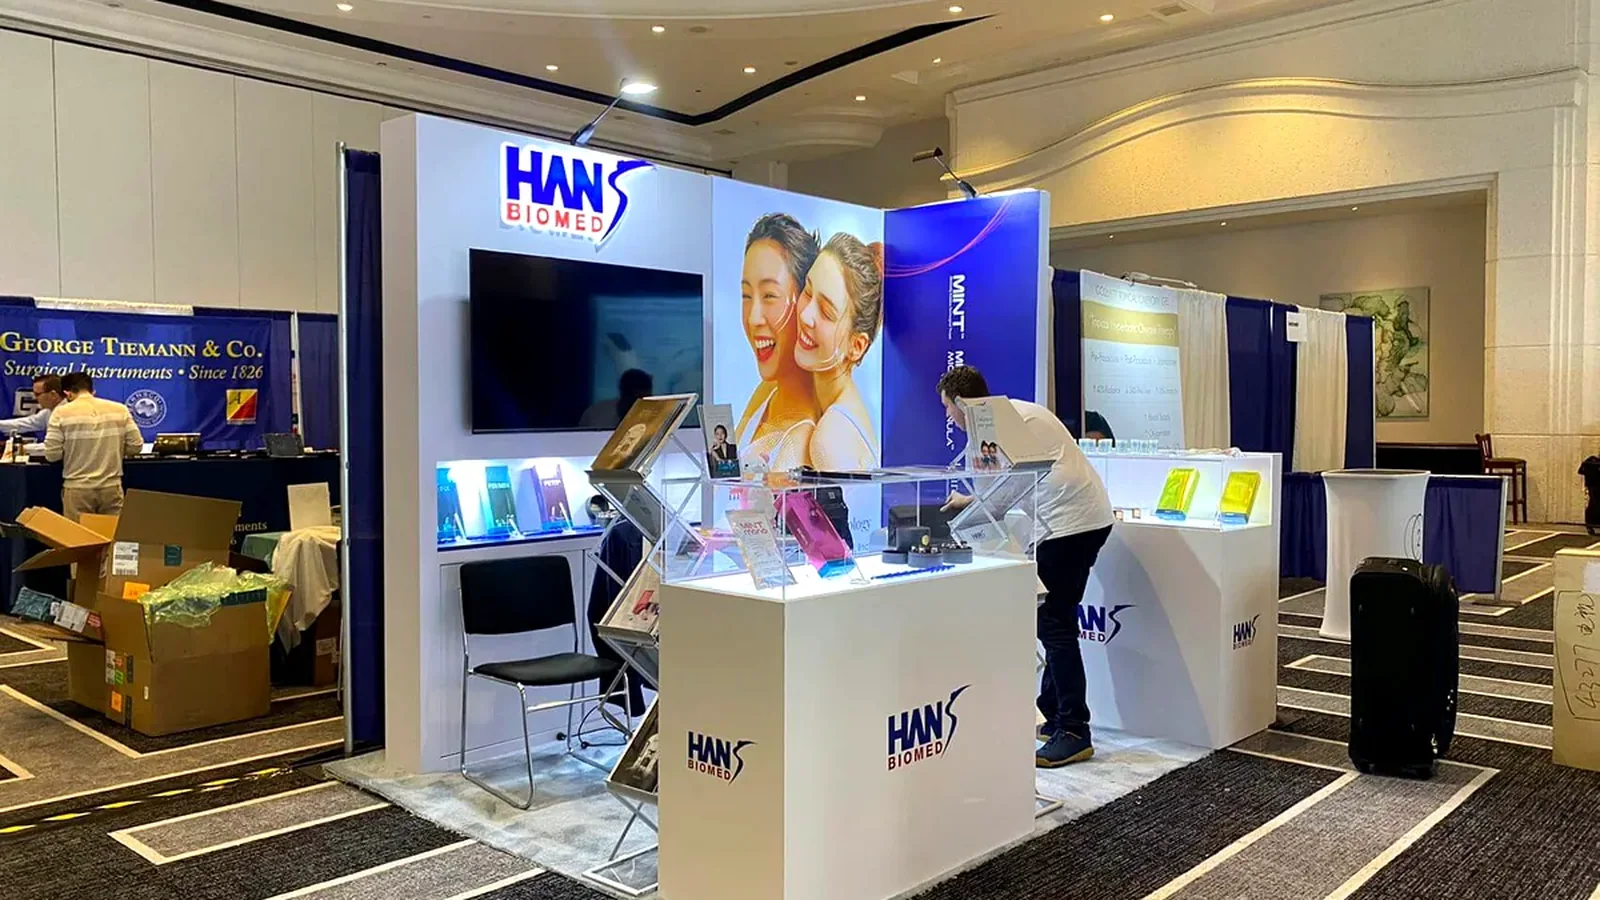
1. Open Conversation Layout
Place the main graphic across the rear and move a narrow counter or cabinet to one side. Keep the center open so a visitor can step off the aisle without walking around a table.
This layout works when the offer is explained through a short conversation rather than a large physical display. Software, professional services, logistics, and compact technology products often fit this model. A monitor can sit on the rear wall, but it should support the conversation rather than become a second, unrelated message.
Its main weakness is emptiness without purpose. If the wall says only a company slogan and the counter holds only brochures, the booth may be open but still give people no reason to enter. Use the rear surface to make the offer understandable, then give the visitor one clear place to continue.
2. Sample and Comparison Layout
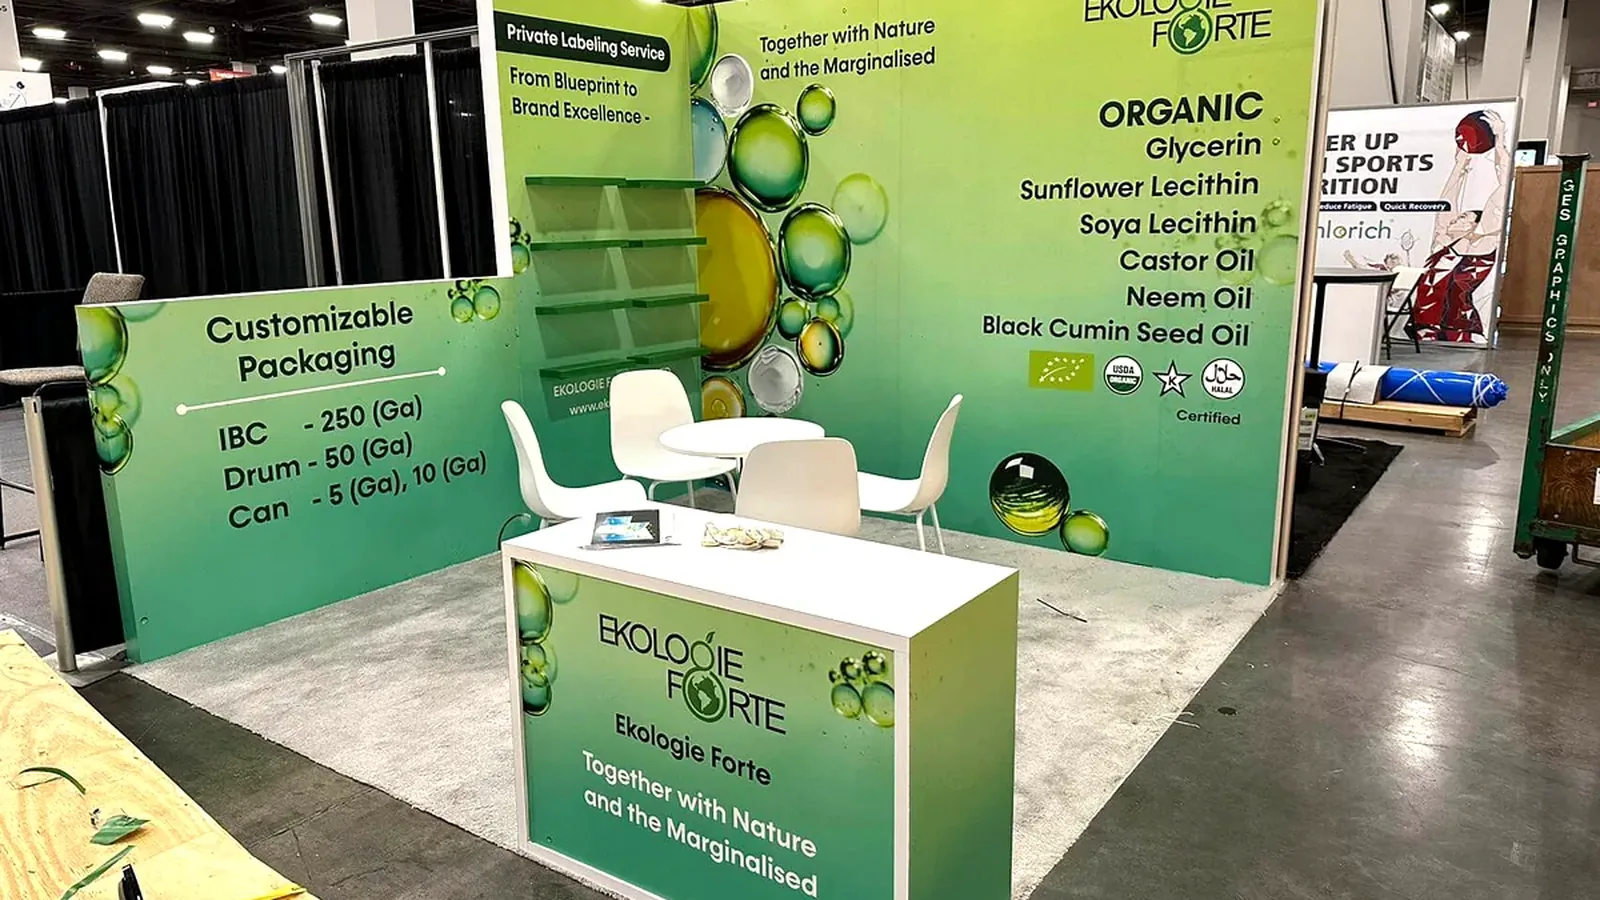
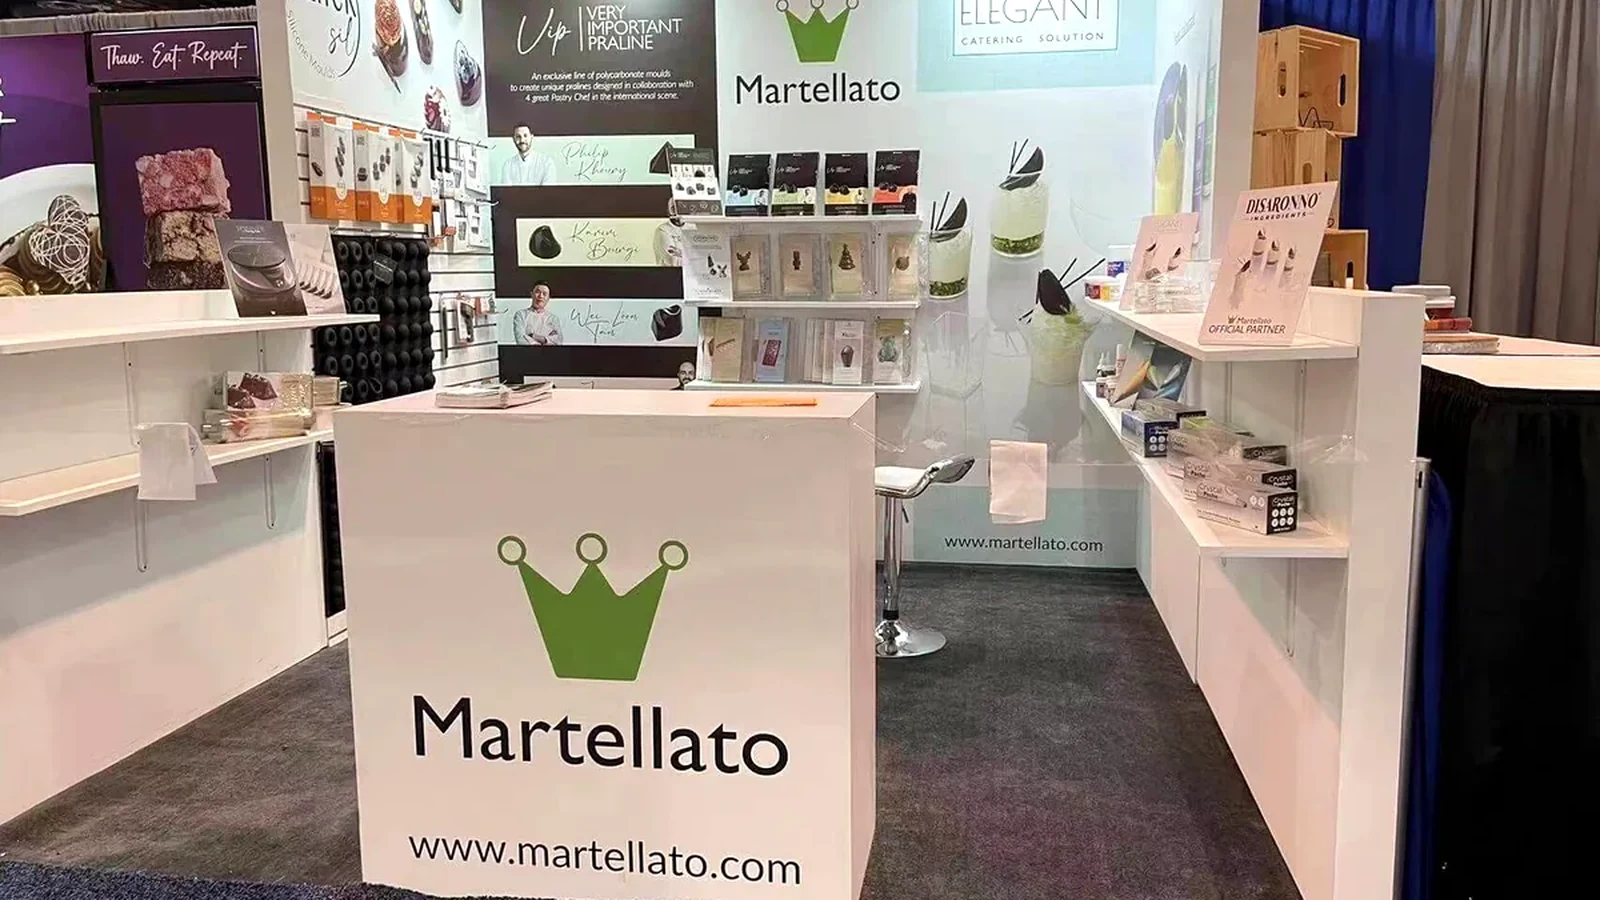
Use the rear wall for shallow shelving or mounted samples, then reserve one side surface for a comparison that can be understood quickly. Small components, materials, finishes, packaging, and ingredient-based products benefit from this arrangement.
Do not display every available option. Build the selection around the question visitors actually ask. Two finishes under the same light, three package structures opened to the same point, or a good/better/best product family is easier to discuss than a wall of internal model numbers.
Keep replenishment stock out of sight. When cartons and backup samples spread across the display surface, the product range becomes harder to read just when the booth gets busy.
3. Compact Demonstration Layout
Put the demonstration surface along one side or toward the rear, and orient the important action so both the visitor and presenter can see it. The viewing position should be inside the booth rather than in the aisle.
Design the sequence before choosing the counter. Where does the input wait? What must remain visible during the cycle? Where does finished output go? Who resets the demonstration, and where do waste or consumables go? A demo may fit physically while still failing operationally because the next cycle cannot begin without clearing the visitor area.
For software or a small device, a single shared screen usually creates a better conversation than two screens playing separate loops. For moving equipment, the product’s operating, access, power, and safety requirements may make a 10×10 footprint unsuitable even when the machine dimensions appear to fit.
4. Hero Product Layout
Let one product occupy the strongest sightline and use the wall to explain why it matters. This is the right direction when a new device, a distinctive finished product, or one representative assembly can carry the story better than a broad catalog.
The product should be visible before the visitor crosses the aisle line. Avoid parking a reception counter directly in front of it. If people need to examine more than one side, mark that viewing position in the floor plan and protect it from storage, stools, and staff standing positions.
A hero layout loses its advantage when support products multiply. Move variants to a digital selector, a sample drawer, or a follow-up document. The booth is doing its job if it starts the right technical conversation; it does not need to complete the entire catalog review on the show floor.
Make the Back Wall Answer the First Question
In a typical inline booth, the back wall is your most dependable large communication surface. It should answer the first question raised by the product or offer, not reproduce the home page.
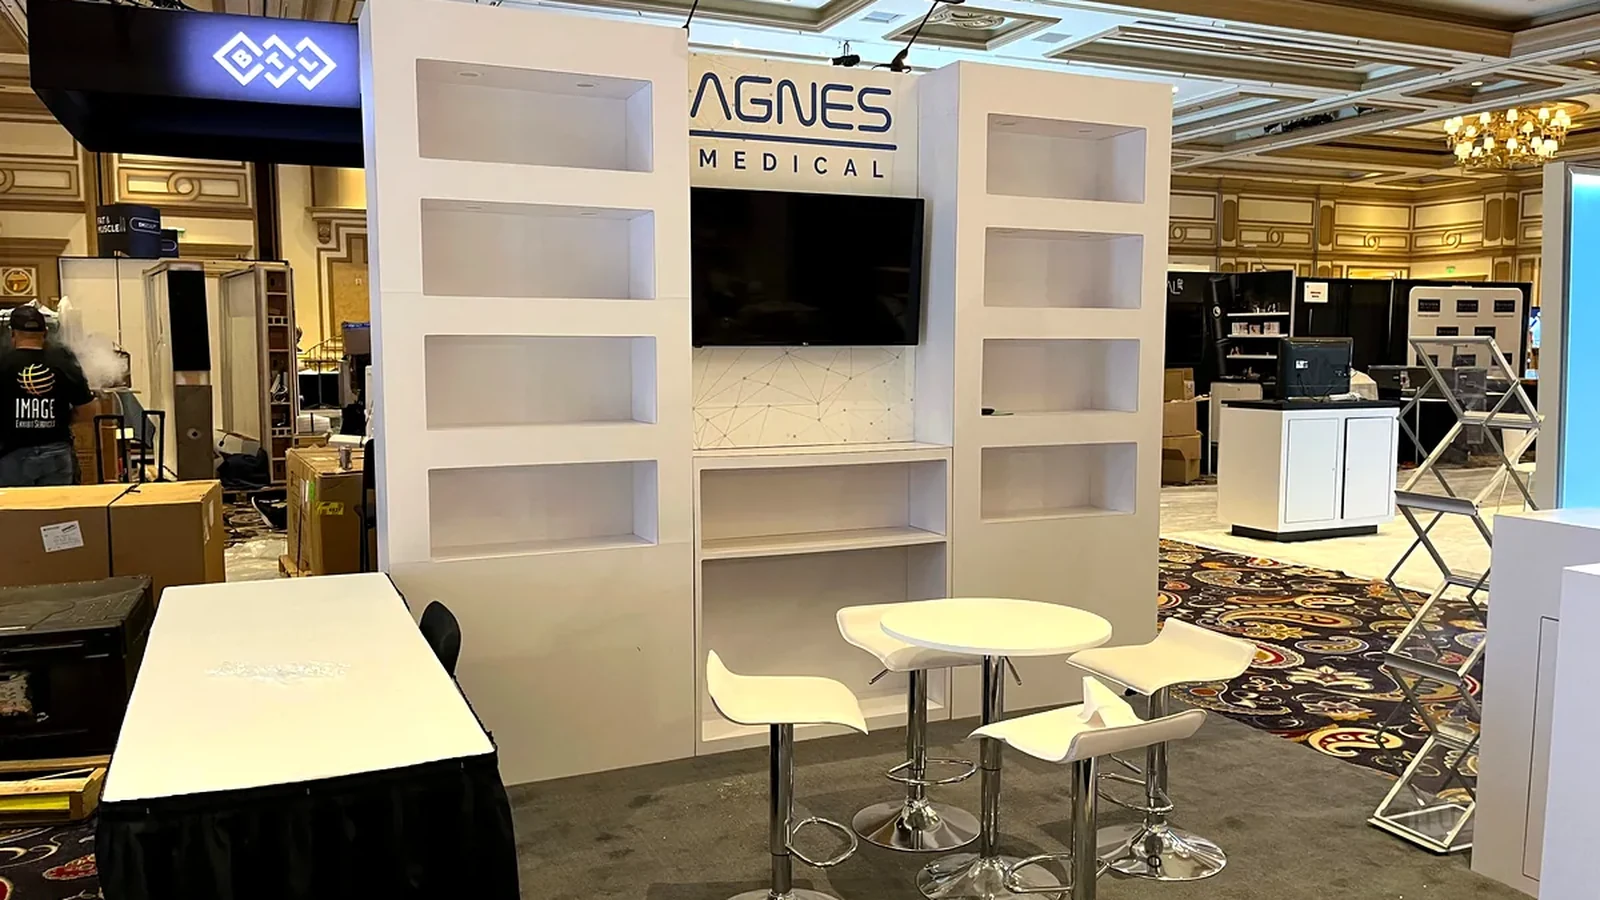
A practical message hierarchy is:
- What you provide. Use the category language your visitor already understands.
- Why this version deserves attention. Show one relevant outcome, application, or meaningful difference.
- Where the proof is. Point the eye toward the product, sample, result, or demonstration that supports the message.
A slogan such as “Innovating Tomorrow” cannot carry this sequence. Neither can a list of twelve services. If the wall needs a salesperson to translate it, it has failed before the conversation begins.
Review the wall at its installed size. Product labels, specification charts, and QR codes that look comfortable on a laptop can become unreadable from the aisle. Put detailed information where an interested visitor can inspect it after stopping. The large surface should do the earlier job: help the right person recognize relevance.
Make Every Item Earn Its Floor Space
Furniture and equipment should be selected after the visitor action and layout are clear. A familiar item is not automatically a useful one.
| Element | Keep it when | Change or remove it when |
|---|---|---|
| Reception counter | It supports greeting, lead capture, a sample, or hidden storage | It sits across the entrance or becomes a literature dump |
| Monitor | Motion, software, an inaccessible process, or a visual result needs explanation | It only plays a general company video |
| Table and chairs | A seated discussion is the booth's primary task and the layout protects access | Walk-up traffic and short conversations are more important |
| Product shelving | The arrangement helps visitors compare a controlled range | Every shelf becomes a catalog category |
| Literature rack | A small number of documents serve distinct follow-up needs | The same material can be delivered after a badge scan |
| Giveaway display | The item helps start a relevant conversation | It attracts a queue unrelated to the product |
| Storage cabinet | It hides daily operating supplies without obstructing access | Its door opens into the visitor or demonstration position |
Whenever something new enters the plan, name what it replaces. That simple question prevents a small booth from filling up through a series of individually reasonable additions.
Design the Demonstration From the Audience Position Backward
A demonstration is not ready because the equipment fits on a counter. It is ready when a visitor can understand the result, your staff can repeat it, and the next visitor can join without stopping the booth.
Stand where the audience will stand and test the real sequence. Can someone arriving halfway through understand what is happening? Does the presenter block the critical view? Can the result remain visible while the next cycle is prepared? Does a small group force everyone else into the aisle?
If the action is too small to see, show the important detail on one screen rather than making the entire booth a theater. If a full cycle is too long, demonstrate the decision-changing step and use concise supporting footage for the rest. If the process needs an operator, utilities, ventilation, guarding, or controlled clearance, resolve those requirements before promising a live demo.
Plan Staff Positions and Storage as Part of the Design
For most 10×10 layouts, begin the rehearsal with two active staff positions. One person can recognize and greet people at the aisle while the other handles a product discussion or demonstration. Add a third position only if visitors can still enter, view the focal point, and leave without squeezing around the team.
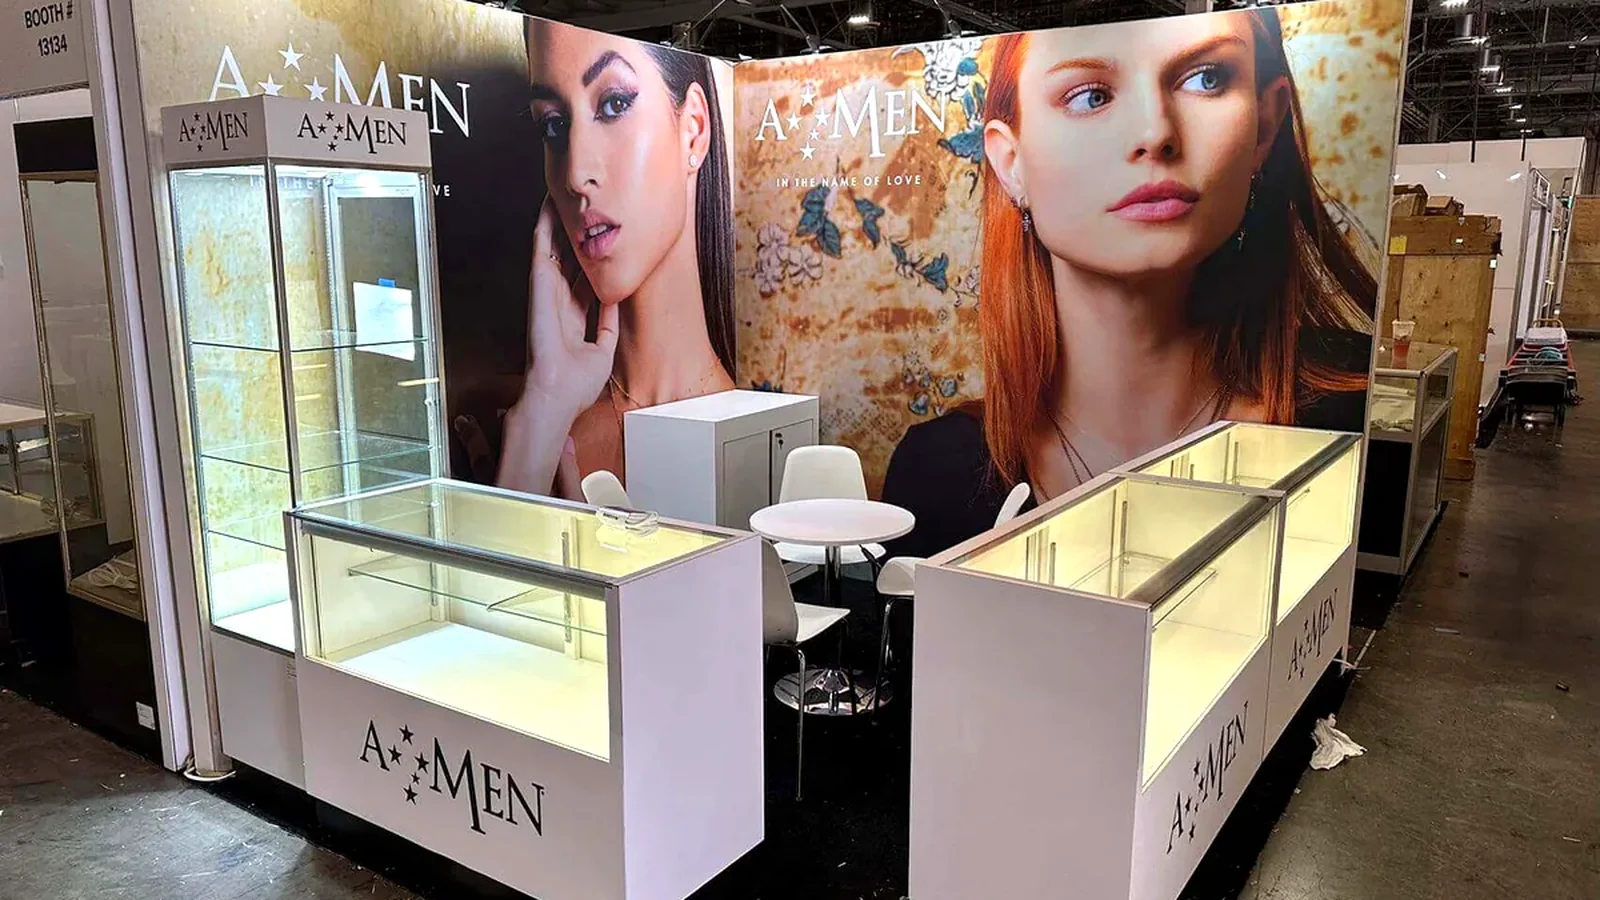
That is a planning recommendation, not an occupancy rule. The right number changes with product size, furniture, accessibility, and the type of conversation. Four people may physically stand in the booth and still make it unusable.
Assign a place for bags, coats, water, chargers, literature, cleaning supplies, replacement samples, and waste. “We will put it behind the counter” is not a storage plan until the counter’s internal volume, door swing, and access are shown on the layout. Daily supplies should be reachable without interrupting the demonstration or asking a visitor to move.
Spend First on Clarity and Operation
A small footprint does not mean every component should be the cheapest option. It means each upgrade needs a clear job.
Spend first on the elements that affect what people see and what the booth can reliably do. That normally means a readable main graphic, accurate color and print production, product lighting, a stable demonstration surface, concealed power, and storage that keeps the front clean. A well-executed lightbox can be worth more than several decorative structures when the graphic is the main selling surface.
Be cautious with features that consume floor area without improving the product discussion. Extra furniture, multiple screens, deep cabinets, ornamental towers, and broad literature displays can make a rendering look complete while making the installed booth harder to use.
The same logic applies to rental versus purchase. Do not compare hardware price alone. Include graphics, freight, material handling, labor, show services, storage, refurbishment, and the likelihood that the next show will use a different footprint. The cheapest object is not always the least expensive installed solution.
Test the Booth at Full Scale Before It Ships
A floor rehearsal is the cheapest place to discover that a door cannot open or that the presenter blocks the product. Mark a 10-foot by 10-foot square with tape and place full-size furniture, cases, product footprints, and screen positions inside it.
Then run the booth as if the show were open:
- Approach from the actual aisle direction.
- Read the message without an explanation.
- Enter and stop at the intended interaction point.
- Complete the sample review or demonstration.
- Capture the next step.
- Restock or reset the booth.
- Let another visitor enter while the first conversation continues.
The test should expose decisions, not confirm the rendering. Remove anything that interrupts the sequence. Photograph and dimension the accepted setup so installation staff are not asked to recreate the layout from memory on show day.
Know When 10×10 Is the Wrong Size
Move beyond a 10×10 when the required activities cannot share the footprint without compromising the main visitor action. Common triggers include a large operating machine, several products that must be viewed together, a seated meeting that cannot be moved elsewhere, substantial daily stock, or simultaneous demonstrations and conversations.
Do not treat a larger booth as the automatic cure for an unclear plan. First remove secondary tasks and repeat the floor test. If the primary demonstration, safe viewing position, staff workflow, and accessible visitor path still cannot coexist, the footprint—not the decoration—is the constraint.
A 10×20 gives you width for a second purposeful zone. An island space changes the approach and height possibilities. Both also change space cost, exhibit structure, services, labor, and staffing. Upgrade because the added area has an assigned job, not because a larger floor plan looks more impressive.
10×10 Booth Design Approval Checklist
Before approving production, make sure the design team can answer each question with the actual plan:
- What is the one primary action the booth supports?
- What will a relevant visitor understand from the aisle?
- Where will the product, sample, or demonstration provide proof?
- Is the entry usable when staff and visitors are in position?
- Have the height, sightline, power, flooring, fire, and activity rules been checked against the current exhibitor manual?
- Where will every operating supply and personal item be stored?
- Can the demonstration be reset without crossing the visitor path?
- Which element would be removed first if the booth still feels crowded?
- Has the complete setup been tested at full scale?
- Do the drawing, graphic list, electrical plan, packing list, and service orders describe the same booth?
Frequently Asked Questions
Can a 10×10 booth include a seated meeting area?
It can, but the seating should earn most of the available space because it will affect entry, product access, and staff movement. Use it when a scheduled seated discussion is the booth's primary purpose. If meetings need privacy, last a long time, or must happen while walk-up visitors are being served, a nearby meeting room or a larger booth usually works better.
Does a 10×10 trade show booth need flooring?
The answer depends on the event. Some shows require floor covering; others provide or permit bare concrete. Check the current exhibitor manual before ordering. Even when flooring is optional, evaluate standing comfort, visual finish, cable routing, transitions at the aisle, installation labor, and what happens to the material after the show.
Can the same 10×10 booth be reused at different shows?
Yes, if reuse is planned into the structure, graphics, packing, and service requirements. Keep the main frame modular, separate event-specific messages from long-life brand graphics, and confirm each show's height and activity rules. A booth that needs new holes, new reinforcement, and new cases at every event is not meaningfully reusable.
How should a corner 10×10 booth differ from an inline booth?
Use the second open side as another approach, not as a second unrelated front. Turn the product or a supporting message toward the diagonal view and keep the exposed corner free of tall furniture. The IAEE model applies linear-booth rules to corner booths, but the event's own manual remains the final authority.
Should you rent or buy a 10×10 booth?
Renting is usually the stronger starting point when you have one U.S. show, changing campaigns, limited domestic storage, or uncertain future booth sizes. Buying becomes more attractive when you repeat a stable configuration and have a practical plan for storage, freight, inspection, repairs, and replacement graphics. Compare the installed multi-show cost, not the frame price alone.
Final Thoughts
The best 10×10 design is not the one that fits the most components. It is the one that makes the right product conversation easy to begin and easy to run. Choose the visitor action, protect the sightline and entry, prove the message with something real, and test the occupied booth before production.
Review the trade show booth rental process if you need to see how those decisions move into approvals, production, service orders, and installation. If you want King Exhibits to turn your plan into a buildable U.S. exhibit, send the show name, booth number, floor plan, product dimensions, and demonstration requirements. Add your brand files, who you want to meet, what they need to understand, your budget range, and the decision deadline. We can use those inputs to develop the layout and define the rental, graphics, logistics, and show-floor scope.