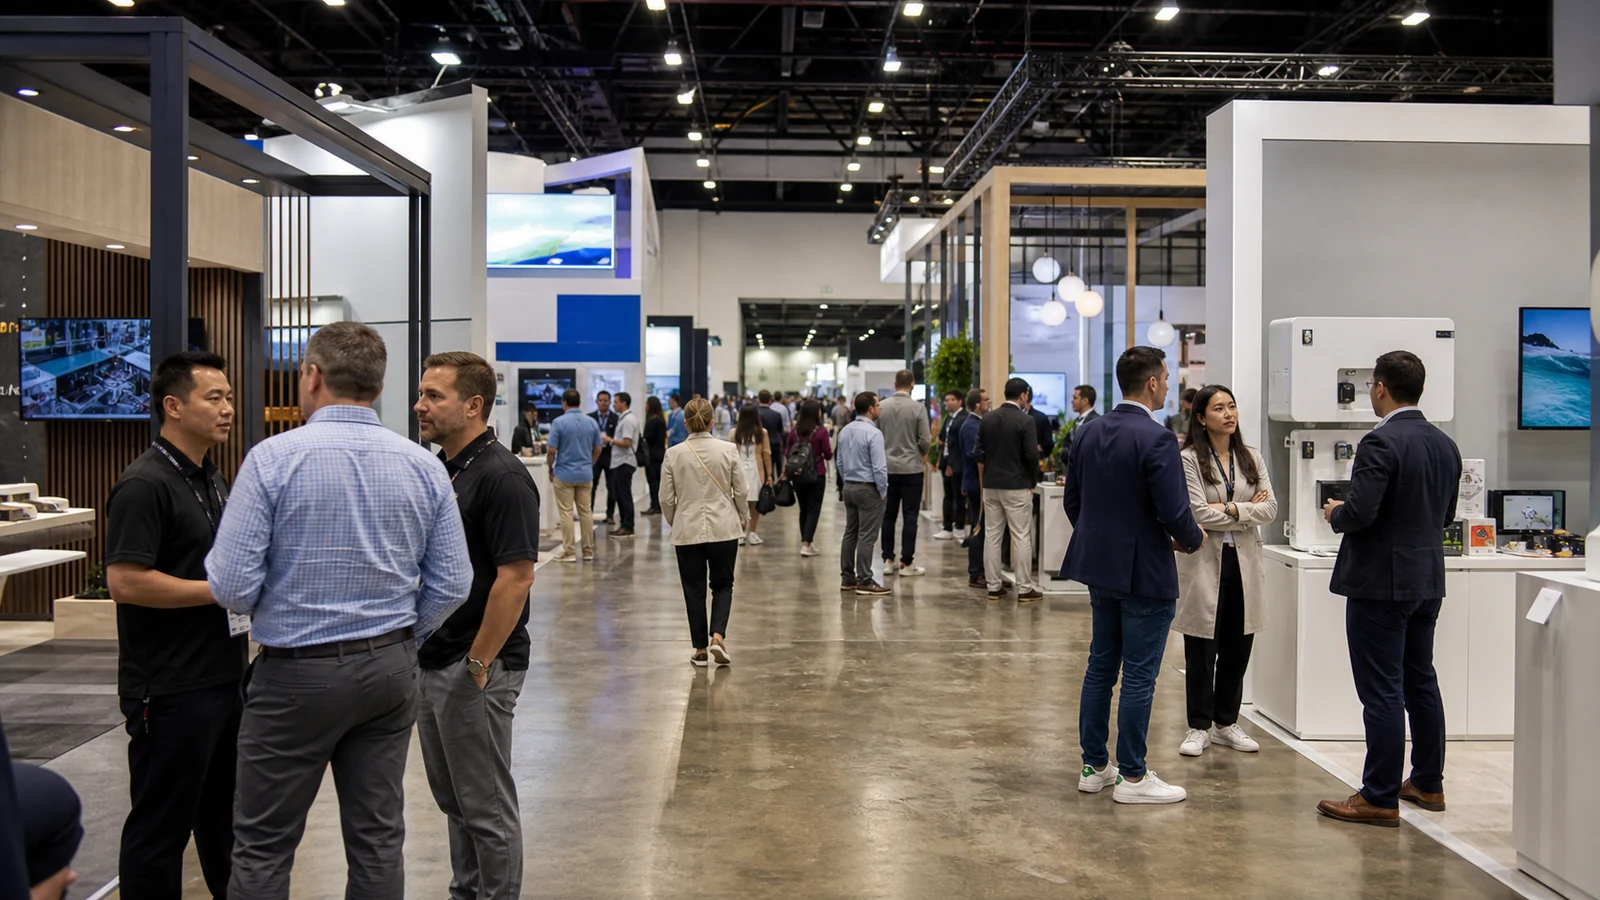
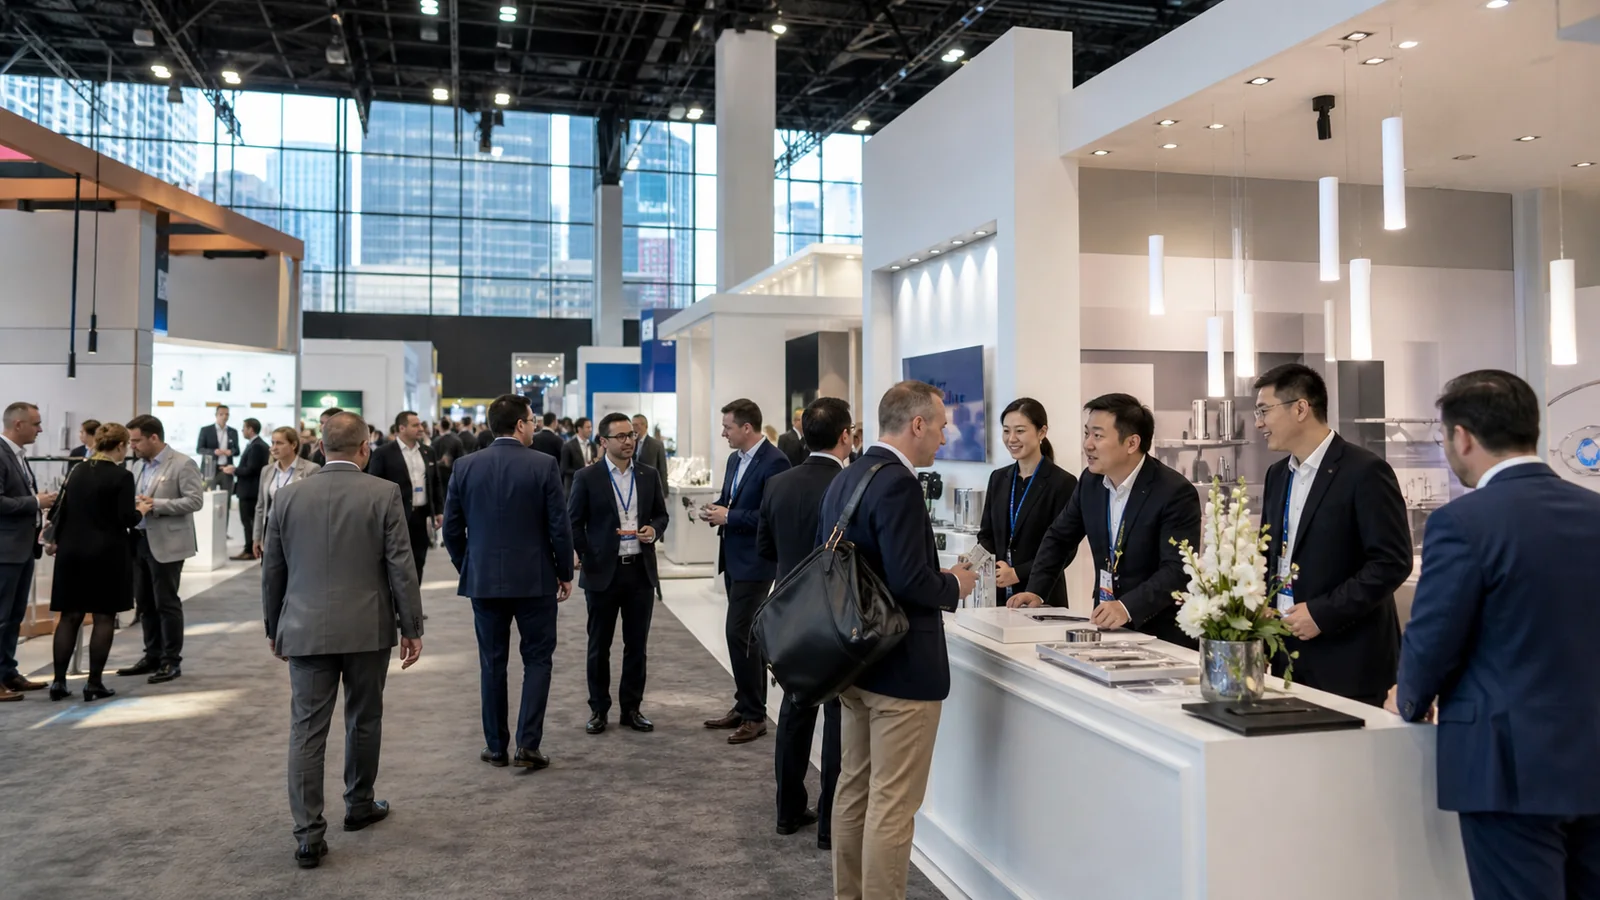
If you approve a 3D concept before checking the hall, product, budget and move-in window, you may have to redesign it after the expensive decisions are already made. Las Vegas exhibition booth design preparation should begin with your business goal, target visitor, assigned space, current show manual and project deadline. Give your design team the information they need, turn it into a workable brief and then verify that the approved concept can pass review, production and installation.
This guide keeps the focus on three questions: What do you need to prepare before design? How do you turn those inputs into an executable booth plan? How do you make sure the plan is ready for the venue, builder and show floor?
Define Your Goal, Audience and Primary Visitor Action
Start with one outcome that the booth must support. You may want qualified leads, booked meetings, product demonstrations, sample requests, distributor conversations or launch awareness. Pick the primary action; a layout cannot give equal priority to a large demo, several private meetings and rapid lead capture without trade-offs.
Describe who you expect to meet, including industry, role, technical knowledge, decision authority, pain points and likely questions. Then write the visitor path in one line:
Notice → Understand → Engage → Qualify → Next step
For a demo-led booth, the next step may be a scheduled technical discussion. For a meeting-led booth, it may be a calendar booking. For a product-display booth, it may be a sample request. Record peak staff count and simultaneous conversations so your designer can size circulation, seating, counters and storage around real behavior.
Gather Show, Venue and Booth-Space Information
Create an input sheet before asking for a serious concept. Mark unknowns as TBD instead of allowing a drawing to hide the gap.
| Input | Record this | Why it changes your design |
|---|---|---|
| Show assignment | Event, year, venue, hall, booth number and orientation | The same city can have different rules and service routes |
| Space | Width, depth, open sides, columns and neighbors | Sets entry points, sightlines and circulation |
| Product | Dimensions, weight, quantity and handling method | Changes display depth, load and storage |
| Demonstration | Operating cycle, queue, operator, heat/noise and reset | Adds clearance, power, data and safety needs |
| People | Staff count, meeting pattern and privacy | Determines seating and staff routes |
| Brand | Logo, colors, images, approved copy and proof | Defines graphic surfaces and message hierarchy |
| Technical | Screens, AV, power, data, lighting, rigging and owner | Prevents hidden service and cable assumptions |
| Commercial | Budget boundary, reuse plan and approver | Guides rental, modular or custom choices |
Attach the floor plan, booth confirmation, brand folder, product drawings, demo notes and the person who can approve changes. A design brief is faster when the decision-maker and the evidence are identified at the start.
Review Las Vegas Rules Before Drawing
The current event manual controls your height, hanging, covered areas, fire or structural review, accessibility, utilities, official contractors, receiving windows and deadlines. Do not transfer rules from another hall or last year’s show.
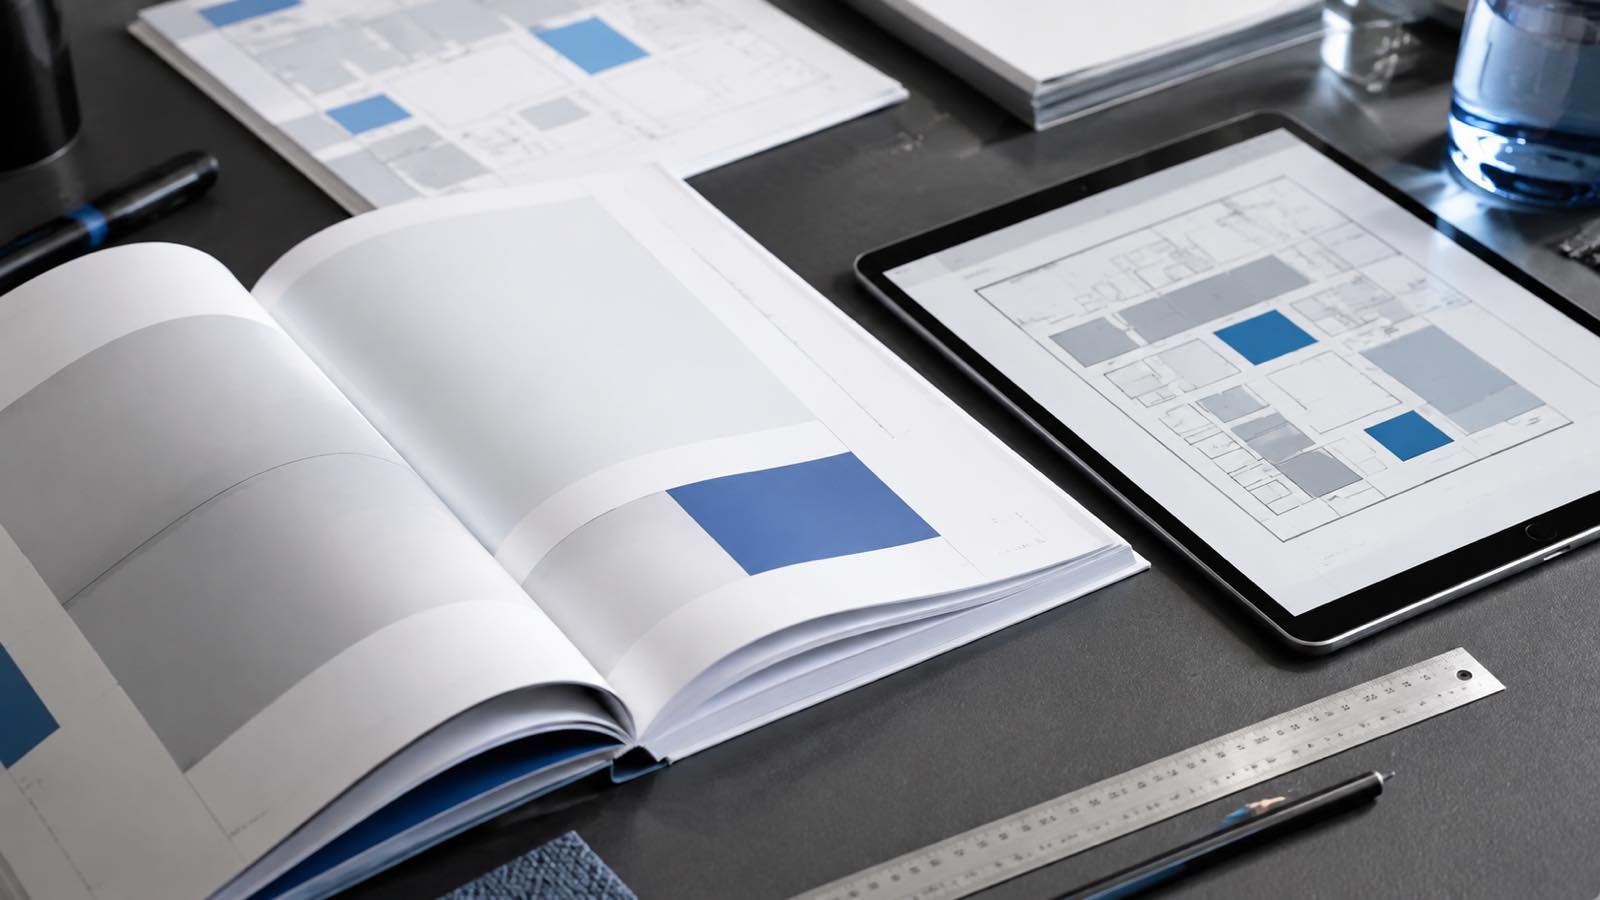
Compare the venue resource paths
- LVCC: The LVCVA/LVCC facility page points you to the facility guide, policies, service providers, freight and roll-up-door information and the EAC process. Use the show’s own service kit for the final submission route.
- Mandalay Bay: The property publishes a planning guide and exhibitor-services path. Confirm the show’s assigned technical, electrical, cleaning, rigging and freight contacts rather than assuming the property page is the complete manual.
- The Venetian Expo: Its official exhibitor resources provide guides, forms and floor-plan resources. Check the current event documents for rigging, floor conditions and service deadlines.
- Caesars Forum: Start with the official property page, then obtain the event-specific exhibitor fact sheet or manual. Food, beverage, rigging, labor and sampling conditions can be show-specific.
Some U.S. events use exclusive official contractors or unionized services for particular work. Freeman’s international exhibitor guide explains why the exhibitor services manual identifies those boundaries, but it does not set a universal Las Vegas rule. Record each requirement as requirement / approving party / deadline / owner / evidence.
Adjust the brief for the event type
The event category changes what the design must prove. A technology show may need reliable demo power, data and queue control. An automotive event may need vehicle or heavy-equipment access and overhead visibility. A fashion market may prioritize fast product sampling and appointment flow. A gaming event may need privacy, compliance copy and controlled demonstrations. These are planning prompts, not fixed rules; the current show manual and service kit remain controlling.
Choose Booth Size, Format and Design Approach
Choose the smallest footprint that supports the visitor action, product footprint, staff routes, meeting privacy, queues and storage.
| Format | Useful when | Trade-off to test |
|---|---|---|
| 10×10 inline | You need one focused message and one or two interactions | Limited meeting and queue capacity |
| 10×20 inline | You need more display or a small meeting zone on one aisle | The long face can feel closed |
| Corner | Two aisle exposures can improve approach options | Both approaches must remain open |
| Peninsula | Three open sides support display and circulation | Rear service access needs planning |
| Island | Four open sides suit demos and multiple conversations | Structure, labor and logistics can increase |
For the design approach, modular systems support repeatable configurations, custom builds allow a closer product and brand fit, rentals reduce asset ownership for a single event and hybrid designs combine reusable structure with changeable graphics. Compare storage, repair, future footprints and show deadlines—not just the first visual price.
Set the Budget Before You Approve the Concept
Budget is a design input, not a final accounting exercise. Ask for a scope-based estimate covering structure and design, graphics, flooring, furniture, lighting, AV, power/data, rigging, shipping, drayage/material handling, I&D, storage, staffing, promotional materials and contingency.
Use this planning formula:
Total exhibit budget = space fee + design/structure + graphics + services + logistics/labor + staffing/materials + contingency
Require every line to be labeled included, coordinated, by exhibitor, show-appointed provider, excluded or TBD. Cost and preparation time change with finishes, technology, product weight, show services, shipping distance, deadlines and reuse. Normalize those variables before comparing proposals.
Prepare the Booth Design Brief
Turn your inputs into a one-page brief that a designer, fabricator and onsite team can all read the same way.
Show / venue / hall / booth size and orientation / goal / audience / hero product / proof / CTA / demo / meetings / storage / staff / brand files / utilities / budget / control deadline / reuse
Set the message hierarchy from the aisle inward:
- Category or brand cue.
- One value proposition.
- Hero product, application or demonstration.
- Proof point or use case.
- Technical detail and next action.
Provide approved logos, colors, images, diagrams, certifications or proof, video, QR destination and legal copy. Include the terms Las Vegas exhibition booth design, exhibit booth design and trade show display naturally in the brief or supporting copy; do not repeat them on every graphic.
Plan Layout, Visitor Flow and Functional Zones
Design the plan around actions: welcome and qualification, product display, demo, technical explanation, meeting, lead capture, storage and staff service. Keep the public edge easy to approach and draw peak traffic, queues, accessible routes and staff escape paths.
A conditional 10×20 example
For a 10×20 booth with six staff members, you might place the hero product or demo on the open aisle, keep one side flexible for short conversations, put a small meeting area toward the rear and reserve a concealed service strip for samples, bags and cables. If the product needs a queue or a large operating clearance, that space takes priority over extra seating. The exact split depends on your product dimensions, visitor behavior and show rules.
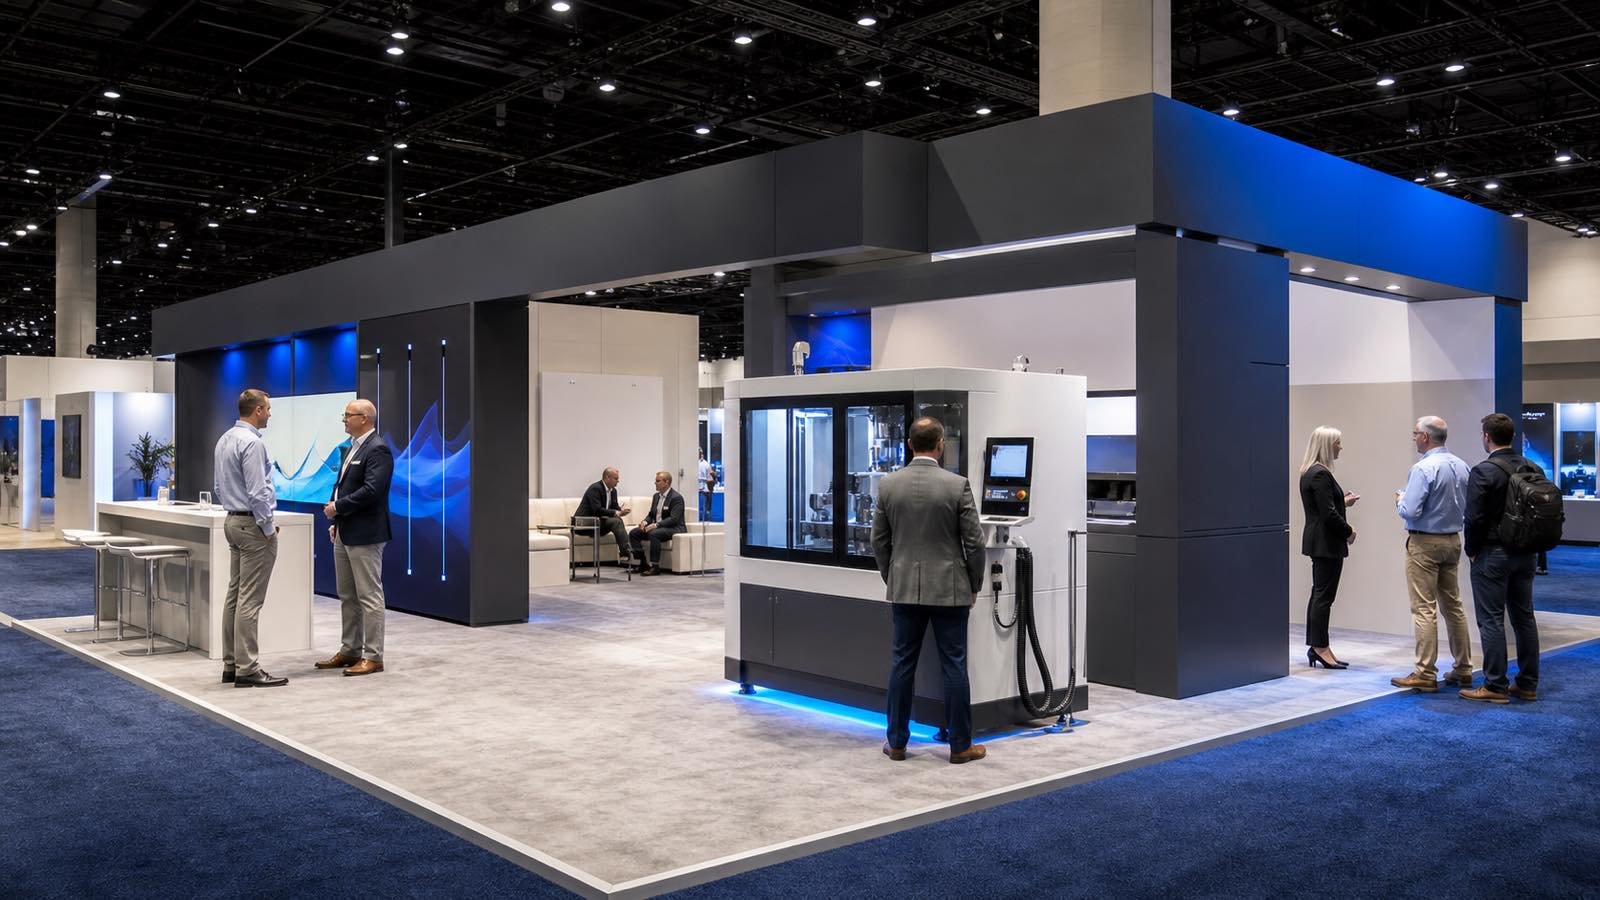
Before approval, test three moments: what a passerby understands in a few seconds, where a qualified visitor can talk without blocking traffic and how staff reach storage without crossing the main path.
Confirm Graphics, Lighting and Technology
Use concise, aisle-readable graphics and lighting to direct attention. A tall element or hanging sign may improve visibility when the show permits it, but it can add engineering, rigging, approval, freight and installation work.

For every screen, LED wall, touchscreen, configurator, AR/VR element or QR station, document its purpose, hardware, mount, power, data, content owner, test procedure and backup. For every major graphic, record size, substrate, edge treatment, mounting method, file owner and installation owner. A rendering shows intent; the production schedule must show what will actually be supplied.
Choose a Las Vegas Booth Design and Fabrication Partner
When you compare a booth design company in Las Vegas or an out-of-state partner, ask how it handles the handoff from concept to show floor. Check venue and event experience, design-to-build documentation, engineering, EAC or official-contractor coordination, I&D responsibility, AV/electrical/freight boundaries, pre-build evidence, storage and reuse.
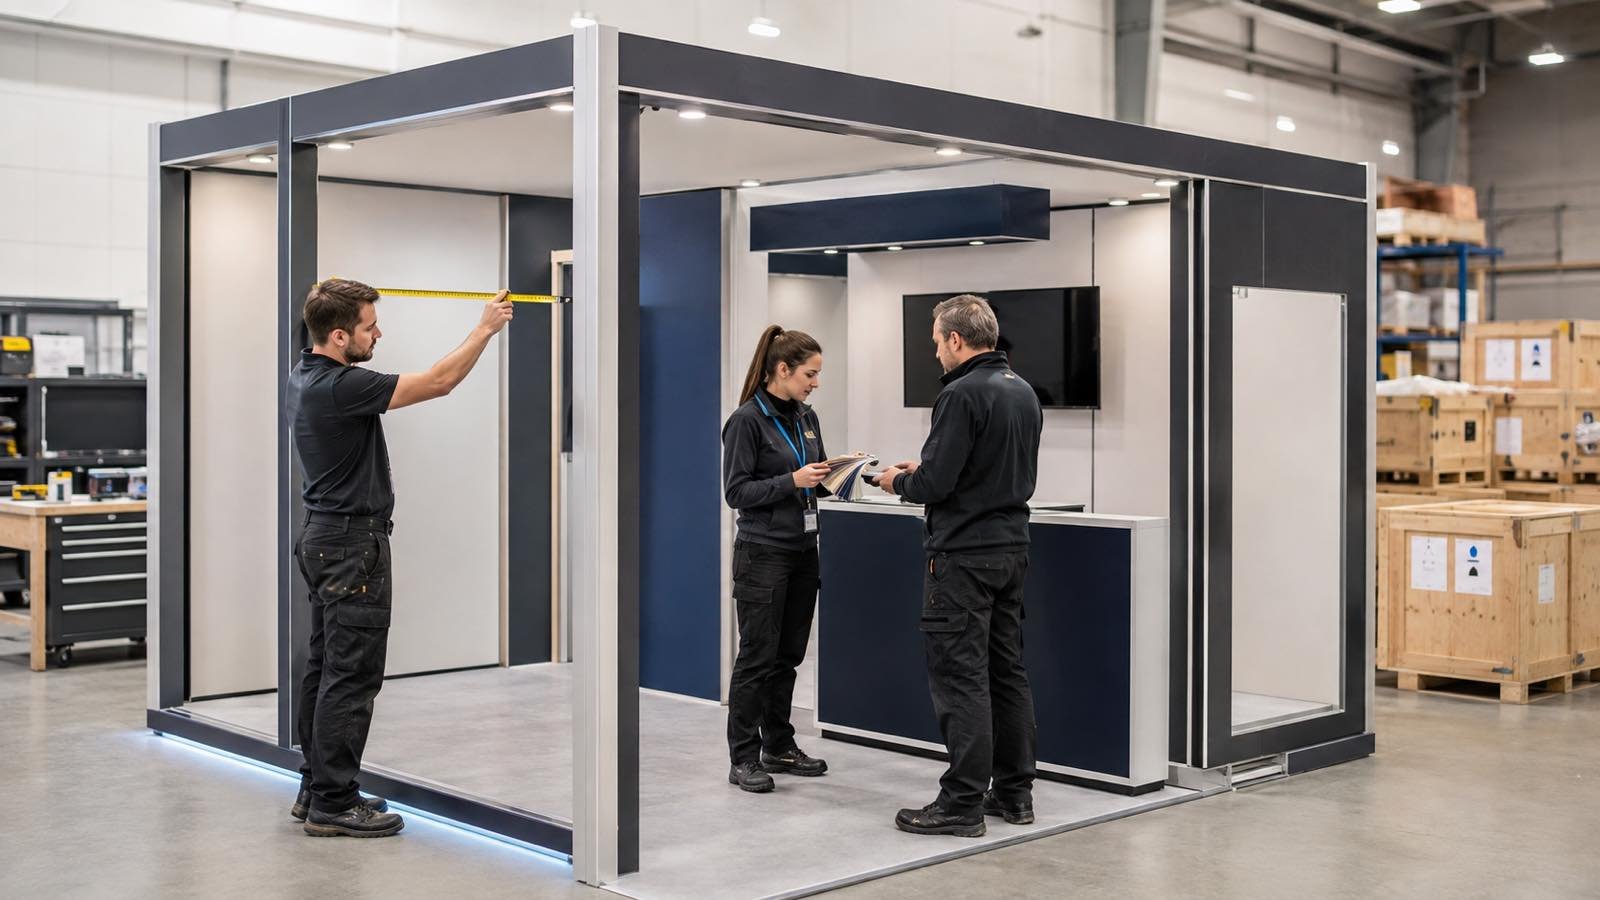
Ask before signing:
- Who owns the source design files and final artwork?
- What does “installation included” cover?
- Who orders power, internet, rigging, cleaning and official labor?
- Which services are by you or the show-appointed provider?
- What happens after damage, a change order or cancellation?
- What evidence will you receive before shipping?
Choose the partner whose written scope makes these boundaries visible. A low visual quote can be misleading when major services remain undefined.
Work Backward From Approvals, Production and Shipping Deadlines
Do not use a city-wide week count. Start with the earliest current deadline that can stop approval, artwork, ordering, shipping or opening, then subtract review, revision, production, inspection, freight and correction time. Custom builds, double-deck structures, hanging elements and large equipment need more review space.
Use this planning row:
Control deadline → design review → revision freeze → technical approvals → artwork/order → production or pre-build → shipping window → install and test
Keep task / responsible party / due date / evidence / billing path for plan approval, utilities, rigging, freight, drayage, I&D, AV testing, graphics, cleaning and outbound shipping. “Design complete” is not the same as “ready to open.”
Verify Drawings, Scope and Installation Responsibilities
Request a dimensioned plan and elevations, graphic and finish schedule, component list, AV/electrical/rigging plan, packing list, install sequence and pre-build evidence appropriate to the project. Reconcile every visible element with the written scope.
| Visible item | Confirm in writing |
|---|---|
| Screen or LED wall | Hardware, mount, content, power, cabling, testing and owner |
| Illuminated graphic | Substrate, size, light source, production and installation |
| Product platform | Dimensions, load, finish, handling and placement responsibility |
| Installation | Structure, graphics, AV, electrical, rigging, official labor and exclusions |
| Delivery | Origin transport, receiving, drayage, booth delivery and outbound handoff |
Freight brings your exhibit to the event receiving system. Drayage or material handling moves it from receiving to the booth and back out under show procedures. Installation, electrical, AV and rigging may be separate responsibilities. Assign an owner and completion evidence before production.
Prepare for On-Site Execution and Lead Capture
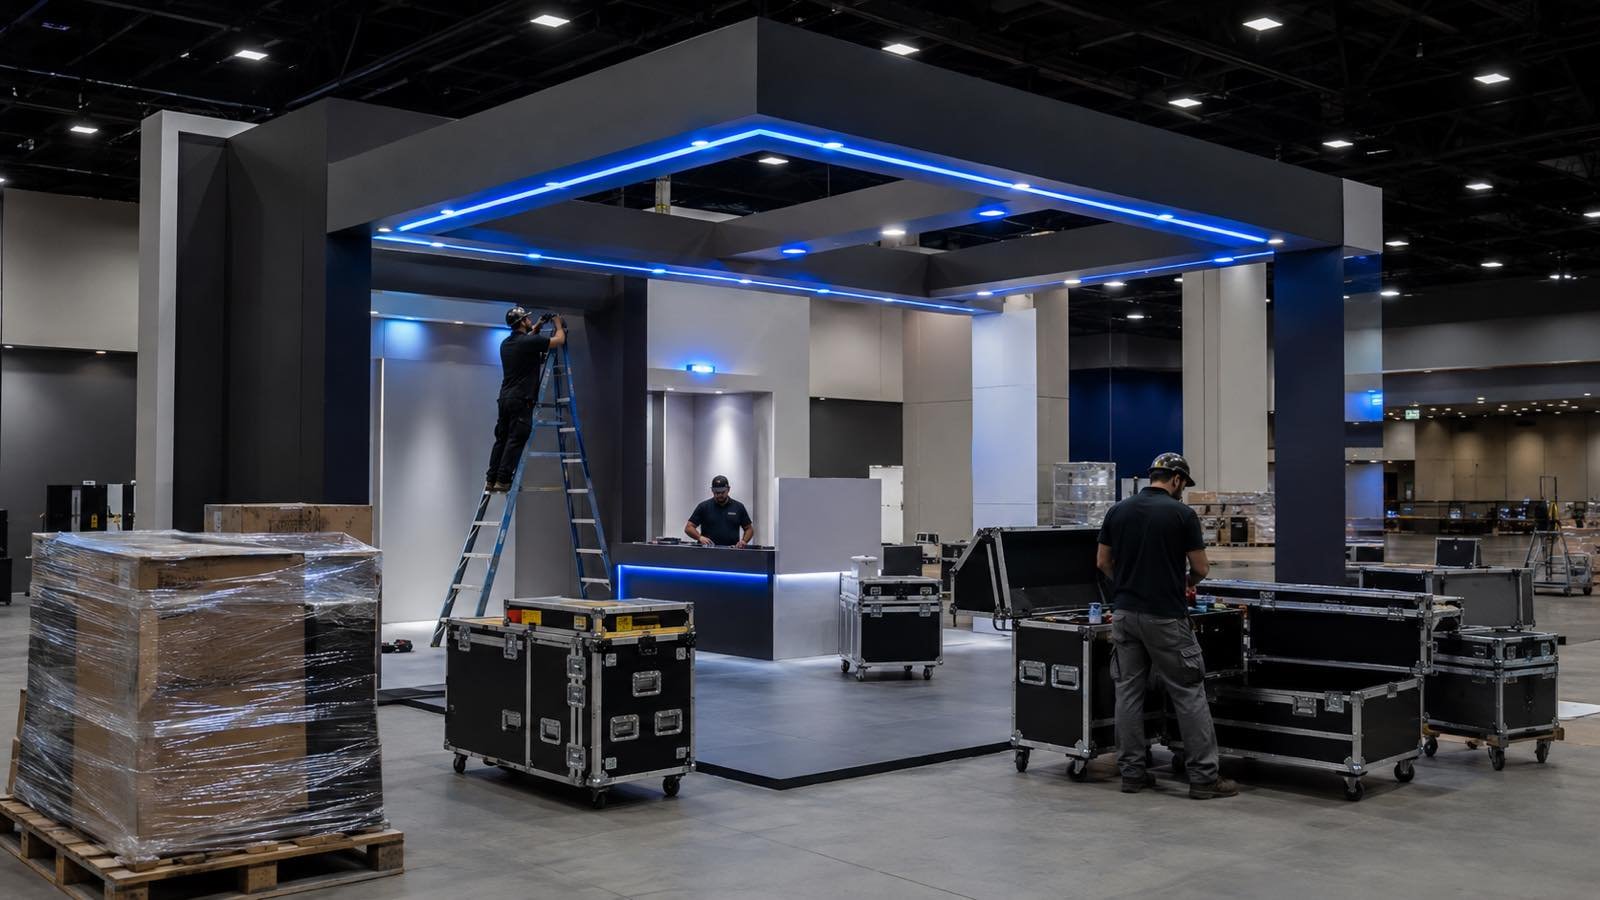
Keep this stage tied to design readiness. Assign owners for utilities, installation, AV testing, graphics, cleaning and outbound shipping. Before opening, test the product, screens, QR or lead-capture system, lighting and network. Prepare two or three qualification questions, CRM tags, a lead owner and a next-step date before visitors arrive.
Measure Results and Reuse the Booth
After the show, record qualified leads, meetings, demos, opportunities, attributable event cost and follow-up completion. Use cost per qualified lead = attributable event cost ÷ qualified leads as an internal measure, not an industry benchmark. Reuse requires a fresh check of footprint, graphics, utilities, venue rules and logistics.
Frequently Asked Questions
How far in advance should you book a trade show booth?
Use the earliest current manual deadline and work backward through design review, production, freight and corrections. Add review space for artwork changes, engineering questions and a replacement plan if a component fails inspection. A simple rental refresh and a custom build need different amounts of review time, so the event manual—not a generic calendar—should control your booking date. Ask your booth partner to show these control dates in writing and identify the last date when a late change can still be made safely.
What is included in a trade show booth package?
Your quote should identify structure, graphics, flooring, furniture, AV, power, internet, shipping, drayage, installation, dismantle and storage as included, coordinated, by exhibitor, show-appointed, excluded or TBD. Ask whether mounts, cabling, testing, cleaning and outbound paperwork are included or billed separately. Confirm who supplies replacement graphics or spare parts when something is damaged on site. Compare packages only after the same service scope, response plan and ownership assumptions appear on both proposals.
What is the best trade show booth size?
Choose the smallest footprint that lets your product, staff, visitors, queues, meetings and storage work at peak use. Draw simultaneous conversations and the equipment’s operating clearance; otherwise a larger booth can still feel cramped. Check the open sides, neighboring booths and sightlines shown on the floor plan before you lock the orientation. Test the visitor path and staff route before adding square footage or a private room.
Should you rent or buy a trade show booth?
Rent for a one-off configuration, a new market test or when you want to avoid asset storage. Consider modular ownership when repeat shows justify repair, storage, graphic replacement and reconfiguration across different footprints. Ask whether the rental includes a pre-build, replacement parts and a documented condition check after dismantle. Compare the full lifecycle—including transport, refurbishment and next-show changes—not only the first quote.
What is trade show drayage?
Drayage is the show-site movement of your freight from receiving to your booth and back out under the event’s procedures. It is separate from transportation to the receiving system and may involve advance-warehouse or direct-to-show choices. Confirm who orders each service, what weight or handling information is required and which party owns the outbound release. Put the billing path and deadline for the material-handling order in your project tracker so a carrier arrival does not become an avoidable show-floor delay.
How do you calculate trade show ROI?
Track attributable cost, qualified leads, meetings, opportunities and pipeline, then agree on what counts as a qualified lead before the show. Use cost per qualified lead = attributable cost ÷ qualified leads and record how meetings or pipeline were attributed. Give each lead a named owner and a next-step date so the result can be checked after the event. Review follow-up completion and lead quality as well as scan volume; a formula cannot repair missing ownership or inconsistent data.
Final Thoughts: Turn Your Brief Into a Show-Ready Booth
Your best Las Vegas exhibition booth design starts with a clear visitor action, a complete input sheet and the current show rules. It then becomes a brief, a layout, a technical scope and a verified production handoff. Share your event name, venue, booth size, goals, product requirements and deadline with KingExhibits to receive a practical layout and execution recommendation for your next step.