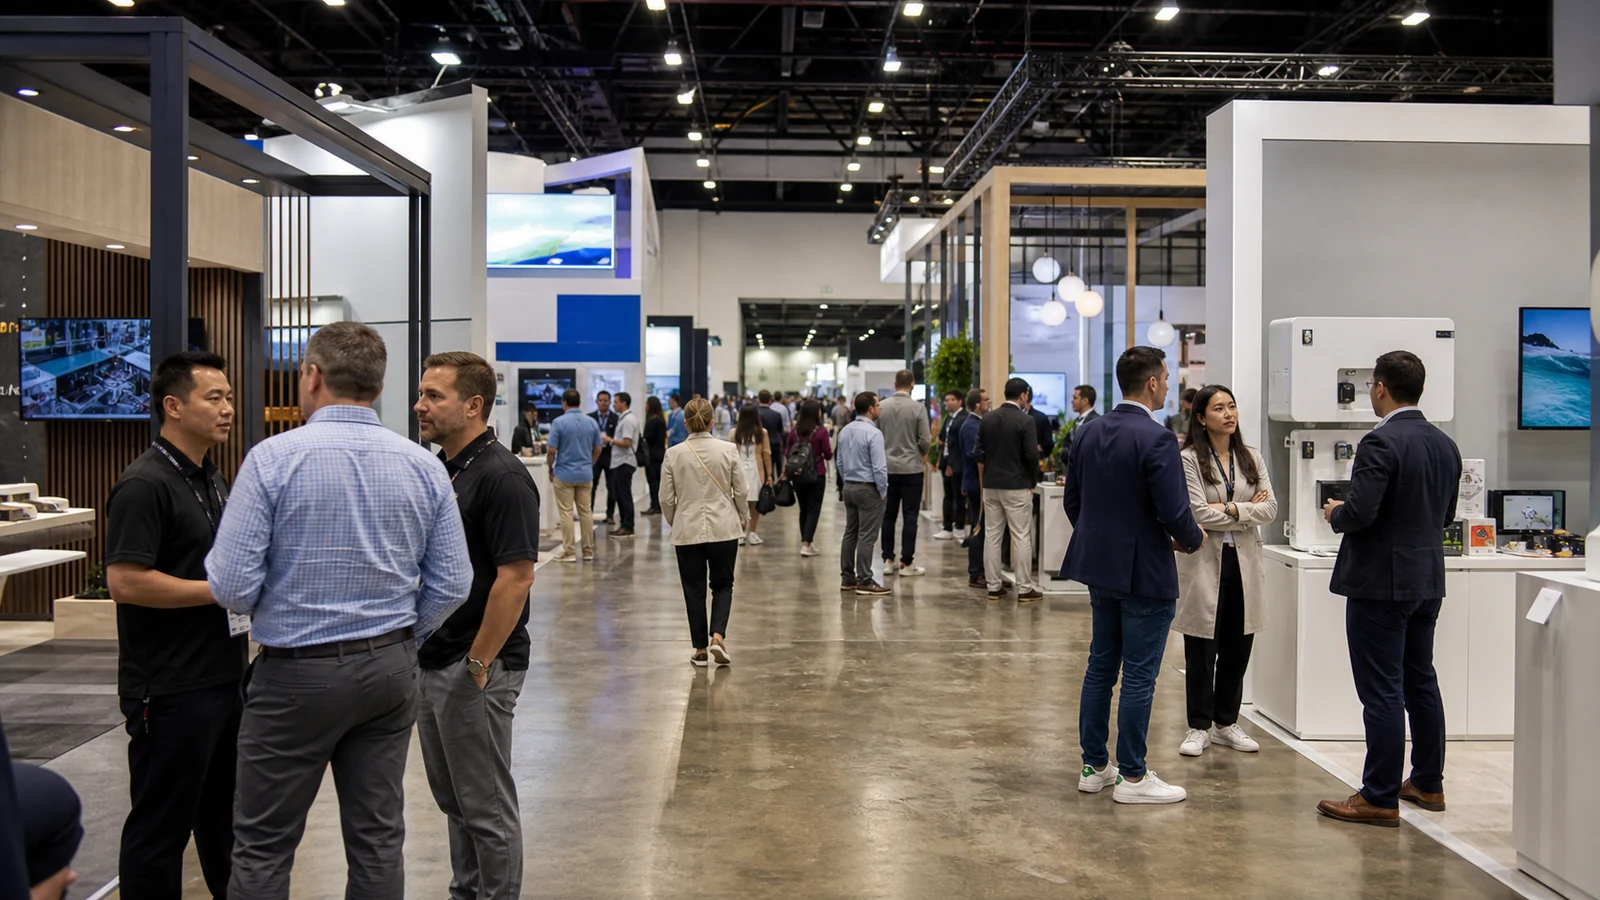
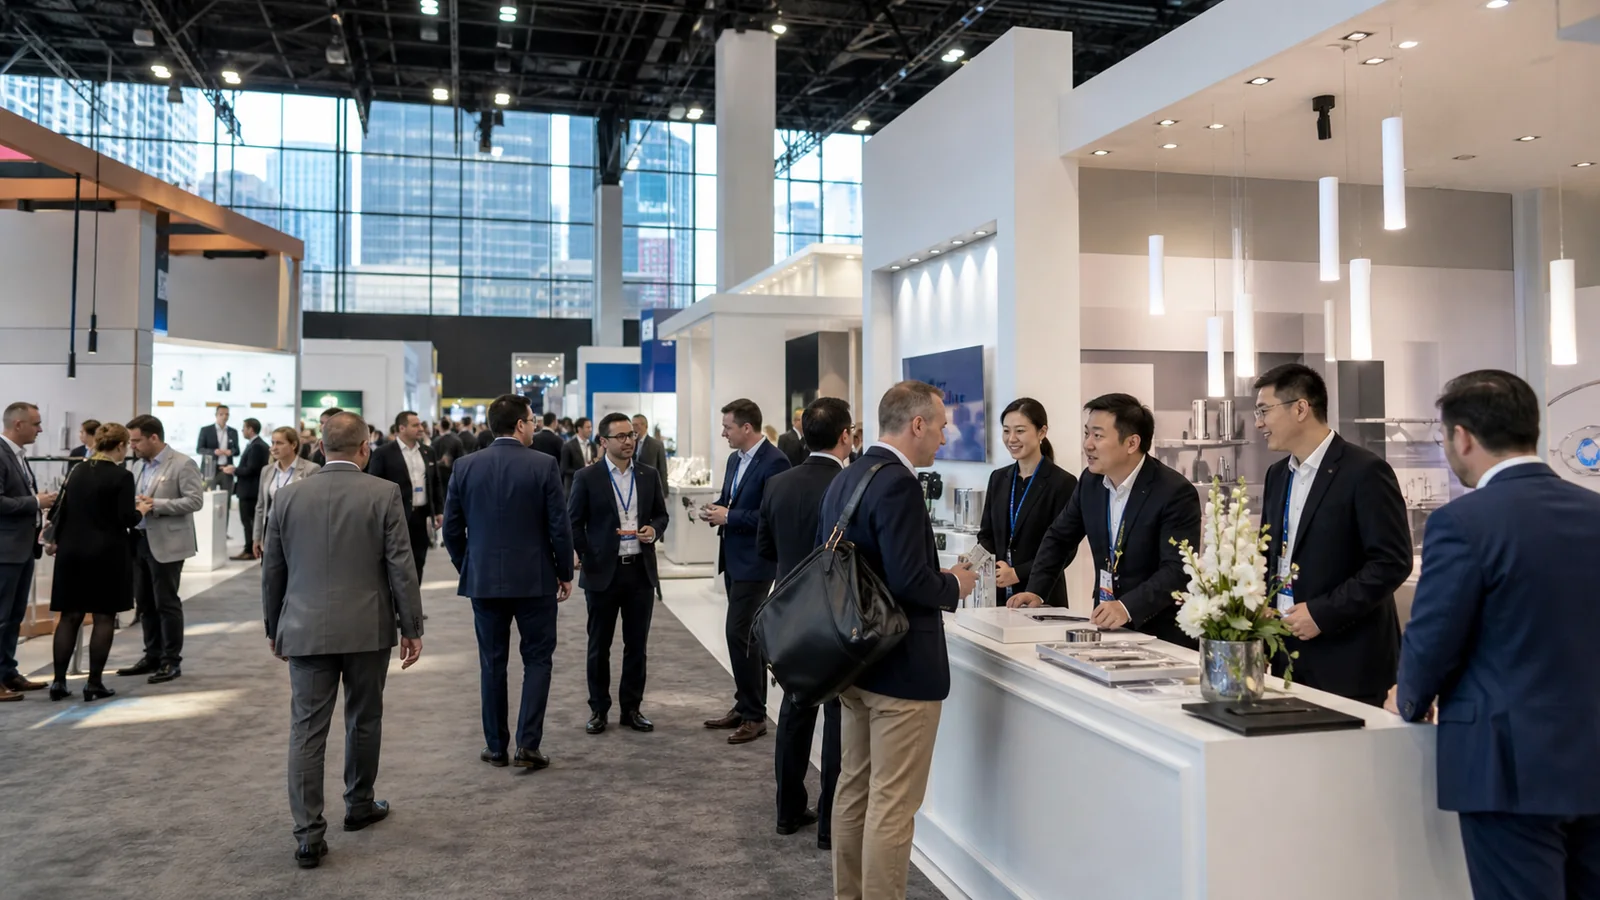
If you manage a U.S. trade show program and are planning a 20×20-foot or larger booth, the extra space can become its own problem. Products, demonstrations, meetings, hospitality, staff routes, and storage all compete for attention and floor area, while the rendering may hide the conflicts.
This large trade show booth design guide shows you how to turn that footprint into one clear visitor journey, review it from several aisle approaches, and resolve product, accessibility, show-rule, and commercial questions before production. You will leave with a practical way to brief your booth partner, compare concepts, and decide when the design is ready to build.
What Makes a Large Booth Different?
For planning purposes, this guide treats a 20×20-foot space or larger as a large booth. That is not a universal show classification. The current exhibitor manual decides how your space is categorized and which display rules apply.
A 20×20 trade show booth design is often the point where this planning change becomes obvious: there is enough space for several functions, but not enough space to let any one of them ignore the others.
Many spaces at this size are islands, open to aisles on four sides, or peninsulas, open on three sides. That changes the design problem. An inline booth can face one main direction. A large booth may need to explain the same brand and product story to people approaching from several directions.
The extra area also creates operational demands that a rendering can hide. Staff need routes between demonstrations and meetings. Product specialists need access to equipment. Visitors need to understand where to enter without walking into a private conversation. Bags, literature, tools, coats, and replacement graphics still need storage.
The first design question is therefore not, “What can fill this space?” It is, “What should a qualified visitor do here, and what must the booth provide for that action to happen?”
Give the Booth One Primary Job
A large booth can support several activities, but it still needs one primary job. That job should describe a visitor action, not a vague ambition.
“Create awareness” gives a designer little direction. “Help operations leaders compare three production systems, see one live changeover, and book a technical meeting” is usable. It tells the team what deserves the most visible position, where product specialists are needed, and which conversations require privacy.
Write the primary job at the top of the design brief. Then rank the supporting activities. If every department marks its feature as essential, the floor plan will become a collection of competing requests.
Use this order to settle the brief:
- Identify the visitor you most need to stop.
- Choose the first thing that person should understand from the aisle.
- Define the action that proves real interest: watch, test, compare, discuss, or schedule.
- Decide what your team must capture before the visitor leaves.
This sequence lets you judge later ideas. A large LED wall may be visually strong, but it is the wrong anchor if it blocks the equipment that buyers came to evaluate.
Build Zones Around the Visitor Journey
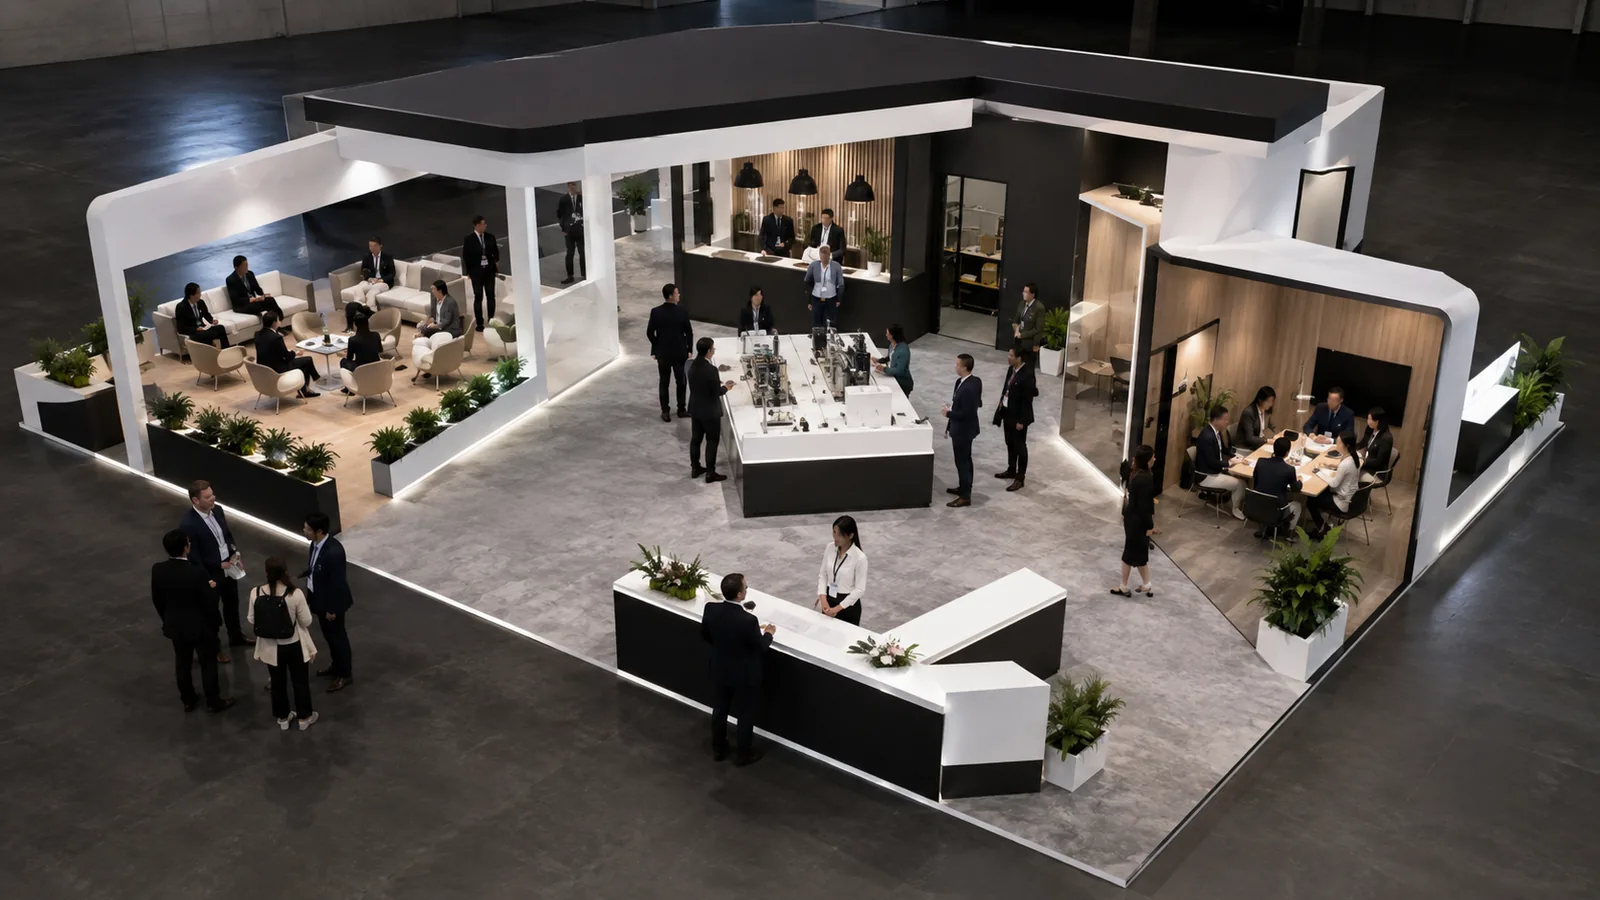
Zoning is useful only when the zones connect. A workable trade show booth layout starts at the aisle and follows a realistic visitor through the space.
| Zone | Question it must answer | Design test |
|---|---|---|
| Attraction | Why should the right attendee look again? | The message and one recognizable product or result are understandable from an approach aisle. |
| Welcome and qualification | Where can a visitor enter and find the right person? | The greeting point does not form a barrier or create a queue across the entrance. |
| Product or demonstration | What can the visitor see, compare, or try? | The presenter, product, screen, and audience fit without blocking through-traffic. |
| Conversation | Where does interest become a useful business discussion? | Open and private conversations have different places, and staff can reach both without crossing a demo. |
| Operations | Where do staff put the items visitors should not see? | Storage, equipment access, waste, literature replenishment, and staff belongings are planned rather than hidden later. |
Draw each zone as a simple block before selecting finishes. Then mark the paths between them. If a visitor must cross a presentation audience to reach a meeting table, the zones are not actually connected. If staff repeatedly walk through the welcome area to reach storage, they will interrupt the entry point throughout the show.
Large booths rarely need equal area for every function. A company demonstrating one major machine may give the product most of the footprint. A software company with pre-booked executive meetings may need a smaller public demo and more controlled meeting rooms. The allocation should follow the primary job, not a generic ratio.
Design for Several Approach Views
An island booth is not one front elevation copied four times. Each aisle approach has a different viewing distance and may attract a different stream of attendees.
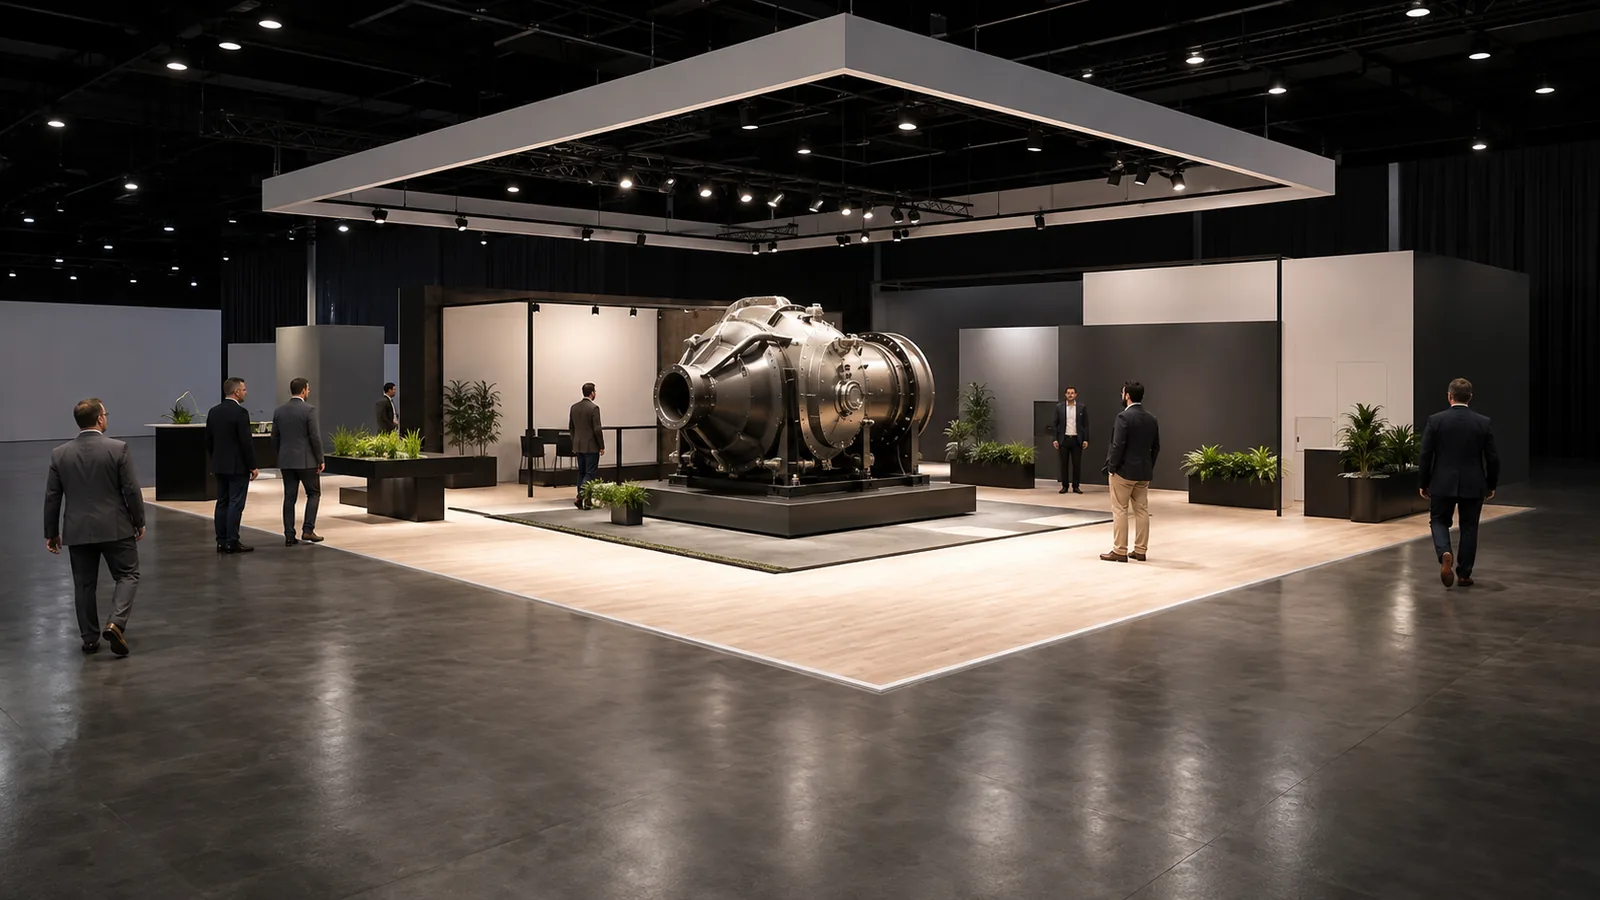
Review the floor plan with adjacent booths, entrances, food areas, education spaces, and major aisles visible. Mark the likely long view and the approaches where people will first see the booth. Then assign a role to each open side.
One side may lead with the main product. Another may make the live demonstration visible. A quieter side can direct scheduled visitors toward meetings. The sides should feel related, but they do not have to perform the same job.
Avoid filling every edge with counters. A continuous line of furniture can turn an open island into a fenced space. Use counters where a specific exchange occurs, and leave deliberate entry points where staff can welcome people without making them squeeze past a fixture.
Before approving the layout, place human figures, chairs, open cabinet doors, demo audiences, and staff positions on the drawing. Empty floor plans make circulation look easier than it will be during the show.
Create a Signage Hierarchy, Not a Wall of Messages
Large structures give you more graphic surface, but more surface does not make more messages readable. Plan information for three viewing distances.
From far away, the attendee should recognize the brand or a single category-level promise. From the aisle, the display should explain what is being shown and why it matters. Inside the booth, product labels, proof points, and next steps can become more specific.
This hierarchy prevents a common failure: putting product names, feature lists, logos, and campaign copy at the same visual weight. The visitor sees plenty of information but cannot tell where to begin.
Test each major view as a still image. If you have to explain which sentence should be read first, the hierarchy is not strong enough. Also test whether truss, lighting, speakers, or a hanging sign will cover the message from an actual approach angle.
Keep critical text away from door swings, monitor edges, product roofs, and places where standing visitors will routinely block it. Large-format graphics should be reviewed at intended size, with final crop areas and viewing distance considered before files are released.
Make the Product Experience Drive the Structure
Products and demonstrations should be defined before the structure is frozen. A display becomes expensive to correct when the product footprint, service access, heat, noise, or utilities arrive after design approval.
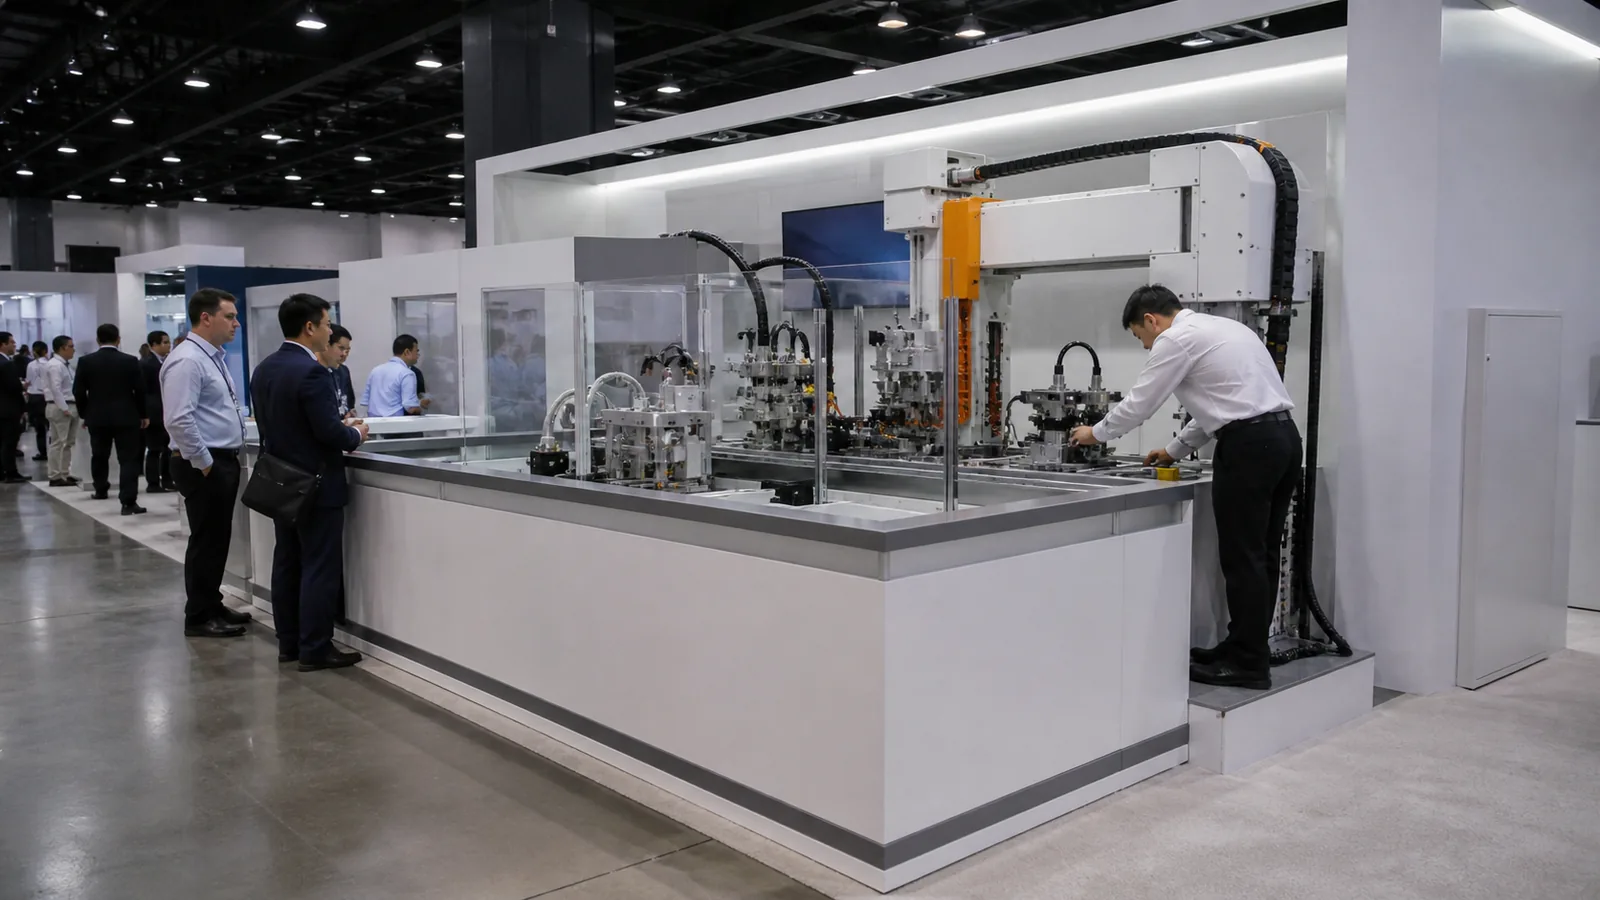
For each displayed product, record:
- installed dimensions and weight;
- how it ships, moves, and is placed;
- which sides visitors need to see;
- which panels, doors, or components staff must open;
- power, data, water, air, drainage, ventilation, or other service needs;
- noise, heat, light, motion, consumables, waste, and safety controls;
- the number and position of viewers during a demonstration.
Use that information to set clearances, floor construction, service locations, camera views, screens, and presenter positions. A beautiful enclosure is a poor design if technicians cannot reach a service panel or if the audience stands in the main entry path.
Heavy or operating equipment adds another review layer. Confirm floor loading, delivery route, dock and door limits, approved placement methods, utilities, demonstration rules, and any required guarding with the show and venue. Do not assume that fitting inside the booth footprint means the product can be delivered or operated there.
Separate Open Conversation from Private Meetings
Large booths often need both quick discussions and scheduled meetings. Treat them as different environments.
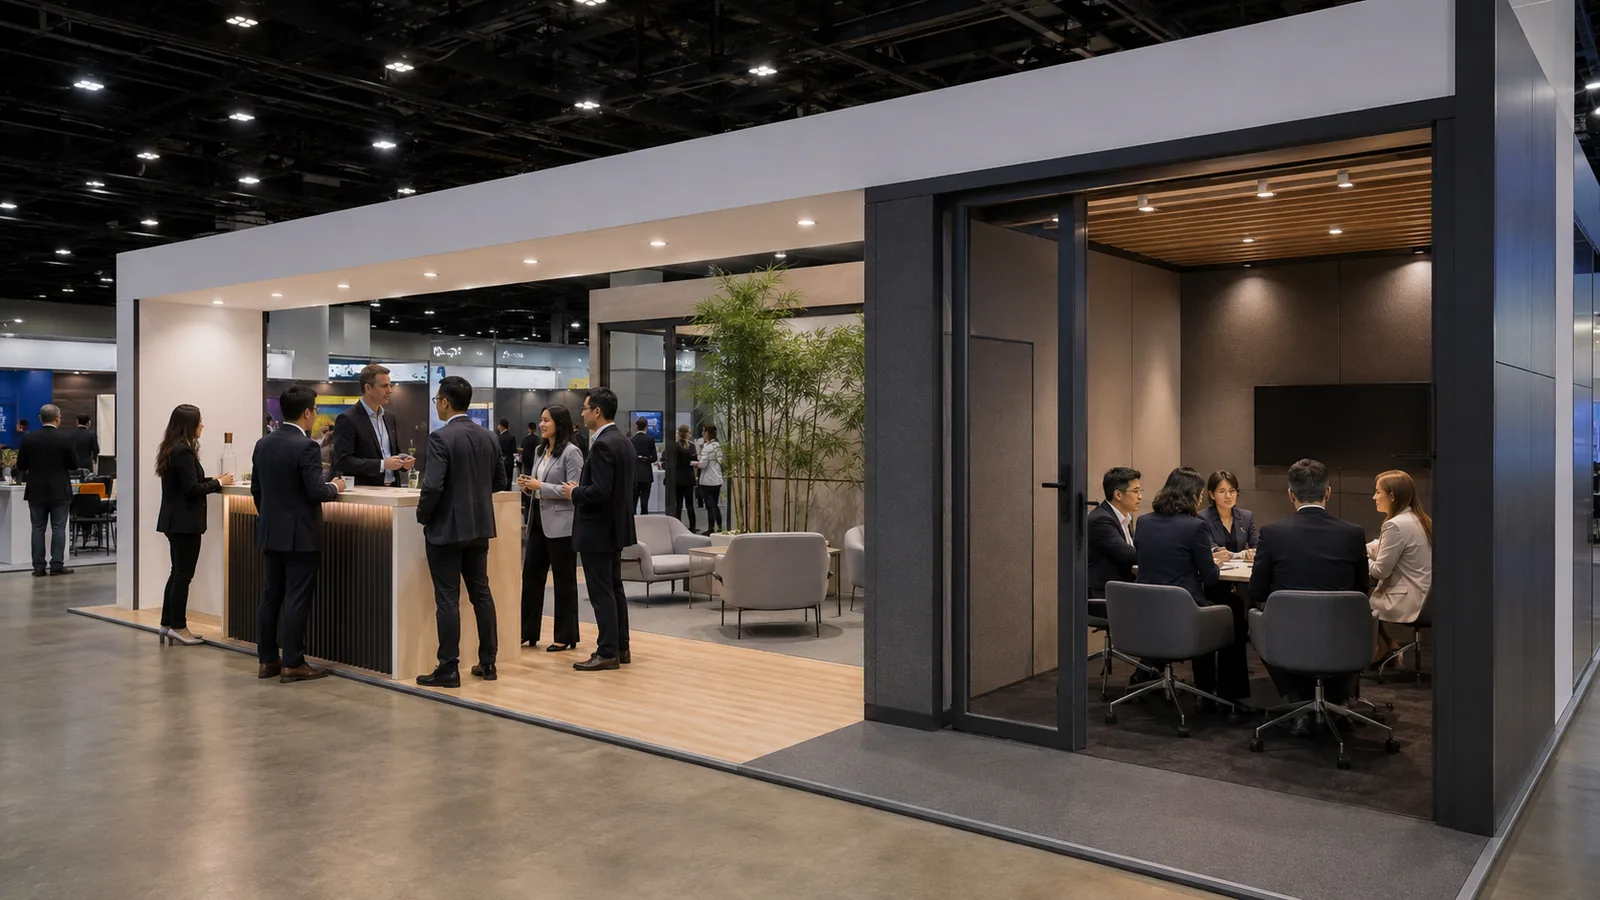
Open tables work when a visitor needs a short product conversation without leaving the active floor. Enclosed rooms work when the discussion involves contracts, confidential drawings, or focused technical review. Between those two, semi-private seating can reduce distraction without consuming the area and approvals of a fully enclosed room.
Privacy is not created by a wall alone. Door position, ceiling treatment, hard surfaces, nearby speakers, demo timing, and the route used by catering or staff all affect whether a meeting works.
Count meetings by the people expected at one time, not by the number of departments requesting rooms. A room that is rarely used still occupies valuable floor area for the entire show. If scheduled demand is uncertain, use furniture and partitions that can support more than one mode.
Plan Accessibility as Part of the Layout
Accessibility cannot be added after the floor plan is crowded. Routes, changes in level, doorways, turning space, counters, controls, and the position from which a visitor uses a demo all affect whether the experience is available to everyone.
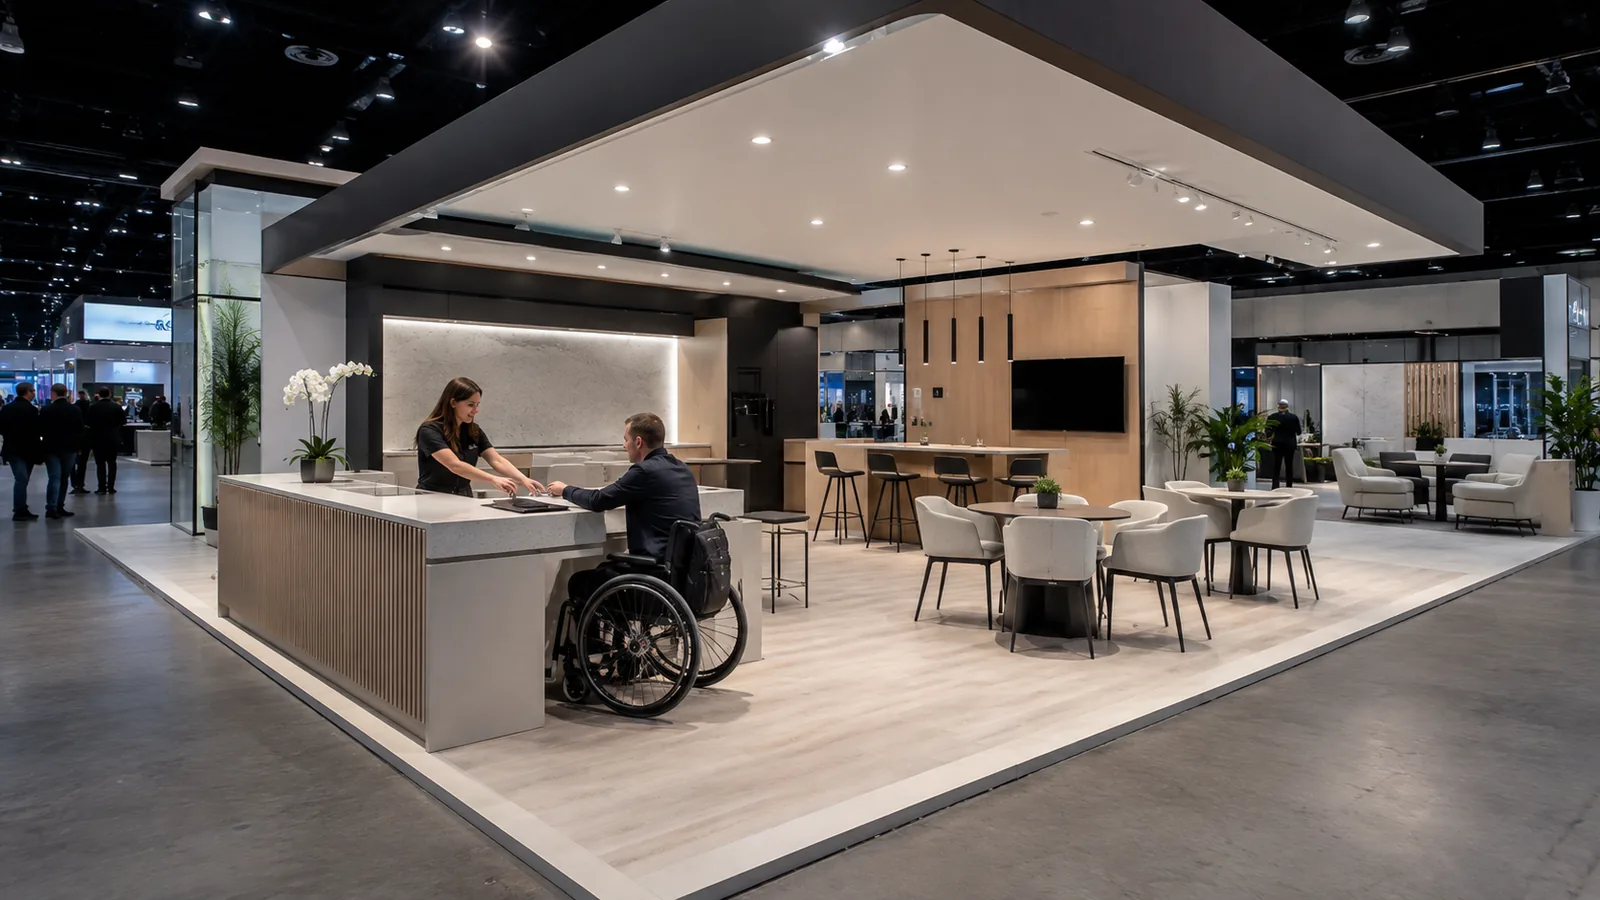
The U.S. Department of Justice ADA Standards provide technical requirements for accessible routes, turning space, clear floor space, surfaces, protruding objects, and operable parts. Apply the relevant requirements with the organizer, venue, and qualified project professionals; a general article cannot decide compliance for a specific booth.
During concept review, trace an accessible route from each intended entrance to the public product, demo, information, and meeting experiences. Check the route again with chairs occupied and doors open. A route that exists only in an empty rendering will not work on the show floor.
Raised platforms deserve special attention. Confirm how changes in level will be treated and how edges, transitions, ramps, and cables will be resolved before approving the floor system.
Treat Rigging, Roofs, and Upper Levels as Approval Decisions
Overhead signs, lighting grids, enclosed rooms, covered areas, and upper decks can make a large booth easier to find or use. They can also change engineering, rigging, fire, egress, labor, and submission requirements.
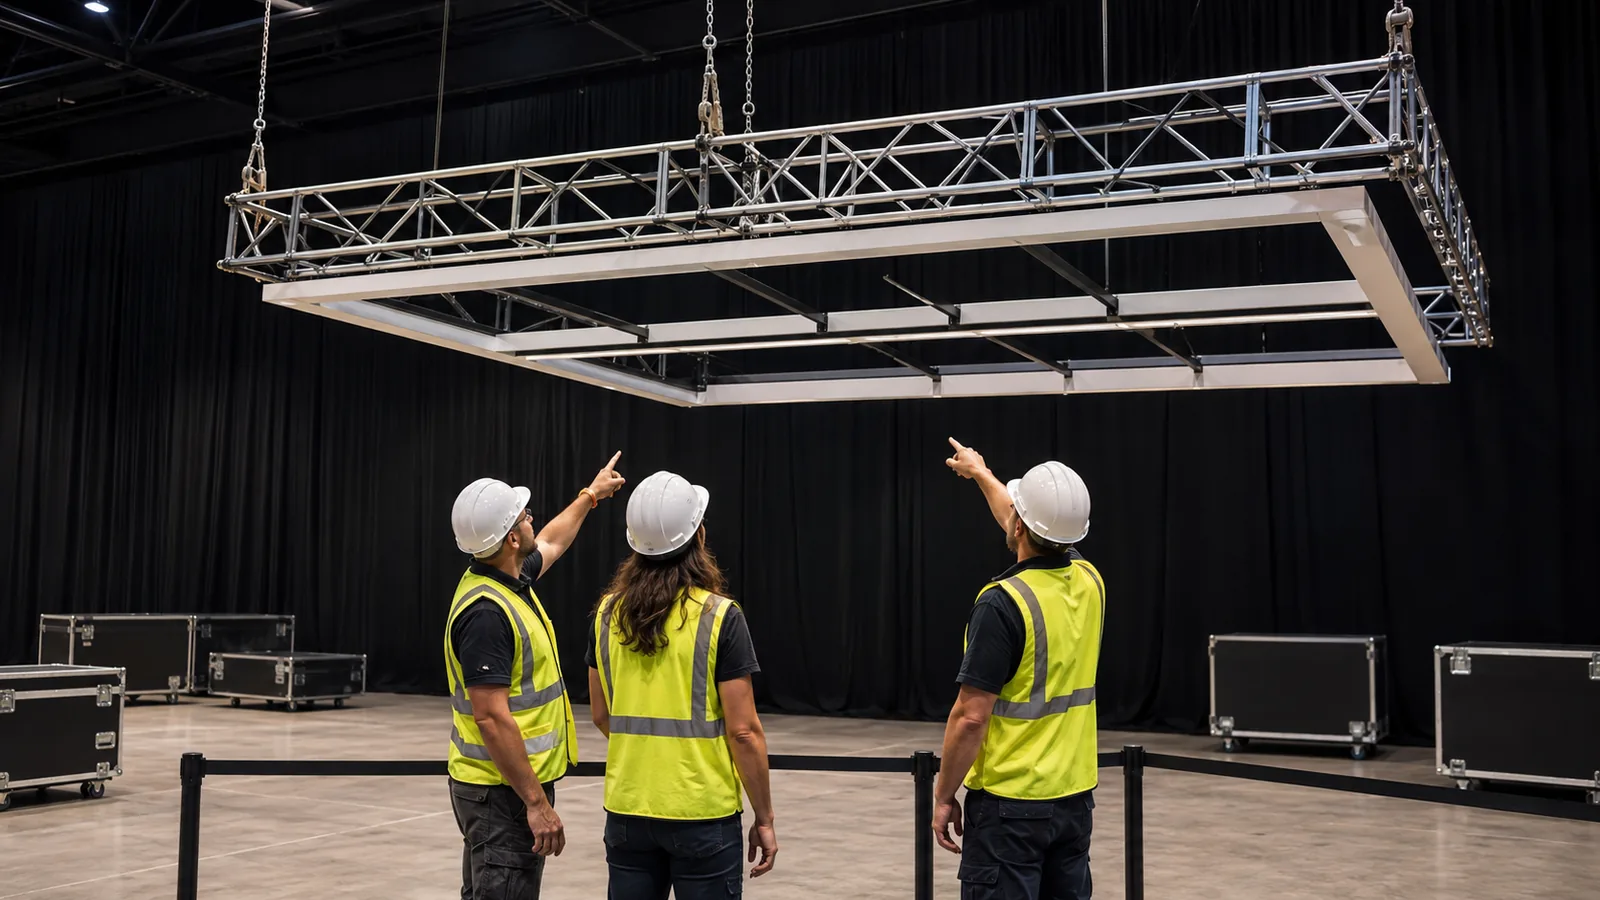
The IAEE display guidelines are a useful North American starting point for booth types, sightlines, hanging signs, fire equipment, and multilevel or covered exhibits. They are guidance, not permission for a specific event. Show management and the facility set the current rules.
That distinction matters. The official Coverings 2026 booth rules, for example, include event-specific design-submission triggers, drawing details, covered-area disclosures, and stamped-plan requirements. McCormick Place fire regulations use their own categories and fire-safety conditions for exhibits with ceilings or second stories.
Do not approve one of these features because it appeared in a past booth or another venue. Obtain the current manual, identify all approval parties, and record the submission date and drawing requirements. Previous approval is not proof of approval for the next show.
Choose an overhead sign only when the floor location, approach distance, rigging points, height rules, budget, and message justify it. A tall ground-supported feature may sometimes do the same navigation job with a different approval and cost path. The right choice comes from the current show conditions, not from treating “bigger” as automatically more visible.
Design the Booth to Be Built, Moved, and Reused
A concept is not complete when the rendering looks finished. It must survive fabrication, packing, transport, installation, show use, dismantling, and—if planned—another event.
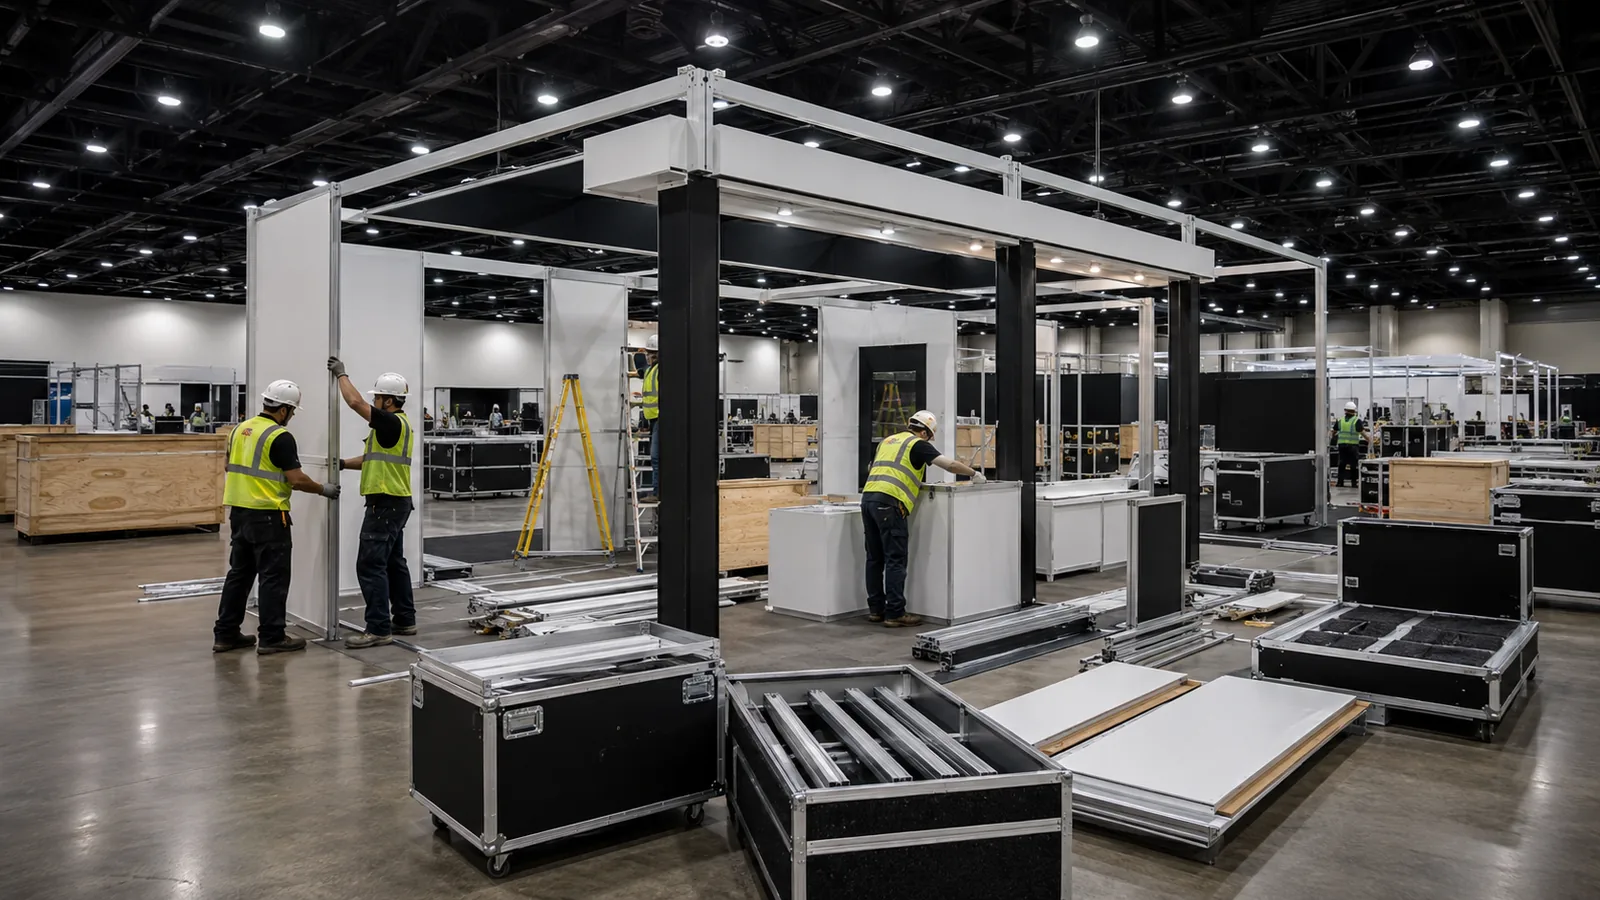
Ask how the main components break down, where graphics join, how finished surfaces are protected, and which pieces require special handling. Confirm that the largest component fits the planned delivery route and that installers can safely reach connections after surrounding elements are in place.
If reuse matters, define what should remain constant and what must change. The structural kit may stay the same while graphics, product displays, and room divisions adapt to a new footprint. Trying to make every component reusable can create a compromised first booth. Designing without any reuse plan can force unnecessary rebuilding later.
A pre-build review is valuable for complex structures. Use it to check fit, finish, graphics, lighting, equipment interfaces, assembly sequence, and packing—not simply to take approval photos. Record who can approve corrections and how late changes affect freight and installation.
Compare Proposals by Scope, Not by the Rendering
Two proposals can show similar booths while assigning cost and responsibility very differently. Normalize the scope before comparing totals.
| Scope area | What to request in writing | Risk if unclear |
|---|---|---|
| Design | number of concepts and revision rounds; engineering boundary; final drawing package | Additional design or approval work appears after selection |
| Structure and finishes | rental versus purchased parts; materials; visible finish standard; reuse assumptions | The delivered build differs from the rendered surface or ownership assumption |
| Graphics and AV | content responsibility; hardware; playback; mounting; testing; operator support | Screens or graphics arrive without usable content, connections, or support |
| Freight and material handling | origin; advance warehouse or direct-to-show plan; carrier scope; drayage boundary | Transportation is priced but show-site handling is mistaken as included |
| Installation and dismantling | estimated hours; supervision; labor boundary; schedule assumptions | Overtime, waiting, or official-service work changes the total |
| Venue and show services | electricity, rigging, internet, plumbing, cleaning, catering, security, permits | Mandatory third-party charges are absent from the booth proposal |
| Post-show | return freight, inspection, repair, disposal, storage, and ownership | No one knows what happens to the exhibit after dismantling |
Mark every line as included, excluded, estimated, allowance, or ordered directly by the exhibitor. An “all-inclusive” label is not useful unless the proposal names the limit and responsible party.
Also compare assumptions. One proposal may assume straight-time labor and advance ordering. Another may omit those conditions. The lower total is not comparable until both use the same show, schedule, footprint, products, service orders, and approval responsibilities.
Use Five Gates Before Releasing Production
A disciplined approval path protects the booth from late structural and operational changes.
Gate 1: Show and venue rules
The current exhibitor manual, booth type, height and sightline rules, floor loading, rigging policy, fire rules, accessibility requirements, EAC process, and submission dates have been identified. The Las Vegas Convention Center, for example, directs display houses and service contractors to its current facility materials and EAC process. Other venues use different procedures.
Gate 2: Visitor and staff operation
The plan works with real people, occupied furniture, queues, demonstrations, open doors, replenishment, waste, and storage. Staff roles and handoffs match the layout.
Gate 3: Product and technical integration
Final product data, utilities, AV content, mounting, heat, noise, motion, access, and safety needs are reflected in the drawings. The delivery and placement method is confirmed.
Gate 4: Build and approval package
Dimensioned plans and elevations, finish references, graphic locations, equipment schedules, engineering or rigging documents, and required submissions are complete. Approval owners and due dates are visible.
Gate 5: Commercial and responsibility sign-off
The accepted proposal identifies inclusions, exclusions, allowances, change control, show-site orders, client-supplied items, third-party work, delivery, installation, dismantling, and post-show handling.
Do not release production merely because everyone likes the rendering. Release it when the design, operating plan, technical inputs, approval path, and commercial scope agree.
What Should You Send Your Booth Partner?
Start with the show name, city, dates, booth number and size, current exhibitor manual, and floor plan. Add your primary visitor, the action you want that person to take, products, demonstration steps, meeting needs, brand files, AV content status, service requirements, reuse plans, and budget range.
Label anything that is still an assumption. A booth partner can help you resolve open design and delivery questions, but an unstated assumption usually becomes a late change.
KingExhibits can use this information to define a design, rental or fabrication, graphics, logistics, installation, dismantling, and storage scope around the approved show conditions. Organizer, venue, and exclusive-contractor requirements should remain visible as separate responsibilities until the applicable party confirms them.
Frequently Asked Questions
When Is Custom Trade Show Booth Design Worth Considering?
Consider it when your product experience, utilities, demonstration sequence, meeting privacy, or reuse plan cannot be served well by a standard kit. The reason should be operational or brand-specific, not simply the desire for a more dramatic shape. Ask your partner to separate truly custom components from rental structure, then compare which elements need ownership, adaptation, or replacement across the show program. Custom design does not automatically mean purchasing the entire booth.
How much storage should a large booth include?
Size storage from an operating inventory. Count staff belongings, literature, giveaways, product samples, packaging, cleaning supplies, replacement graphics, tools, and anything replenished during the day. Then decide what truly belongs inside the booth and what can remain in an approved off-floor location. Do not select a universal percentage before listing the items and access frequency.
Should we rent or purchase a large custom booth?
Base the decision on the show program, not one event. Compare how often the structure will be used, how footprints change, which components are brand-specific, where the exhibit will be stored, and who pays for inspection, repair, graphics, transport, and disposal. A hybrid scope—rental structure with custom product displays and graphics—may preserve a distinctive experience without purchasing every component.
How do we design the booth before a confidential product launch is public?
Separate the information needed to build from the information that can remain private. The booth team still needs the product envelope, weight, mounting points, service clearances, utilities, heat, and viewing direction. Use controlled-access files, named reviewers, temporary artwork, and a firm content-freeze date. Also prepare an approved fallback graphic or demo mode in case the launch asset changes after production begins.
Final Thoughts
A large booth succeeds when its message, zones, products, staff, structure, and show-site plan support the same visitor action. Approve the concept only after viewing it from the aisles, walking its busiest paths, checking current rules, and matching every major cost and responsibility to an owner. That is how a large footprint becomes a usable exhibit rather than a larger collection of display elements.
If you are preparing a 20×20-foot or larger U.S. exhibit, KingExhibits can review your brief and help translate these decisions into a buildable rental or fabrication scope. Send the current manual, floor plan, products, and open questions first so your team can identify approval and responsibility gaps before production.