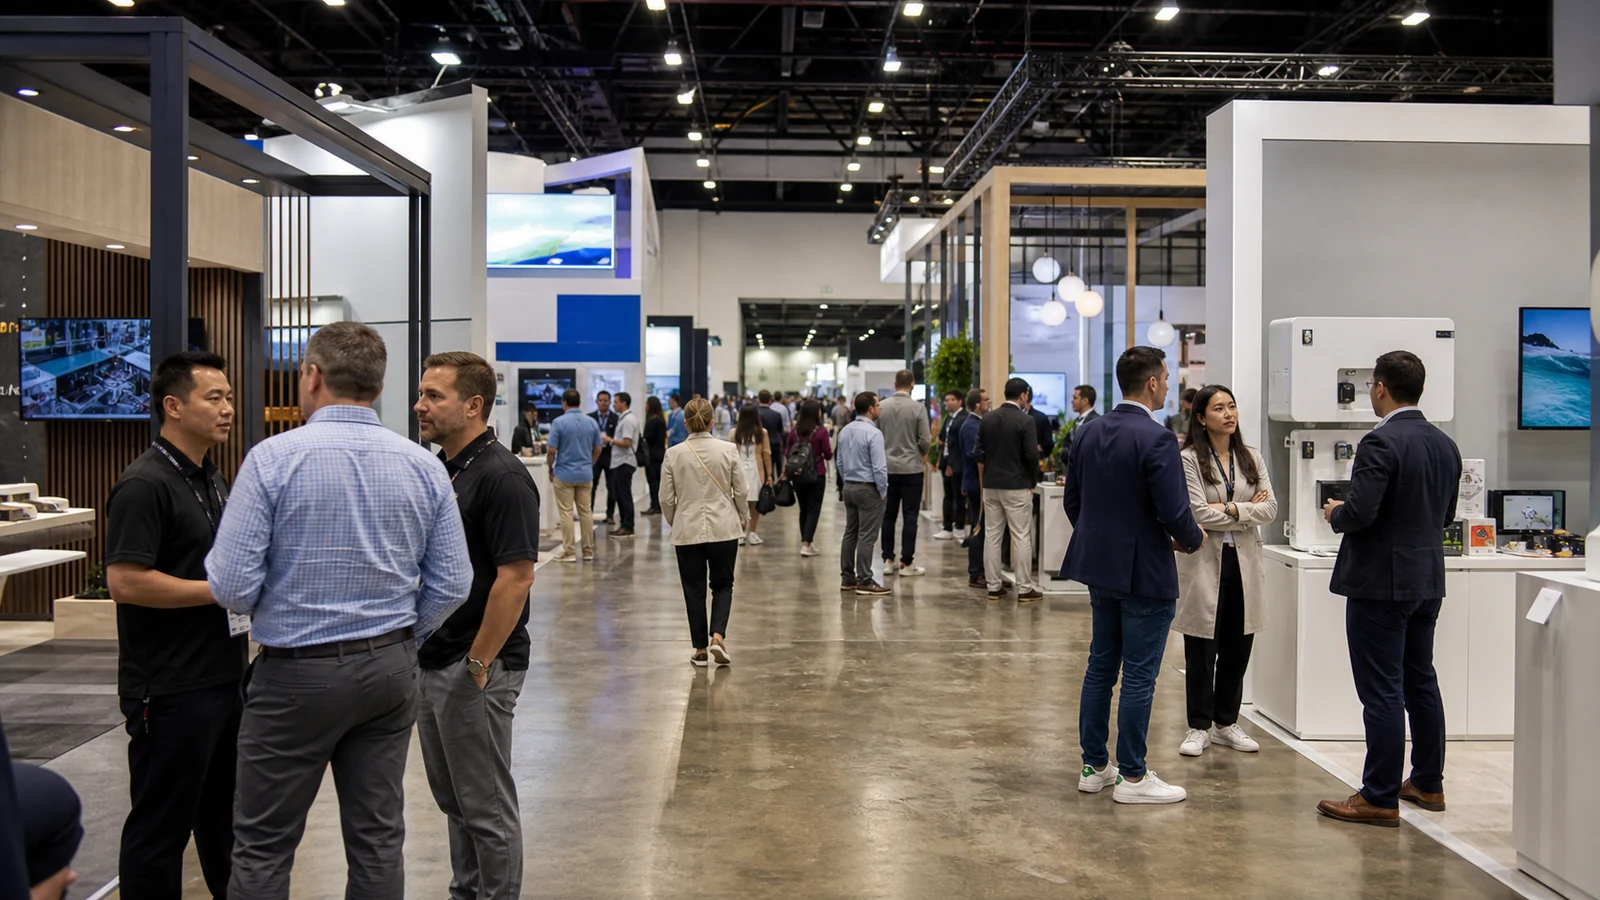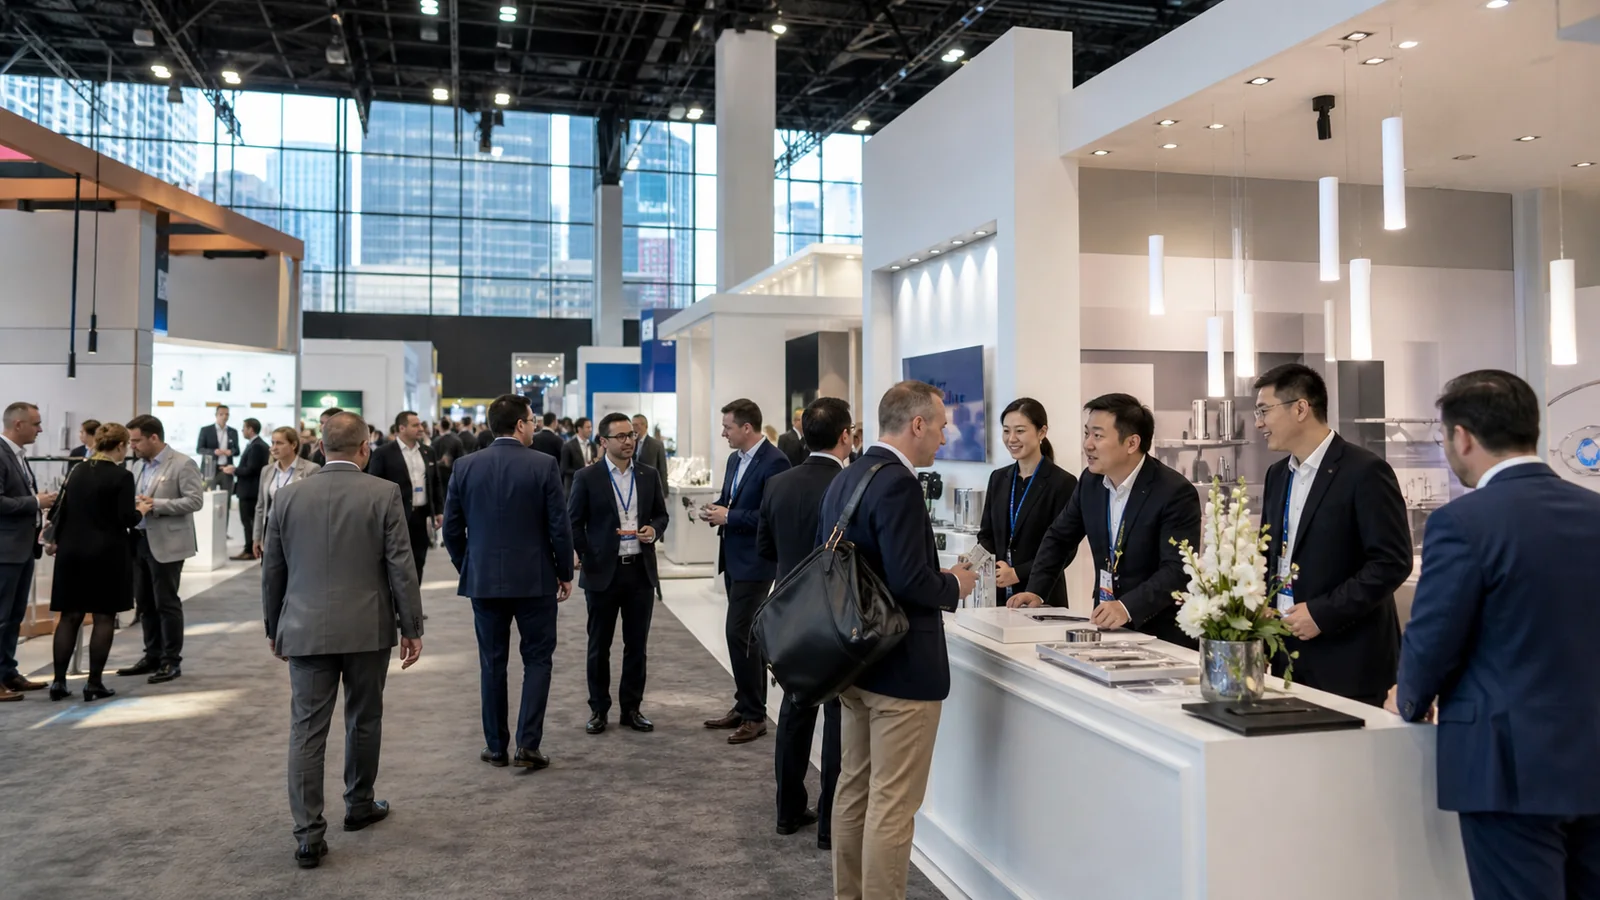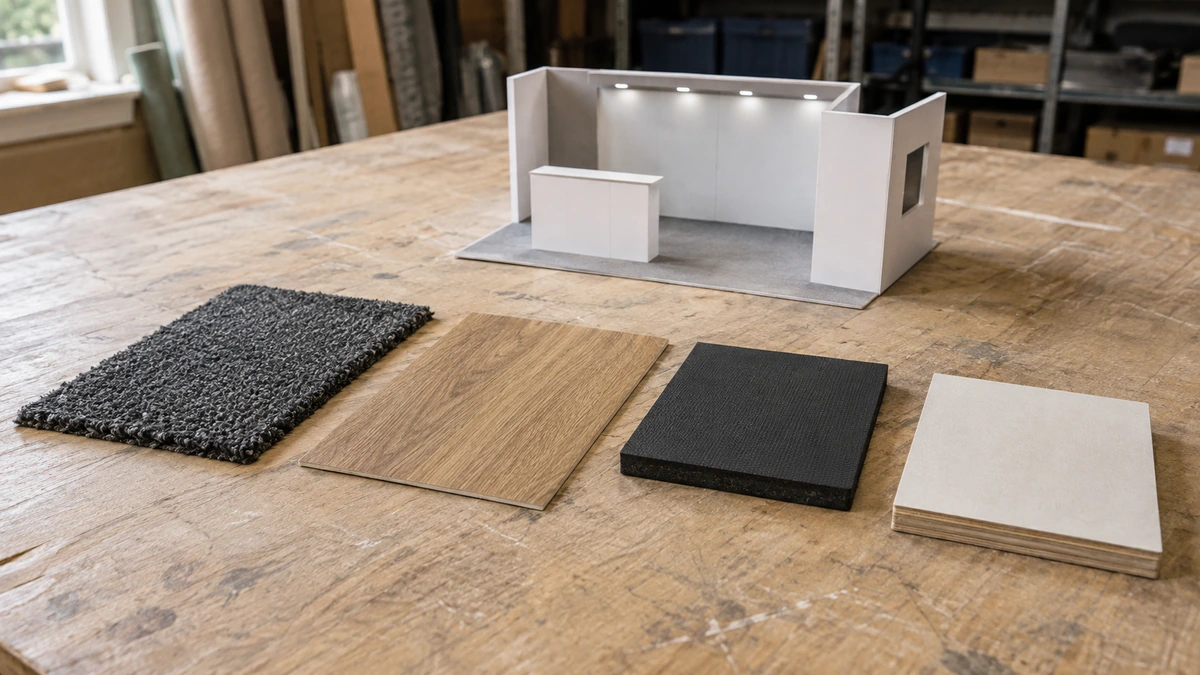
The wood-look floor in your booth rendering may look right, but that image cannot tell you how it feels after a day of standing, whether a demo cart will roll across it, or where the seams will land. Choosing trade show booth flooring means checking those details before you order.
For a booth built around conversations, start by comparing carpet with a firm pad against a cushioned modular floor. If you need a showroom look or a surface you can wipe clean, bring vinyl into the comparison. Reserve a raised floor for a reason that justifies the extra structure, access planning and installation work. Here is how to make those choices before the design becomes an order.
First, separate the finish from the floor underneath
A wood effect can be printed on a thin vinyl sheet, bonded to a foam tile, or applied over a rigid panel. The appearance tells you little about the complete floor.
Ask your exhibit partner to identify three things: the surface people touch, any padding beneath it, and the base that supports the assembly. A raised platform adds another structural layer. Carpet, vinyl and wood-look finishes can all sit on top of it, so “vinyl or raised flooring” is not an either-or choice.
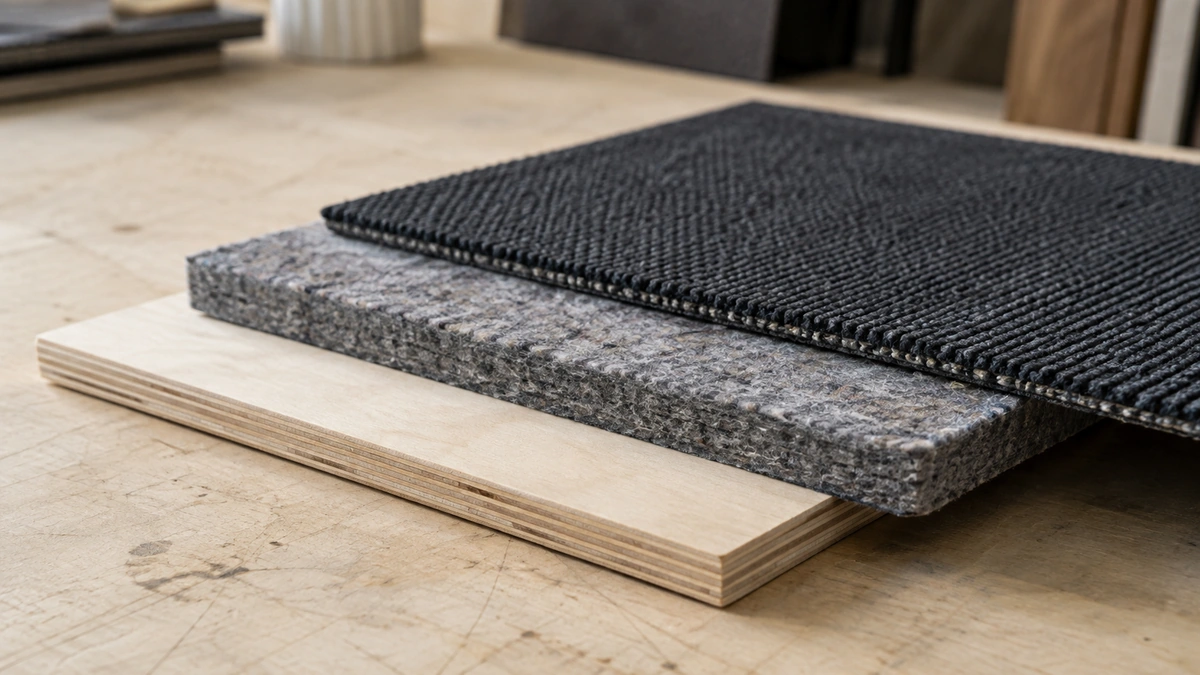
This distinction matters most around equipment. A surface that resists wear is not necessarily able to carry a machine, and a platform load rating does not establish the capacity of the venue floor below. Before accepting a flooring proposal, show the supplier the equipment weight, feet or caster positions, and the route used to move it into place. Have the responsible designer and venue confirm the support arrangement where needed.
Compare the options against your booth’s main activity
| Floor option | Where it earns a place on your shortlist | What could rule it out |
|---|---|---|
| Carpet with an appropriate pad | Conversation areas where the team spends much of the day standing | A soft assembly that makes wheeled movement difficult; spills that need frequent cleanup |
| Rollable vinyl or vinyl tile/plank | A wood or stone appearance, product displays and wipeable surfaces | Unsupported seams, an uneven base or equipment that can damage the finish |
| Interlocking foam | Portable displays and standing areas where cushioning matters | Concentrated loads, unstable furniture or wheels that sink into the surface |
| Rubber tile or roll | A demonstration area where a resilient, textured surface suits the product | A finish, cleaning method or packed weight that does not suit the booth plan |
| Rigid modular panels or a raised platform | A firm display base, reusable construction or planned underfloor services | Unverified loads, unresolved entry transitions or installation work without enough time |
Carpet: a sensible starting point for a conversation booth
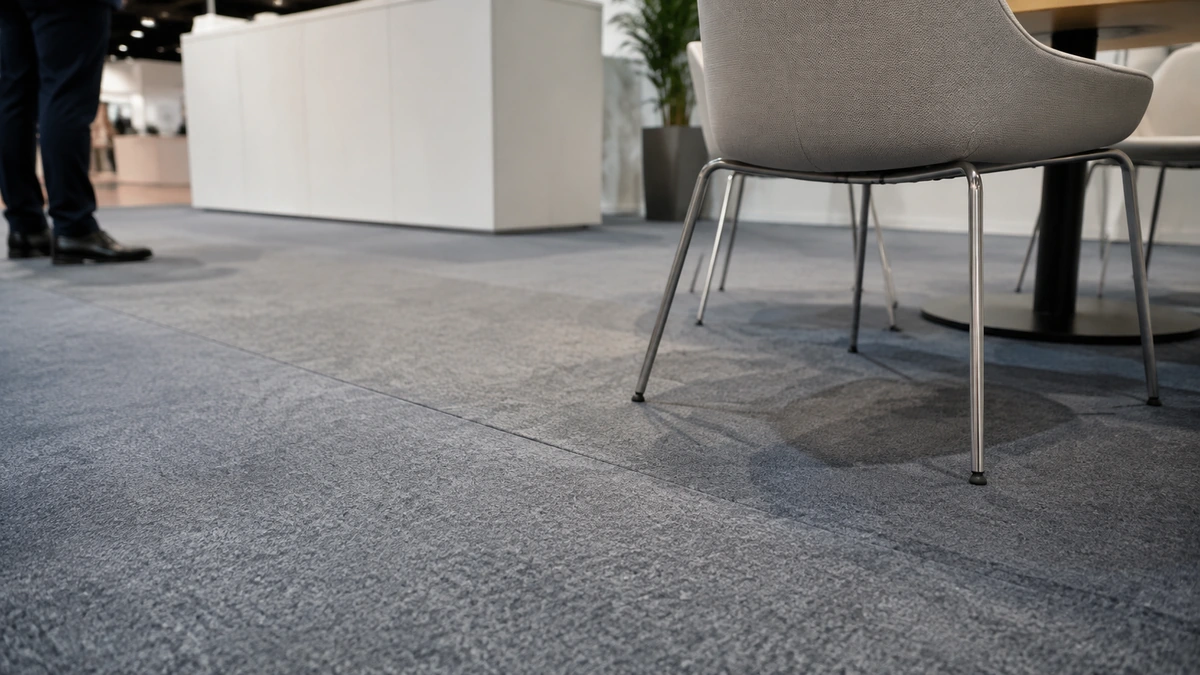
If your staff will spend most of the show talking beside a counter, carpet is worth pricing first. The important choice is the whole assembly, not just the color or a “premium” label. Compare samples with the proposed pad underneath, because the pad changes both the feel and the movement of furniture and wheels.
Avoid choosing the deepest, softest option automatically. Under the ADA Standards, carpet on surfaces required to be accessible needs secure attachment and firm backing or padding, with a maximum pile height of 1/2 inch. That figure measures the pile, not permission to add any thickness of pad. U.S. Access Board carpet provisions
Low-pile carpet with firm backing is the more useful starting point when visitors will use mobility devices or when chairs must move easily. Ask how exposed edges will be finished and how joins will be secured. For a food or liquid demonstration, also price cleaning and replacement: an attractive carpet sample does not show how you will deal with a spill during show hours.
Vinyl: choose the construction behind the wood-look image
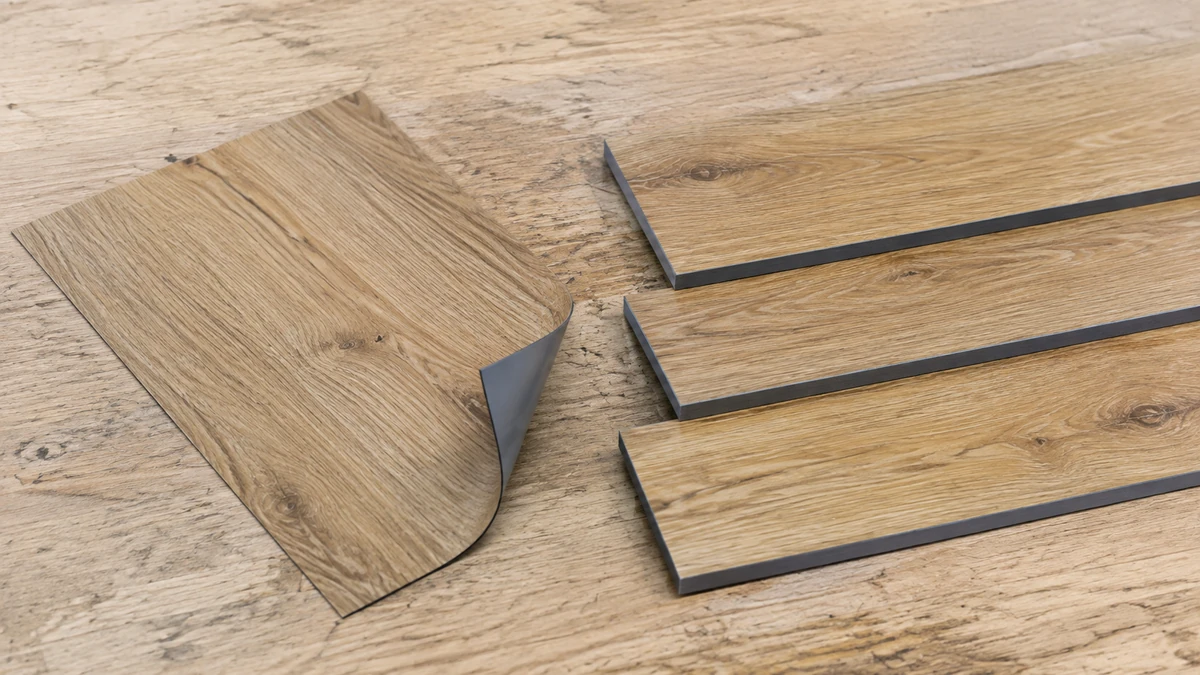
Rollable vinyl gives you a wood, stone or printed appearance without installing actual wood or stone. If you plan to reuse it, ask the supplier to specify the removal method, roll direction and protective shipping case. A vinyl finish is not automatically designed to survive repeated packing.
Vinyl tile and plank formats are different purchases. Confirm whether the proposed product is a loose sheet, an adhesive-backed tile, a click-together plank or a finish fixed to a reusable panel. Installation, removal and packing will differ even when the renderings look similar.
Use vinyl when the finish helps your product presentation or regular wipe-downs matter. Then check the base: dirt, ridges and poorly supported joins can spoil the result. Request a seam layout before approving a prominent wood grain or printed image. Put a sample beside the booth’s cabinet finish and lighting sample so you can judge whether the colors and sheen work together.
For a cart or heavy display, ask for the selected product’s indentation and rolling-load guidance. “Commercial grade” alone does not answer what happens under a narrow caster. Padding may improve standing comfort, but add it only as part of a supplier-approved assembly.
Foam and rubber: two different choices under the interlocking label
Interlocking describes how pieces join, not what they are made of. A foam tile and a dense rubber tile can behave very differently.
For portable trade show flooring, foam is attractive because it is lightweight and cushioned. Its weakness can be the small contact area under a cabinet foot or wheel. Ask whether your proposed furniture could leave permanent indentations and whether the supplier recommends load-spreading pads. Test the exact tile with the furniture rather than assuming every soft floor works the same way.
Rubber is worth considering when a textured, resilient surface fits a demonstration area. Compare the proposed roll or tile with your actual use: can you clean a demo spill from its texture, and does the packed weight fit your shipping plan? Request a sample and care instructions. The word “rubber” does not establish a load rating or guarantee that the surface will stay slip resistant under every condition.
With either option, assemble a small sample area and check the joins, exposed edges and furniture stability. Push the actual cart across it if possible. For a repeated show program, check the packed weight and confirm that replacement tiles will match the existing connectors. Easy assembly does not establish who may do the work; check whether the event permits your team to install it or requires a designated contractor.
Hard surfaces and raised platforms: pay for a useful function
Rigid modular panels can give a booth a firm base without the feel of a soft mat. If you prefer real hardwood or laminate planks, ask about the required base, whether the material needs to sit in the hall before installation, and whether the joints can be taken apart without damage. The finished appearance may suit your display, but compare those installation and reuse details with a wood-look vinyl sample. A thin click-together finish is not the same thing as a structural deck; get the proposed construction in writing before deciding it can support equipment.
A raised platform makes more sense when your design needs planned cable routes beneath several counters or a deliberate change in floor level. Ask whether the panels can be lifted to reach those services after installation, and how access will work once the counters are in place. Height is useful only if the space beneath it solves a problem in your layout.
For a simple booth with a backwall and reception counter, keep a floor near aisle level on the shortlist. Raising the entire booth can consume space at the entrance and add panels, edge finishes and installation work without solving a significant problem.
If you do raise it, have the supplier show the accessible entry and the complete support layout. A load spread across a panel, a load on one equipment foot, and a cart rolling over a joint are different conditions. Ask which of those the quoted rating covers. Do not divide the machine’s total weight by the booth area and treat the result as proof that the platform is suitable.
Resolve edges and access before approving the layout
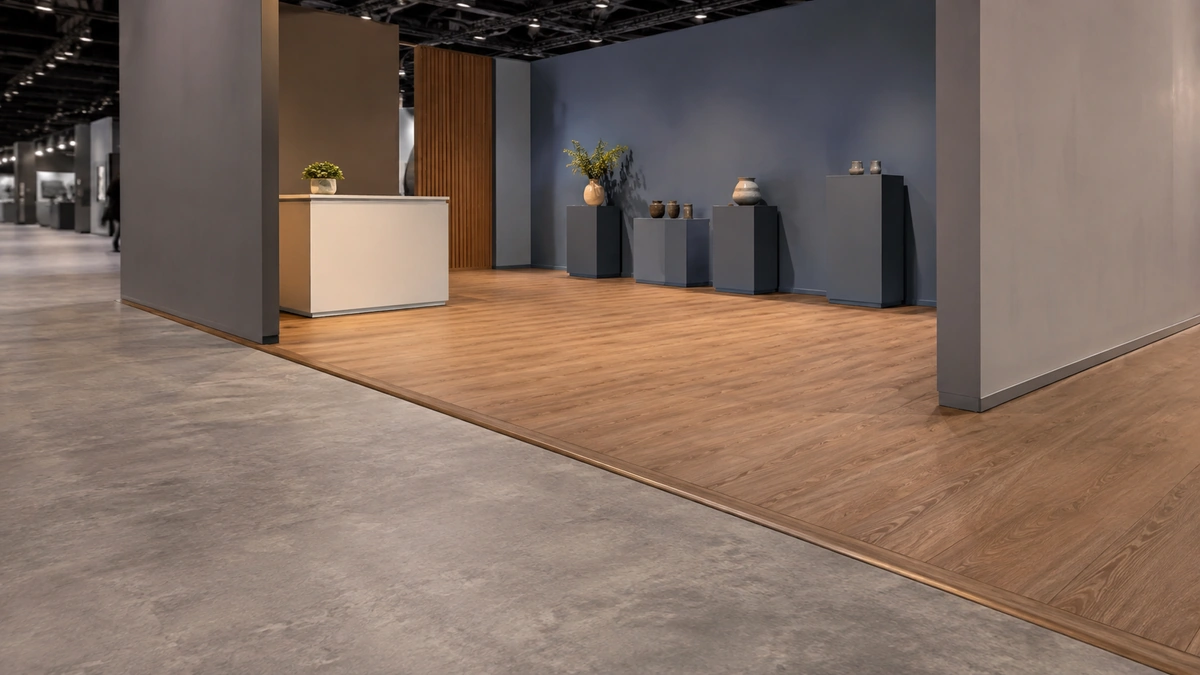
The entrance is part of the floor choice. Under the ADA Standards’ general rules for changes in level, a vertical change can be up to 1/4 inch. Changes above 1/4 inch and up to 1/2 inch need a bevel no steeper than 1:2. Above 1/2 inch, a compliant ramp, curb ramp or appropriately sloped walking surface is needed. A short decorative trim is not automatically an accessible ramp. U.S. Access Board surface guide
Have the designer check the full route from the aisle to the places visitors need to reach, including counters and demonstrations. This is more than an edge-height check: surface firmness, slip resistance, clear space and the ramp layout also matter. Confirm the proposed design with the event and the appropriate accessibility adviser; a product labeled “ADA compliant” does not approve the assembled booth.
Within the booth, avoid putting a change of material right where people turn, line up or move a cart. Mark joins, exposed corners and transitions on the floor plan. That lets the installer resolve them before cabinets and products hide the problem.
Compare the installed cost, then agree on the sequence
A material price per square foot is only useful if you know what it buys. Ask competing suppliers to quote the same floor area and show whether the price includes:
- The finish, padding or base, plus cuts and waste.
- Edge trim, transitions and any access ramp.
- Freight, show-site material handling, installation and removal.
- Protective covering and cleaning before opening.
- Return packing, storage or disposal after the show.
For a single event, a rental floor may be easier to manage because you do not have to retain the material afterward. For repeated events, compare buying and reusing it against renting at each location, including return freight, storage, cleaning and replacement pieces. Do not count a purchase as reusable until someone has explained how it will be removed, packed and checked before the next show.
Agree on installation order as well as price. The crew needs to know when underfloor services will be ready, when the finish goes down, and how equipment reaches its final position without damaging it. Some heavy equipment may need to be positioned before surrounding flooring is completed. Have the exhibit partner coordinate that sequence with the relevant service contractors instead of leaving it to move-in day.
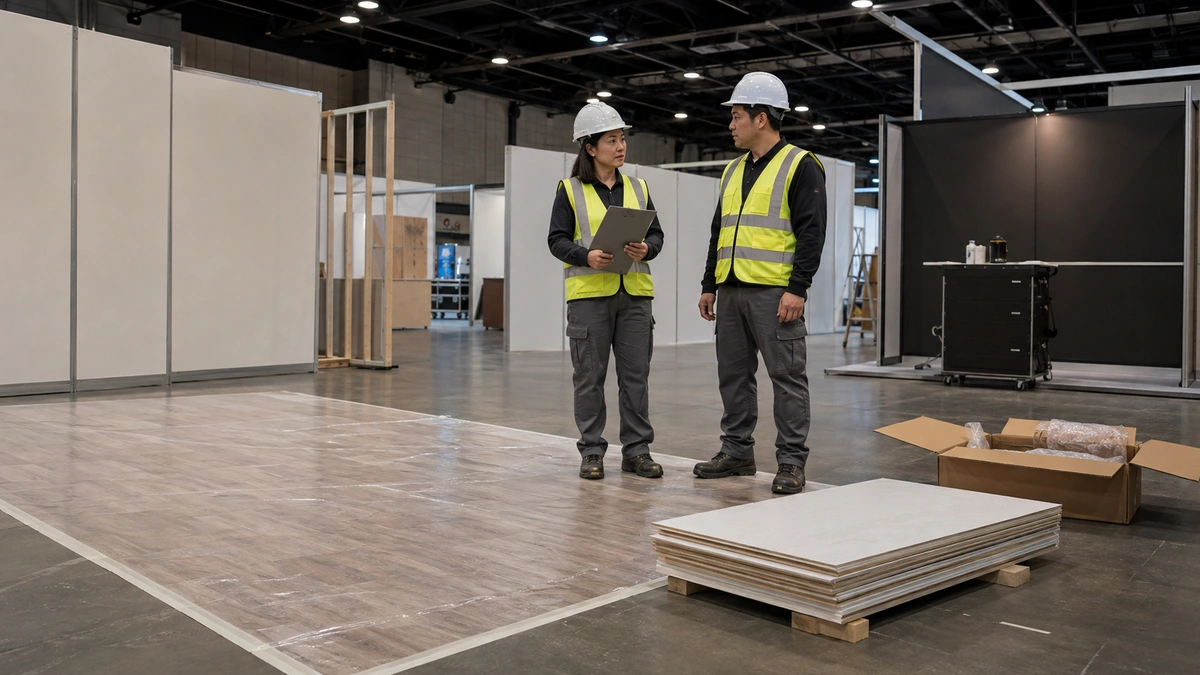
Before ordering, check the current exhibitor manual for permitted floor coverings, required fire documentation, approved tape or adhesive, labor rules and removal responsibilities. These details belong to the actual event and venue; they cannot be settled by a general flooring guide.
FAQs
Can I skip new flooring if the venue is already carpeted?
Possibly. Ask the organizer whether the existing floor satisfies the booth’s floor-covering rules and whether additional covering is optional. Then request a current image or sample description of the hall carpet. If it suits your brand and furniture, retaining it may remove an unnecessary order. If you want to cover it, have the flooring supplier confirm that the new assembly is suitable over that carpet; a hard hall slab and existing carpet are different bases.
Does a nominal 10 × 10 flooring kit cover the entire booth?
Check the assembled dimensions, not just the kit name. Border pieces and connector geometry can affect the finished size. Ask for the drawing with borders included and compare it with the actual booth plan. Resolve any uncovered strip with the supplier and organizer before buying; do not assume a kit labeled 10 × 10 finishes at exactly 10 feet in both directions.
How do I calculate how much flooring to order?
Start with the approved plan: a rectangular 10 × 20-foot area is 200 square feet. Then ask the supplier to calculate the order quantity from the actual roll width or tile layout, including cuts, pattern matching, borders and any separately covered ramp. Do not apply a guessed waste percentage or subtract every cabinet footprint; the installation sequence may require flooring beneath some furniture.
Is a reusable or recycled floor automatically the greener choice?
No single label settles that comparison. Ask how many uses are planned, how far the floor will travel, what gets replaced after each show, and whether a local outlet will actually accept the material at the end. Recycled content describes what went into a product; it does not guarantee local recycling after your event. Choose the option with a credible reuse or recovery plan for your show schedule.
Final Thoughts
Choose the flooring with your equipment, entrances, and installation sequence in mind. Share your marked layout and preferred finish with KingExhibits to discuss how the flooring fits the overall booth design and build. Before ordering, ask what the proposed work includes for edges, seams, and support. Confirm any remaining items with the flooring supplier or official service contractor, as appropriate.