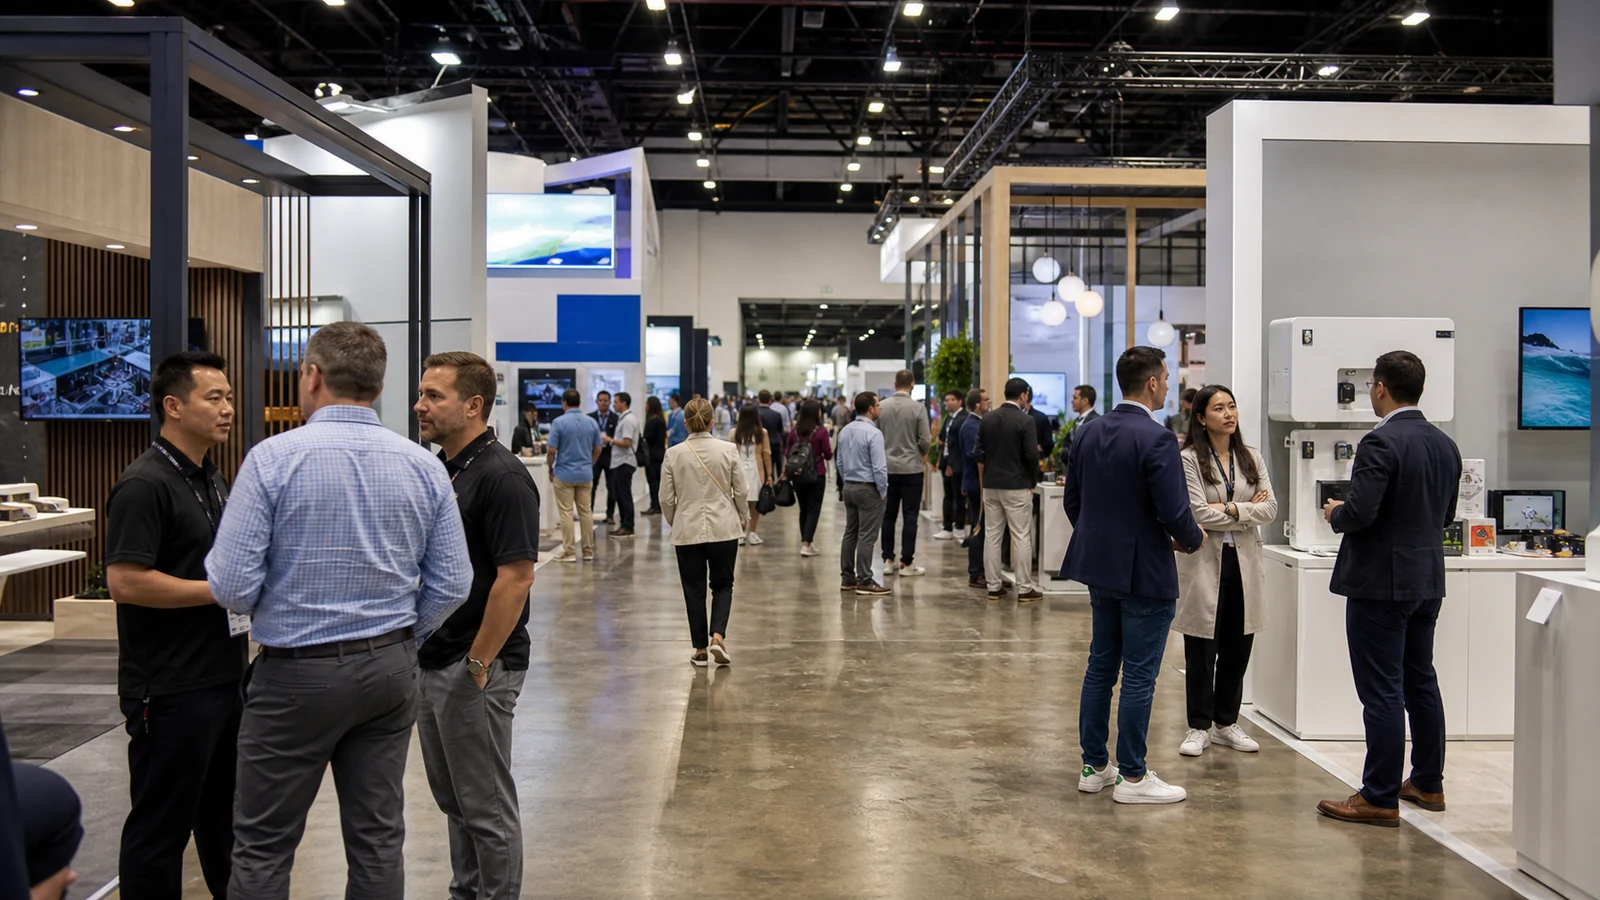
A booth rendering is not ready for approval just because it looks polished. Before you release the design, you need six connected decisions that explain what the booth must achieve, what visitors need to see or do, which show conditions control the space, and how the approved concept will reach the floor. This trade show booth planning checklist turns those decisions into a usable project brief.
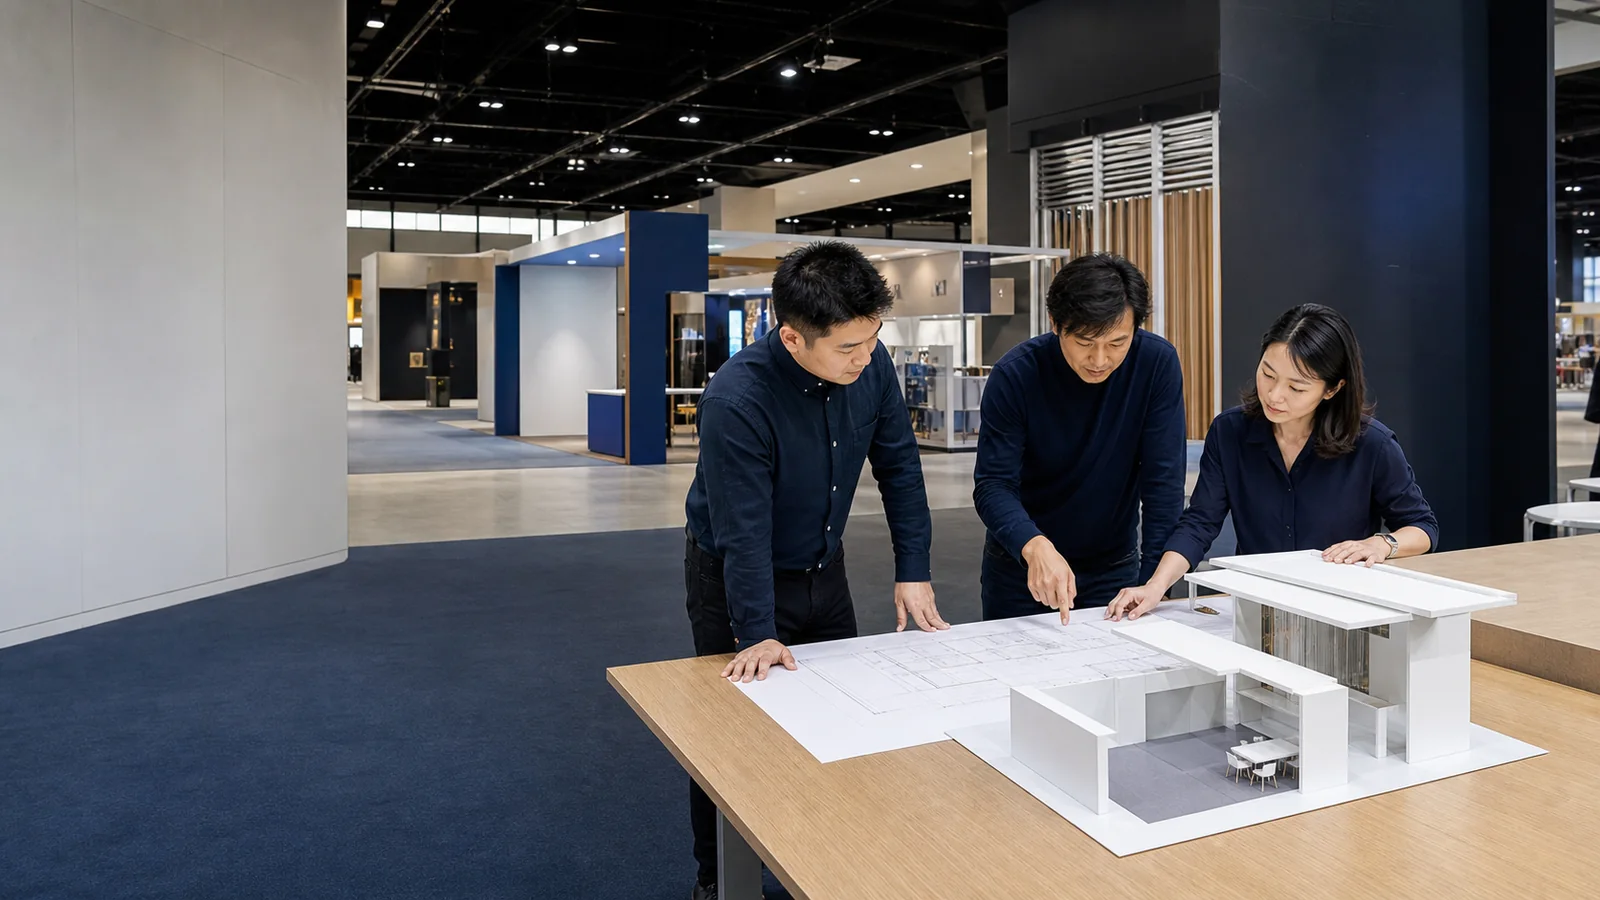
What This Six-Step Booth Planning Checklist Controls
The six steps control the decisions behind the design, not only its appearance. Start when a show is selected or shortlisted and a booth space is being evaluated or has been assigned. Finish when the design direction, scope, technical inputs, responsibilities, and opening-readiness handoffs are approved.
| Step | Required input | Decision to approve | Evidence to retain | What it prevents |
|---|---|---|---|---|
| 1. Goal | Event purpose and desired result | The booth's primary job | Approved objective and success evidence | A layout trying to serve every priority equally |
| 2. Audience | Visitor questions and evaluation needs | The proof and conversations the booth must support | Audience-to-proof map | Generic displays with little decision value |
| 3. Conditions | Space facts, current rules, providers, and approvals | The actual design boundary | Floor plan, current documents, and responsibility map | A concept that cannot be approved or installed as drawn |
| 4. Activities | Products, demos, meetings, storage, and staff actions | The activity zones and visitor path | Scaled layout brief | Congestion, hidden products, or missing operations space |
| 5. Scope | Build options, graphics, utilities, and show services | What is supplied, ordered, owned, and excluded | Approved scope sheet | Gaps between the rendering, quotation, and service orders |
| 6. Delivery | Production, testing, packing, freight, and installation inputs | How the booth becomes opening-ready | Release package and closed punch list | Discovering avoidable failures during move-in |
Keep the six decisions in one current brief. Responsibility and approval evidence are handled centrally in Step 3.
Step 1 — Define the Event Goal and the Booth's Primary Job
Define one primary result before you ask anyone to solve the floor plan. The booth may support several activities, but one must lead the design. Otherwise, every internal request becomes another counter, screen, product, meeting table, or message competing for the same space.

Choose one primary event objective
Start with the result that justifies exhibiting. It might be scheduled meetings, qualified conversations, live demonstrations, product evaluation, partner discussions, or market learning. “Brand awareness” is too broad unless you also define what a useful visitor should understand or do.
Supporting objectives can remain, but they should not carry equal design weight. Live product evaluation prioritizes access, viewing, utilities, and reset space; scheduled meetings prioritize reception, privacy, seating capacity, and calendar control.
Translate the objective into one primary visitor action
Turn the objective into one observable action: understand the offer from the aisle, watch a demonstration, handle a product, speak with a specialist, attend a scheduled meeting, or book a next step. That action tells the designer what must be visible and easy to reach—and what the booth does not need.
Record how the team will recognize useful results
Choose evidence that matches the objective, such as completed meetings, qualified conversations, demonstrations delivered, samples evaluated, or agreed next steps. Before concepts begin, record the primary objective, the primary visitor action, and how the team will recognize that the action occurred. Assigning the responsible person is part of the Step 3 responsibility map.
Step 2 — Identify the Audience and the Proof They Need
Audience planning becomes useful only when it changes the booth. Instead of writing a broad persona, identify the questions people are likely to ask, the proof they need, the depth of discussion they expect, and the next step they can realistically take.
Define the conversations the booth must support
List the conversations that matter at this event. Ask what brings the right visitor to the booth, which claim they will expect you to prove, what product or specialist supports that proof, which discussion needs privacy, and what useful next step remains if the evaluation cannot be completed on the floor.
Convert audience needs into proof
Match each important need with an appropriate form of proof. The answer may be a physical product, sample, live or recorded demonstration, application comparison, technical diagram, specialist conversation, meeting area, reference document, or follow-up asset. Do not add technology only because it appears engaging; add it when it helps someone understand, evaluate, or act.
| Audience need | Proof or interaction | Booth implication |
|---|---|---|
| Understand the offer quickly | One clear message and recognizable application | Long-distance visibility and an uncluttered first view |
| Evaluate a product | Product access, sample, comparison, or demonstration | Suitable height, reach, lighting, utilities, and viewing room |
| Discuss a complex requirement | Technical specialist and supporting material | Defined conversation point and access to current information |
| Hold a scheduled meeting | Reserved seating and a meeting owner | Capacity, privacy level, waiting, and calendar coordination |
| Confirm a next step | Lead record, promised asset, or booking method | A reliable capture point and clear handoff |
Plan staff roles around visitor decisions
Only define roles that affect the space: greeting and qualification, demonstration operation, technical discussion, scheduled meetings, and reset. If everyone is expected to work from anywhere, the floor plan cannot support predictable visitor movement.
Write the proof and conversation requirement next to each audience need. If a proposed screen, counter, game, display, or piece of furniture supports neither, challenge it before it becomes part of the approved design.
Step 3 — Confirm the Space, Configuration, Rules, and Approval Path
Confirm the real booth condition before treating the footprint as a design canvas. A 10×20, 20×20, or larger measurement describes area, but not the number of open sides, neighboring exhibits, columns, doors, utility locations, sightline conditions, approval requirements, or service responsibilities.
Verify the real booth condition
Collect the show name, venue, dates, booth number, footprint, configuration, exposed sides, neighboring conditions, and known building features. Note any columns, access doors, floor ports, fixed equipment, overhead conditions, or service locations that may affect the concept.
The configuration matters because an inline space, corner, peninsula, island, or organizer-defined arrangement can change entrances, walls, graphics, sightlines, and circulation. The IAEE Guidelines for Display Rules and Regulations describe common display concepts, but the current show documents and approvals control your actual project.
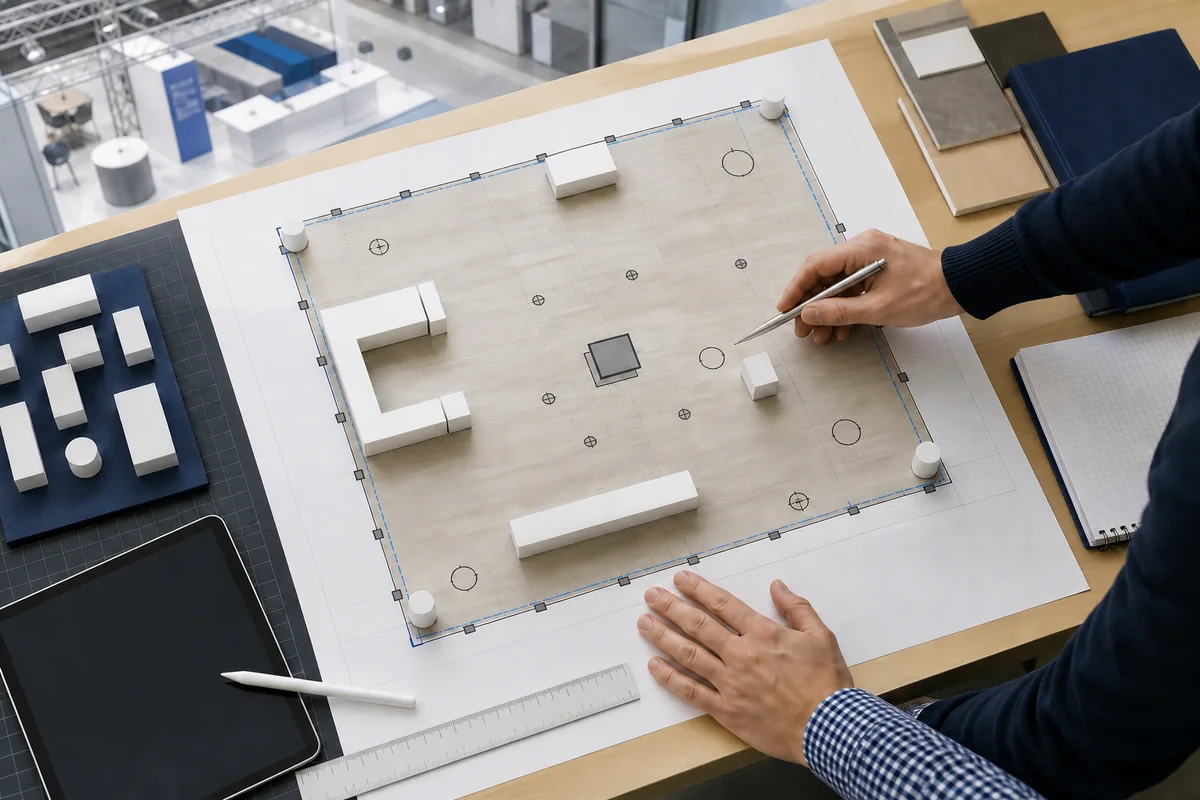
Use the current documents as the control source
Build the design record from the current floor plan, exhibitor manual, display rules, submission instructions, service forms, move-in information, and organizer updates. A previous year's manual can identify questions; it cannot establish current dates, providers, dimensions, rates, or permissions.
Highlight every requirement that can change the booth or its delivery, including:
- display height, setbacks, sightlines, and unfinished surfaces;
- hanging signs, rigging, covered areas, multilevel elements, or engineering;
- fire review, materials, products, vehicles, batteries, cooking, lasers, or live equipment;
- electrical, internet, plumbing, AV, cleaning, and other show services;
- accessibility, entrances, level changes, circulation, and usable interaction points;
- insurance, exhibitor-appointed contractor registration, badges, and work access;
- freight receiving, target times, material handling, installation, and dismantling; and
- drawing, form, order, and approval deadlines.
Accessibility should be considered in the real visitor route rather than added as a final note. Review the approach, entrance, circulation, meeting and demonstration use, and any level changes against the applicable requirements, including the U.S. Department of Justice 2010 ADA Standards for Accessible Design, with the responsible project parties determining what applies.
Build the responsibility and approval map
Different parties may control different parts of the project. Depending on the event, those parties can include the organizer, venue, general services contractor, official service providers, booth partner, carrier, exhibitor-appointed contractor, and your internal team.
This is the article's central responsibility record. For every relevant scope, name who provides the technical input, supplies the work, orders it, submits it, approves or accepts it, receives it, installs or tests it, and authorizes payment or changes. Record four separate states—drafted, submitted, accepted, and complete—with the supporting evidence.
Step 4 — Turn Products, Demos, Meetings, and Storage Into a Floor-Plan Brief
Build the floor plan from real activities before placing furniture. Products, demonstrations, meetings, visitor qualification, staff work, storage, reset, and services all compete for the same footprint. A useful brief states what each activity needs and how it connects to the visitor journey.
List the booth activities before placing furniture
Choose only the activities that support the approved objective. Depending on the project, the list may include:
- products or samples to view, handle, or compare;
- live or recorded demonstrations;
- short qualification conversations;
- longer consultations or scheduled meetings;
- educational content or application explanations;
- hospitality when it supports the meeting plan;
- lead capture and next-step booking;
- staff work, product reset, and issue escalation; and
- storage for cases, stock, literature, tools, personal items, waste, and replacement materials.
For each activity, define the expected number of people, duration, equipment, utilities, privacy, access, operator position, and reset needs. This turns “we need a demo area” into information a designer can use.
Map one real visitor journey
Walk through one realistic visit on the drawing:
- What can the visitor understand from the aisle?
- Where and why do they stop?
- Which product, message, or person provides proof?
- Where does the interaction or demonstration happen?
- How does a longer conversation begin without blocking the entrance?
- Where is the next step captured?
- How does the visitor exit while the space resets for the next interaction?
Check sightlines, queueing, congestion, staff circulation, product replenishment, demonstration reset, and access to storage. A beautiful entrance can still fail if a demonstration audience blocks it or a meeting table occupies the only practical route.

Define product and demonstration inputs
A product name and photo are rarely enough. Record dimensions, weight, handling points, mounting, access, operating sequence, power, data, ventilation, heat, noise, motion, liquids, consumables, network dependence, audience position, operator position, safety or approval needs, reset time, and fallback.
If a live demonstration fails, decide what the visitor will see instead. A tested recording, static sample, diagram, or scheduled follow-up can preserve the conversation, but it must be planned before the live system is placed on the drawing.
Protect storage and operations space
Storage should be calculated from real inventory and replenishment, not treated as leftover space. List what must be stored, its packed and working dimensions, daily quantity, access frequency, and responsible person. Include the route used to restock products or remove waste without interrupting a meeting or demonstration.
Before visual approval, test the proposed layout at scale. A printed drawing, taped floor mock-up, or simple physical walk-through can reveal blocked views, narrow routes, awkward demonstrations, and missing reset space while changes are still inexpensive.
Step 5 — Choose the Build Direction and Freeze Graphics, Utilities, and Services
Choose the build direction by matching the expected show program, design requirement, ownership model, and delivery burden. Rental, custom fabrication, modular or reusable systems, and owned elements can all be appropriate; the right answer depends on how the booth will be used and what the confirmed scope includes.

Compare rental, custom fabrication, modular or reusable, and owned elements
Use the same factors for each option:
| Decision factor | Questions to answer |
|---|---|
| Show program | How many times might the assets be used, and how often will footprints or locations change? |
| Customization | Which shapes, finishes, functions, or brand details are essential rather than optional? |
| Ownership | Which components are rented, purchased, client-supplied, returned, stored, or discarded? |
| Delivery | What are the packed pieces, weight, cases or crates, assembly needs, and installation conditions? |
| Reuse | Can graphics, products, furniture, lighting, and structural parts be updated independently? |
| After-show work | Who inspects, repairs, refurbishes, stores, returns, transfers, or disposes of each asset? |
A low first quotation may create later freight, storage, refurbishment, or graphics costs. A highly reusable system may reduce replacement work but require stronger control over inventory, configuration, and future show rules. Compare the total program you expect, not only the first event.
Freeze the visual and production inputs
Approve the copy, artwork, logos, colors, graphic locations, viewing distance, materials, finishes, equipment, and product information that affect production. Record the source file, version, dimensions, color requirements, approval owner, and acceptance criteria.
Check what happens when a visitor or piece of furniture stands in front of the graphics. A message placed correctly in the artwork can still disappear after counters, products, screens, or crowds are added. Review the finished composition, not isolated files.
Freeze technical and show-service inputs
List every service the booth actually needs: power, electrical labor, internet or data, AV, lighting, rigging, plumbing, cleaning, furnishings, lead retrieval, and other applicable services. Record the controlling drawing, required location and capacity, installation sequence, and opening test. Use the Step 3 map for the provider, order owner, status, and confirmation.
Do not place a screen, machine, lightbox, suspended element, sink, or live system without connecting it to the required service and test.
Confirm ownership, inclusions, exclusions, and change rules
Approve a scope sheet with the rendering. Identify what is rented, purchased, returned, stored, reused, client-supplied, official-provider supplied, coordinated, or excluded. Reference the Step 3 map for change authority and written approvals.
Words such as “turnkey,” “standard services,” or “installation included” are not enough by themselves. Replace them with named deliverables, responsibilities, assumptions, and exclusions. A visual cannot close a commercial or operational gap.
Step 6 — Approve Production, Pre-Build, Freight, Installation, and Opening Readiness
Design approval should connect directly to production and opening readiness. The release package must show what will be made, how it will be checked, how it will travel, who will install it, which services must be complete, and how open issues will be closed.
Approve what will be produced and how it will be checked
The approved package may include floor plans, elevations, applicable production or engineering drawings, material and finish schedules, graphics, equipment, component lists, labeling, assembly logic, and acceptance criteria. The exact files depend on the confirmed scope.
Check that the documents agree with each other. A graphic schedule should match the elevations; equipment should match the power and data plan; products should match the mounting and handling details; and the component list should match what will be packed.
Pre-build or test the elements that can fail
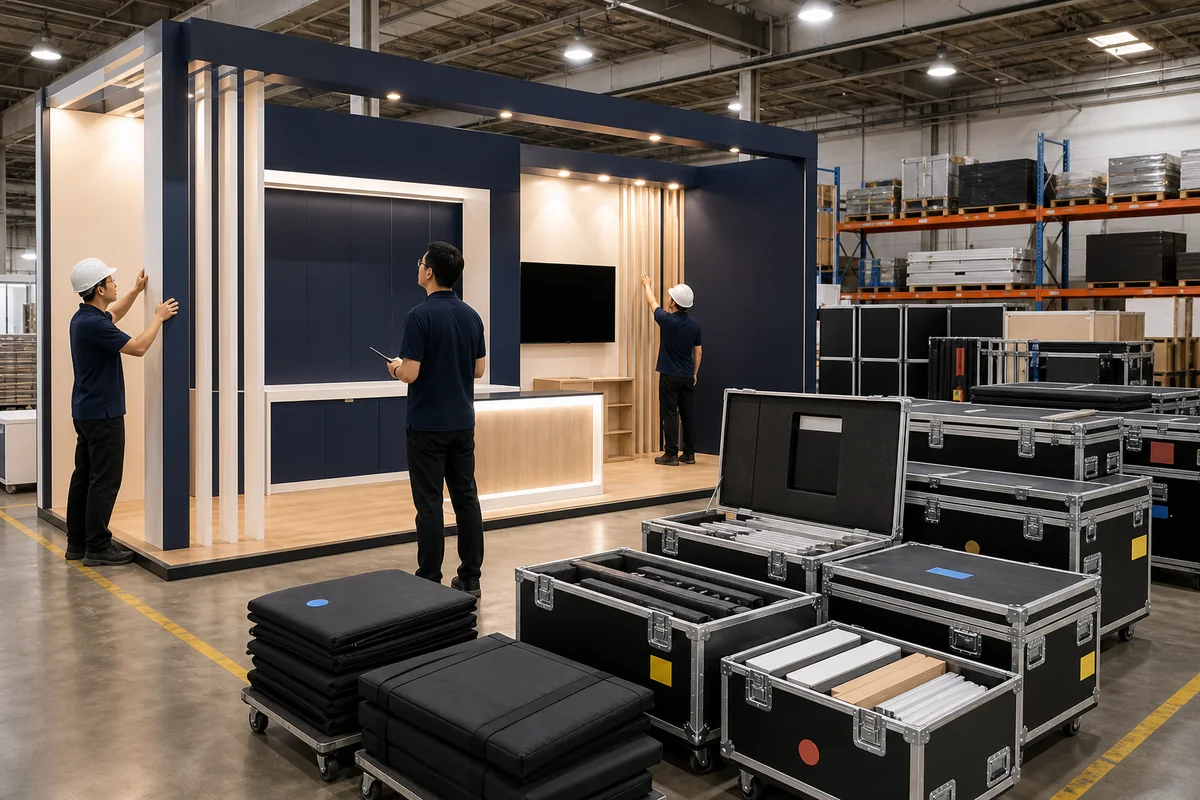
Pre-build or dry-assemble the relevant structure before shipment when the project risk justifies it. Test graphics fit, products or mock-ups, demonstrations, AV, lighting, cables, hardware, labels, assembly order, reset, and packing as applicable.
Record each issue, correction, retest, and closure against the Step 3 owner map. A photograph can show that an assembly existed, but it does not replace dimensions or test results.
Connect packing and freight to installation
Build the inventory before packing. Record the pieces, relevant dimensions or weight, case or crate, label, destination, route, carrier, tracking, and material-handling handoff. Prepare outbound information before the inbound shipment leaves.
Keep three scopes separate:
- Transportation: moving the booth or products between locations.
- Material handling or drayage: receiving, unloading, delivery to the booth, empty-container handling, and reloading under the event's terms.
- Installation and dismantling labor: assembling and removing the booth.
They may connect operationally, but they may be ordered, controlled, and invoiced by different parties. The installation plan should connect the labor call, supervisor, access, freight status, assembly sequence, service completion, product placement, demonstration setup, and opening-ready deadline.
Close one opening-readiness punch list
Inspect the installed booth against the approved brief: structure, graphics, products, demonstrations, utilities, AV, lighting, storage, cleanliness, damage, visitor flow, reset, and lead capture. Close each issue through the responsibility map, and keep an authorized decision maker available until opening readiness is accepted.
Final Booth Design Approval Checklist
Use this as a release check, not as a second explanation of the six steps. Do not approve the design until each item is complete or the remaining assumption is explicitly accepted and dated.

Show, space, and control documents
- Show, venue, dates, booth number, footprint, configuration, and exposed sides are confirmed.
- Current floor plan, exhibitor manual, display rules, service forms, and submission instructions are retained.
- Physical constraints and controlling design, service, move-in, and opening requirements are recorded.
Objective, audience, and booth activity
- One primary objective, one primary visitor action, and the result evidence are approved.
- Important audience questions are mapped to products, proof, demonstrations, people, or follow-up assets.
- Products, demos, meetings, lead capture, storage, reset, and staff activities are included in the brief.
Layout and technical inputs
- One visitor journey has been tested from aisle message to interaction, next-step capture, and exit.
- Sightlines, entrances, circulation, queueing, staff routes, reset, storage, and applicable accessibility needs have been checked.
- Product and demo fields from Step 4 are complete.
- Graphics, materials, finishes, equipment, utilities, and show-service inputs are frozen.
Scope, responsibilities, and approvals
- Build direction and asset ownership are approved.
- Inclusions, exclusions, client-supplied items, official-provider work, and coordination boundaries are written.
- The Step 3 responsibility map has no unassigned order, submission, approval, installation, test, payment, or change decision.
Production and opening readiness
- Coordinated drawings, finishes, graphics, equipment, components, and acceptance criteria are released.
- Pre-build/testing, inventory, packing, freight handoff, and installation sequence are confirmed.
- The installed-booth punch list has a defined closure method and authorized acceptance owner.
How Early Should You Start Booth Planning?
Work backward from the earliest binding external deadline:
planning start date = earliest binding external deadline − task duration − internal approval and revision buffer
That deadline may be a design submission, engineering acceptance, service order, production release, advance-warehouse receiving date, or move-in requirement. Identify it from current show documents and written provider confirmations.
For example, if a design must be accepted by June 1, the required design and production preparation takes six weeks, and your internal review and revision buffer is two weeks, the latest calculated start date is April 6. That is an example calculation, not a universal eight-week rule. If product data, approvals, or responsible parties are still missing on April 6, start earlier.
Use five planning bands: concept and budget; current documents and inputs; approval and release; delivery confirmation; and opening readiness. Connect dependencies rather than listing isolated dates. A product decision, for example, can affect mounting, power, structural review, shipping, and installation.
Custom structures, overseas freight, hanging signs, live equipment, complex demonstrations, engineering, or formal approvals can move the start date earlier. There is no useful universal 60-day or 90-day rule unless it covers the actual controlling work.
Common Booth Planning Mistakes That Create Late Changes
| Mistake | Downstream effect | Better control |
|---|---|---|
| Approving a rendering before the objective and activity plan | Repeated layout changes when products, demos, or meetings are added | Approve objective, visitor action, and activities first |
| Treating booth size as the complete space condition | Entrances, walls, graphics, or sightlines may not fit the real configuration | Confirm the current floor plan, open sides, neighbors, and rules |
| Designing from a previous manual | Current providers, deadlines, dimensions, or forms may differ | Replace assumptions with current documents and confirmations |
| Adding technical equipment late | Utilities, structure, service orders, and installation can change | Freeze dimensions, weight, power, data, mounting, and operation before release |
| Leaving services without an owner | An essential order or approval can remain unplaced | Assign provider, order owner, technical input, status, and test |
| Treating freight, material handling, I&D, rigging, and electrical as one scope | Quotes and handoffs become difficult to compare or control | Keep each responsibility and invoice boundary separate |
| Comparing unequal proposals by total price | A lower number may hide exclusions, allowances, or after-show obligations | Normalize deliverables, ownership, assumptions, and change terms |
| Skipping pre-build, inventory, or punch-list closure | Avoidable fit, missing-part, or service issues appear during move-in | Test, document, correct, retest, and close before opening |
Late changes are not automatically mistakes. When a product, rule, or event condition changes, record the trigger, affected drawings and services, schedule and cost effect, and new approval. A “small” screen move can affect structure, power, data, sightlines, furniture, installation, and testing, so update every affected document rather than only the rendering.

Trade Show Booth Planning FAQ
Can you start booth planning before the exhibitor manual is released?
Yes. You can define the objective, audience-to-proof map, products and demonstrations, draft activity zones, budget boundary, ownership, and assumption log. Use an earlier manual only to identify questions. Replace every assumed date, provider, rule, rate, label, form, and approval path when the current documents are released.
Mark each assumption with a replacement trigger. Do not let “awaiting manual” stop independent work, and do not let early assumptions quietly become final.
Can the same booth design be reused for another trade show?
The assets or design system may be reusable, but the approved layout is not automatically reusable. Revalidate the footprint, configuration, open sides, show rules, graphics, products, demonstrations, utilities, inventory, provider responsibilities, and approvals for every event. Record which components can change independently and what must be inspected, repaired, or reconfigured.
After each show, record asset quantity, condition, packed location, ownership, graphic version, missing hardware, and repair needs. Use the real asset record—not the original sales drawing—to evaluate the next layout.
Who approves a trade show booth design?
Your designated approval owner approves the business scope, objective, budget, and brand direction. Separate technical or show-specific elements may require acceptance from the organizer, venue, engineer, fire authority, rigging provider, or another responsible party. Client approval of a rendering does not replace those approvals.
Use the Step 3 responsibility map to distinguish business approval, production release, and acceptance by the responsible show party.
Do you have to use the official show contractor for booth installation?
Not always. The current event rules determine which services are exclusive, which work an exhibitor-appointed contractor may perform, and what registration, insurance, badges, labor, supervision, or access requirements apply. Confirm the permitted scope in writing before assigning installation responsibility.
Even when an outside booth partner may install the structure, official providers may retain electrical, rigging, material handling, plumbing, internet, or other work. Separate structural installation from each reserved service; general capability does not prove event permission.
What files should you receive after booth design approval?
The release package may include the approved floor plan and elevations, production or engineering drawings where applicable, material and finish schedules, graphic files and locations, equipment and service requirements, component and inventory records, responsibility and approval status, packing and installation information, and an opening-readiness checklist. The exact file set depends on the agreed scope and responsible parties.
The package must be usable by the next person in the chain: clear file names and versions, consistent dimensions and units, correct product and service references, and visible unresolved items. An attractive PDF without revision status or technical inputs is not a complete release package.
Final Thoughts
Approve the six decisions behind the booth, not only the appearance of the rendering. Update the same brief when a product, rule, drawing, or approval changes.
If your show is selected or shortlisted, share the show, venue, dates, booth number and configuration, current manual and floor plan, objective, products or demonstrations, brand assets, budget range, existing exhibit assets, and the support scope you need. KingExhibits can use those inputs to discuss an appropriate booth-planning, design/build, rental or fabrication, coordination, installation-support, and post-show scope—with the proposal stating what is provided, coordinated, reserved, or excluded.