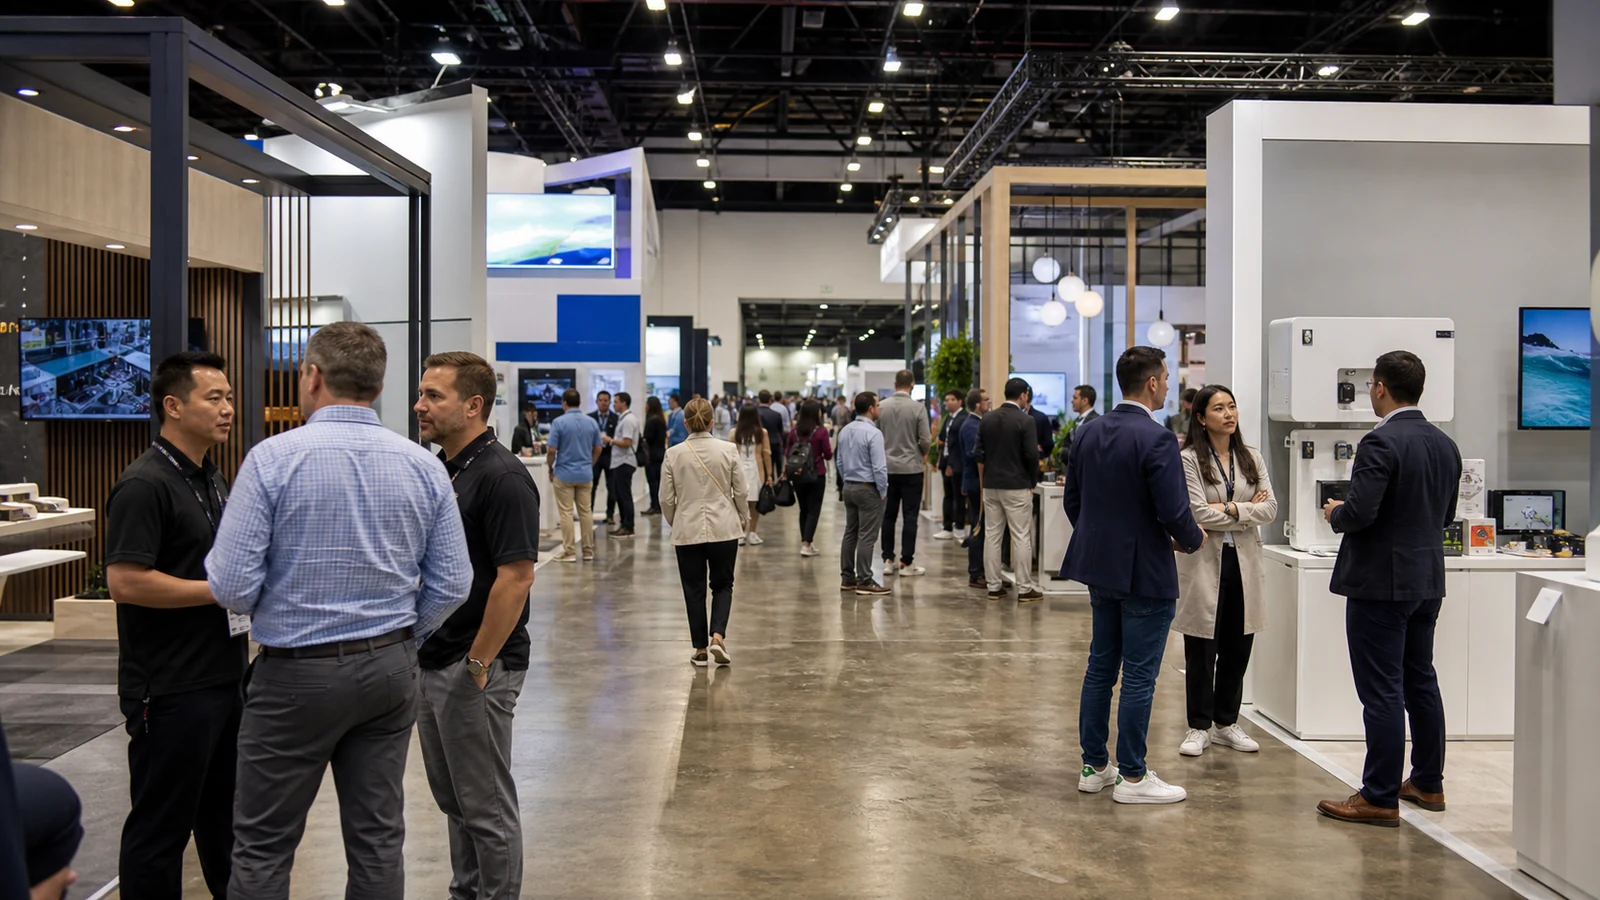
A successful trade show begins before booth design and continues after move-out. You have to choose an event with the right buyers, control the installed cost, meet the service deadlines, operate the booth for every show hour and complete the promised follow-up. These seven steps connect those decisions into one project, so a busy booth can also become a commercially useful event.
1. Prove the Show Deserves the Budget
Before you sign for space, define the buying environment your offer needs. Identify the job titles, account types, industries and territories you need to reach, then look for evidence of them in the organizer's attendee profile, exhibitor categories, education program and current floor plan.
A well-known event can still be commercially weak for a specific offer. A component manufacturer may gain more from a focused engineering audience than from a much larger general industry crowd. A biotech company may need access to a partnering system rather than a conventional booth. A regional distributor may value territory concentration more than total registrations.
Write a short event case before signing:
- target roles and account types;
- the buying or partnership situation that brings them to the event;
- the access available through exhibits, sponsorship, meetings or education;
- one primary business result and the evidence used to set it;
- the maximum total budget the opportunity can justify.
This is also where a no-go decision is cheapest. Once space and travel are committed, teams tend to defend the show by improving the booth instead of revisiting the audience.
2. Build the Total Installed Budget
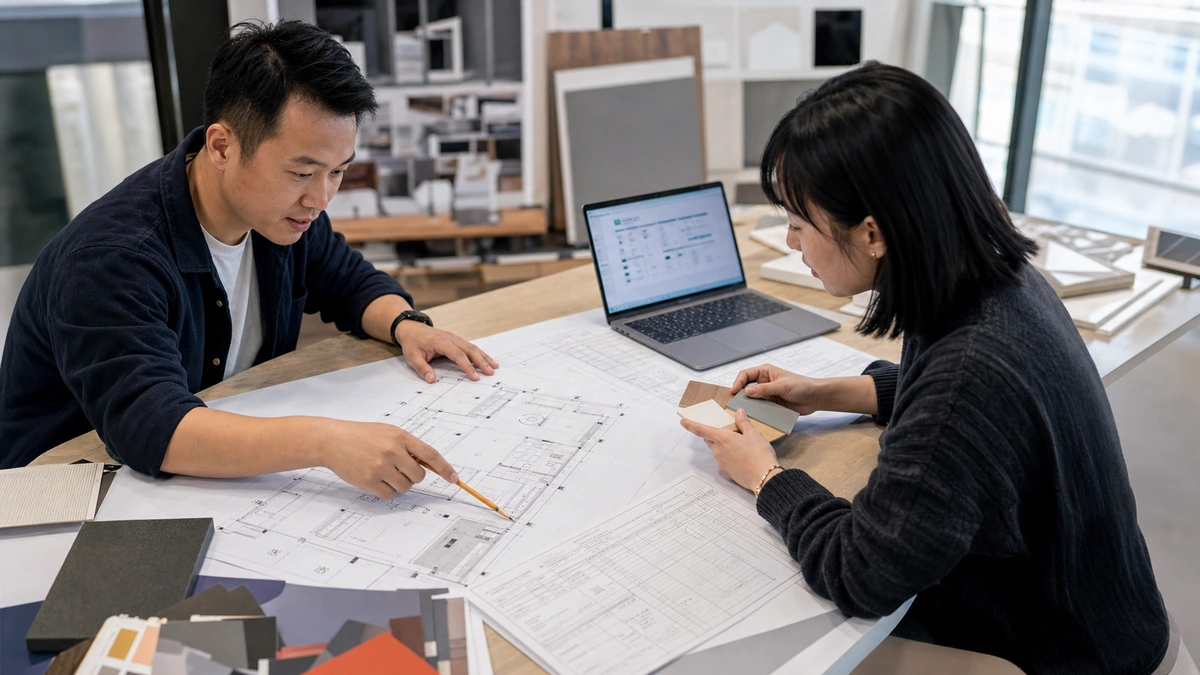
Your exhibit quote is only one line of the event cost. Put every cost owner into the same budget before you approve the design:
| Cost group | Typical items |
|---|---|
| Organizer | Booth space, corner or sponsorship fees, badges |
| Exhibit | Rental or owned structure, graphics, flooring, furniture, AV |
| Logistics | Outbound freight, advance warehouse, material handling, return freight |
| Show services | Installation, dismantling, electrical, internet, rigging, cleaning, plumbing or air |
| People | Travel, lodging, local transportation, meals and temporary staff |
| After the show | Storage, repairs, disposal, sample delivery and follow-up commitments |
Separate contracted amounts, current estimates and contingency. Show-service prices may change by order date and actual use, while freight and material handling depend on the shipment that finally arrives. Updating those estimates is part of project control, not a finance task saved for the end.
When comparing two exhibit concepts, compare installed event cost and operational risk. A lighter system may cost more to rent but less to ship and install. A dramatic feature may be affordable to fabricate yet expensive to rig, power and store.
3. Turn the Exhibitor Manual Into a Working Schedule
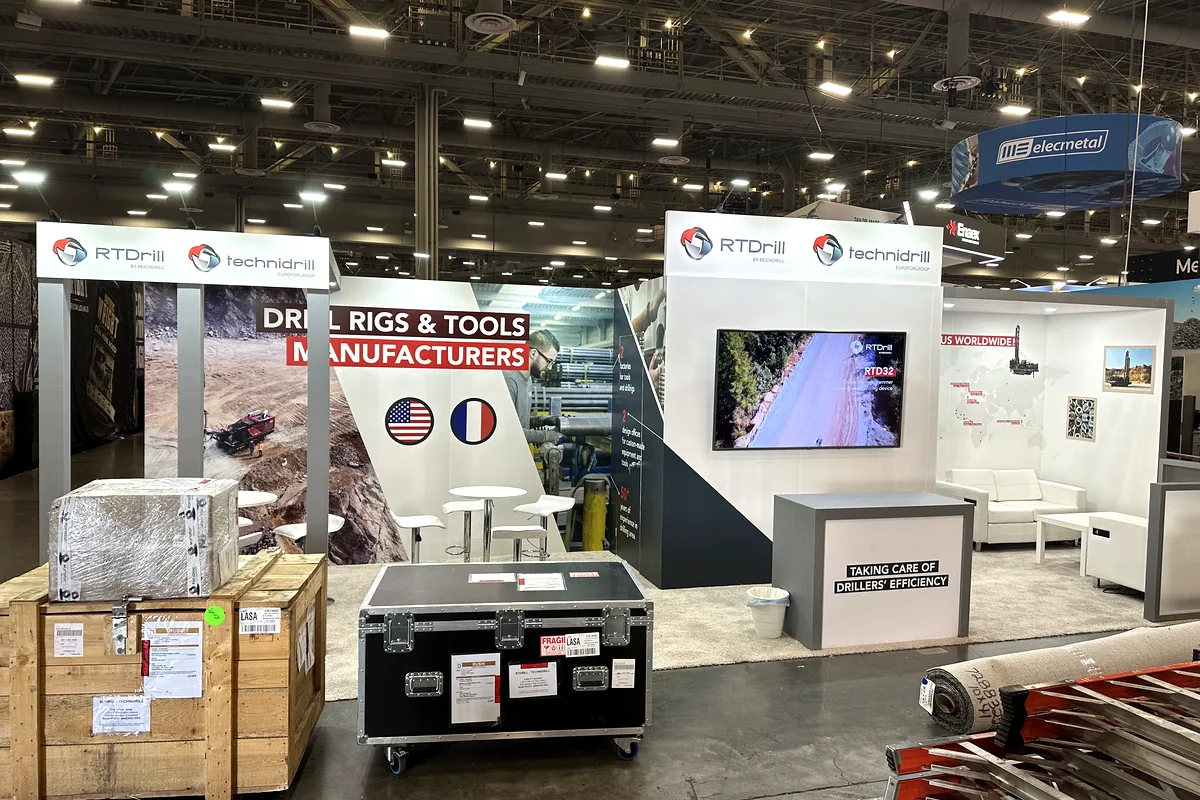
Once you choose the event, its exhibitor manual becomes the working schedule for your booth. Extract the deadlines into one reverse plan instead of leaving the document in an inbox.
Work backward from opening day through target move-in, installation, direct-to-show receiving, advance-warehouse acceptance, outbound freight pickup, graphic production and final design approval. Add dates for insurance, booth drawings, hanging signs, utilities, internet, badges, hotel blocks and appointed-contractor forms.
Each line needs an owner, an internal due date and the consequence of missing it. A useful schedule distinguishes three kinds of deadline:
- fixed: move-in targets, show opening and dismantling;
- cost-sensitive: discount service orders and warehouse windows;
- approval-dependent: engineering, fire, food sampling, vehicles or live demonstrations.
Portable booths may be planned in roughly three to four months. Custom exhibits or large equipment commonly need six to nine months, and complex overseas programs can require eight to twelve. These are working ranges; the event contract, current manual, production capacity and freight route set the actual critical path.
4. Make the Booth and Operating Plan the Same Document
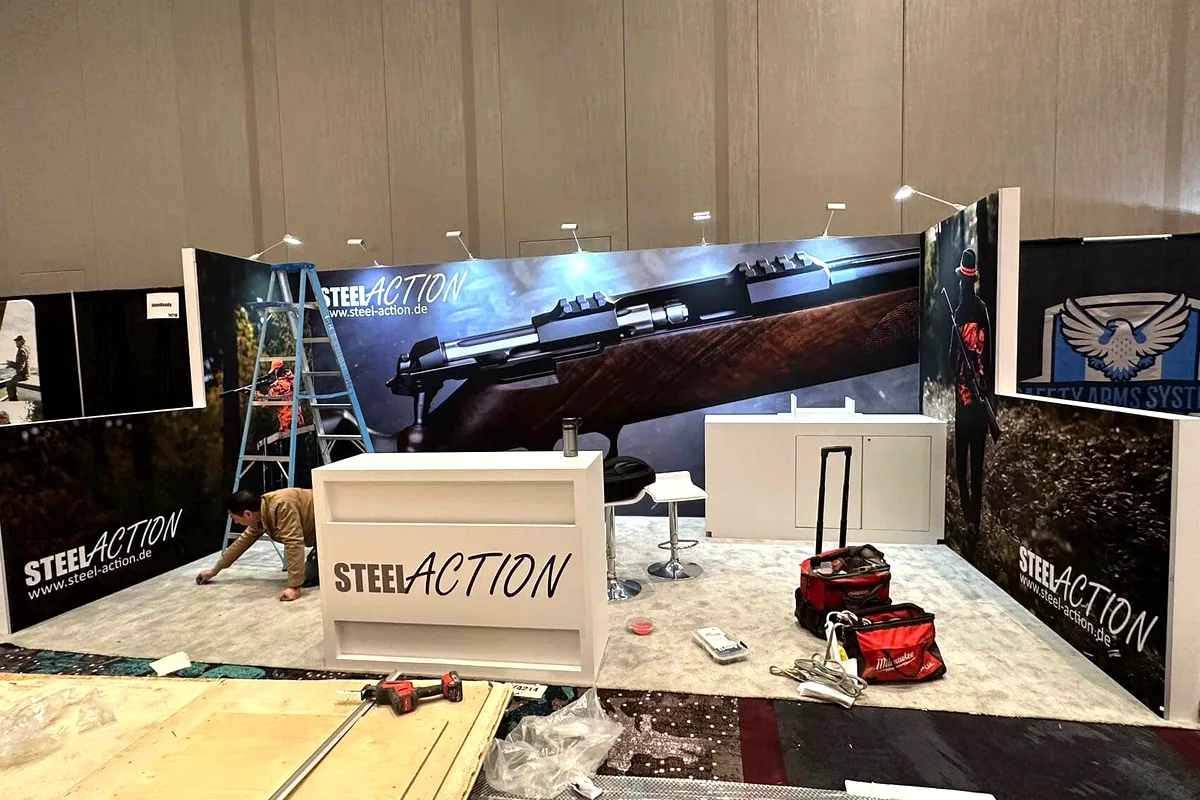
A floor plan is ready for your approval only when it contains the real work. Replace generic rectangles with the verified dimensions of your product, its doors and operator position, then add visitor viewing, cables, utilities, service access, storage and queue space.
Then run one complete cycle. How does a visitor recognize the booth, enter the activity, inspect the result and leave without crossing staff work or the next group? Where does the operator collect consumables? How is the product reset? Can a technician reach the equipment after surrounding furniture is installed?
Different exhibits fail in different ways:
- machinery can fit inside the booth line but lack service or safety clearance;
- food and beauty demonstrations can overlook cold storage, water, sanitation or waste;
- software can depend on a network that will not support the full workflow;
- fashion and sample displays can consume all working storage with packaging and reserve stock.
The design should make the commercial story clear, but the operational review decides whether that story can run for every show hour. Separate inspiration and execution only long enough to generate options; approve them together.
5. Prepare the People for the Actual Floor
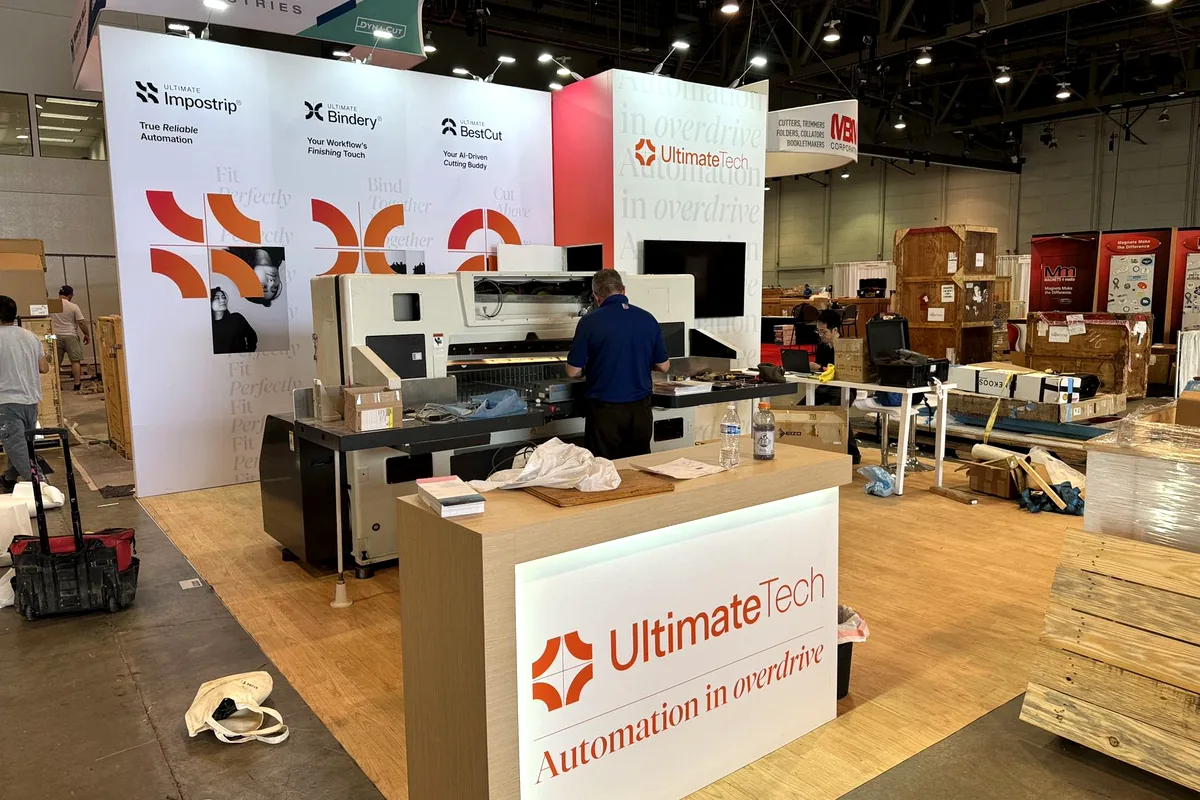
The number of people you need comes from the work happening at the same time, not the booth size alone. Count your active demonstration or consultation points, add reception and qualification when traffic requires it, then provide relief for breaks, meetings and note-taking.
A 10×10 booth often starts with two or three people working at the same time, but the product changes the number. One controlled demonstration may need an operator and one person handling visitors. Two technical stations require two capable specialists even if the floor area is similar.
Before travel, rehearse the opening hour:
- who checks the installed booth and product readiness;
- who receives the first visitor while a specialist is occupied;
- who can approve a technical or commercial answer;
- who replenishes, resets and keeps exits clear;
- who owns a meeting or action after the visitor leaves.
Also prepare the failure routes. Decide what happens if a shipment is late, the internet fails, a demo component breaks or the lead scanner stops. A backup should preserve the customer discussion—a local software environment, recorded machine cycle, spare consumables or manual lead form—not merely keep a screen illuminated.
The promotional work that brings the right people to these interactions belongs in the dedicated booth marketing strategy: target invitations, meeting reasons, booth messaging, engagement and follow-up are developed there rather than repeated here.
6. Control the Show by Exceptions
When the floor opens, your project lead should not manage every normal conversation. Use a short opening and closing check, then focus that person on exceptions that can damage the remaining show hours.
At opening, verify the product, utilities, devices, graphics, supplies, staff positions and safety route. During the day, watch queue length, demonstration reset, specialist availability, depleted samples, lead-record quality and any obstruction affecting the aisle or neighbors. At close, secure products and data, complete missing notes, replenish materials and record service problems while the responsible provider is still onsite.
Set escalation paths before they are needed. The booth lead should know who to contact for general services, electrical, internet, security, organizer approval and exhibit repairs. Staff should know which claims or commitments require an authorized person. The purpose is faster recovery, not more reporting.
A successful first day does not guarantee a successful second one. Many failures are cumulative: exhausted staff, incomplete lead notes, a shrinking supply of demonstration materials and unresolved equipment faults. The close-of-day reset protects tomorrow's performance.
7. Measure Both Commercial Results and Delivery Quality
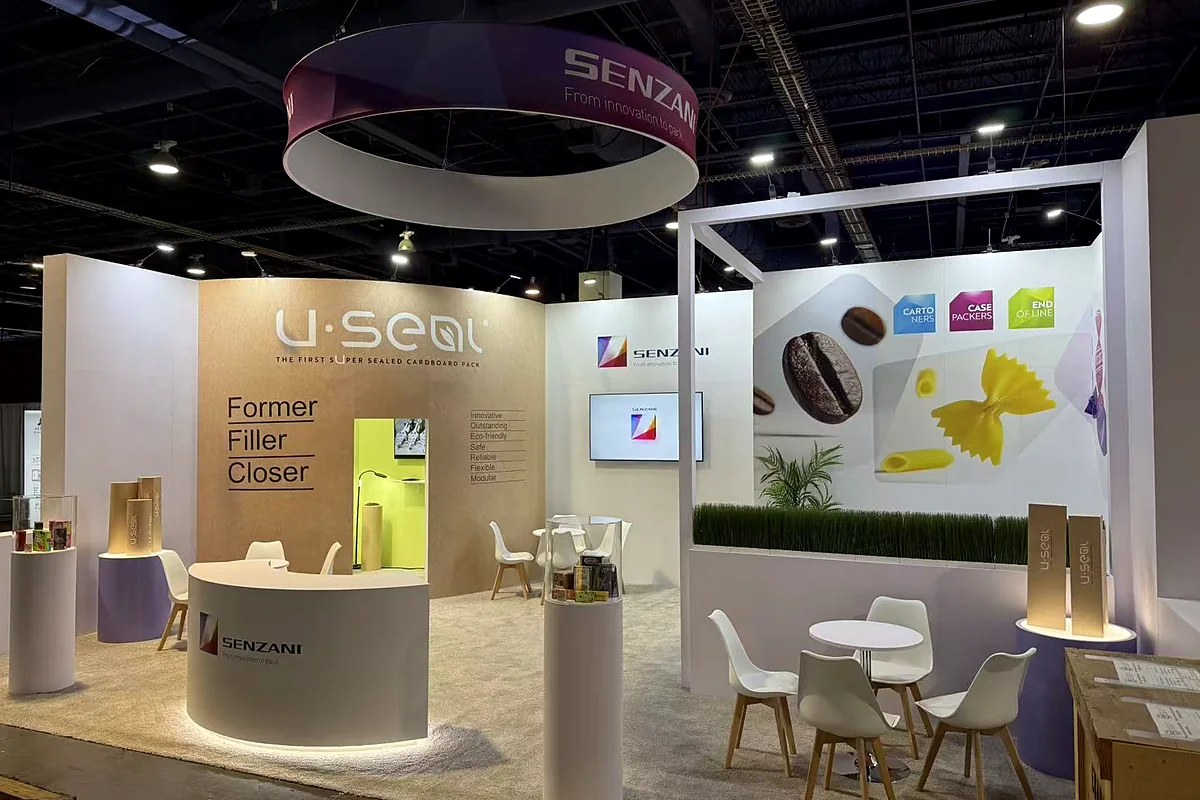
After move-out, return to the business result in your event case. Report the target accounts reached, qualified evaluations, partner meetings, agreed project steps or other approved outcomes. Keep total scans and general traffic as supporting volume data.
Two measures are useful when the definition stays consistent:
Outcome completion = qualified outcomes achieved ÷ qualified outcomes planned
Cost per qualified outcome = total event cost ÷ qualified outcomes achieved
Then review delivery quality separately. Did the booth open on time? Which service orders changed? Did the demonstration run at the intended frequency? Where did staff or visitors wait? Which shipment, utility or approval created risk? Mixing these answers into one ROI number hides the corrections needed for the next show.
Finish the debrief with four decisions: repeat, change, stop and test. Before closing the project, assign every customer promise and accepted operational correction to an owner and due date.
One-Page Trade Show Success Check
| Stage | Evidence required before moving on |
|---|---|
| Show selection | Confirmed target roles, access model and commercial case |
| Budget | Organizer, exhibit, logistics, services, people and post-show costs visible |
| Schedule | Manual deadlines, owners and critical path recorded |
| Design | Real product, utilities, people, storage and visitor flow tested |
| Staffing | Simultaneous roles, relief and escalation paths assigned |
| On-site control | Opening, exception and close-of-day checks prepared |
| Measurement | Commercial outcomes and delivery-quality review separated |
Frequently Asked Questions
How do you measure trade show success?
Measure the primary result approved in the event case, such as target-account meetings, qualified product evaluations, distributor discussions or agreed project steps. Compare achieved outcomes with the target and divide total event cost by qualified outcomes. Review booth delivery, deadlines and service problems separately so operational corrections are not hidden inside a marketing number.
How far in advance should you plan a trade show?
Allow roughly three to four months for a straightforward portable booth, six to nine months for a custom exhibit or large equipment, and eight to twelve months for a complex overseas program. Use the event's contract, exhibitor manual, production availability and freight route to replace those ranges with actual dates.
How many booth staff do you need?
Provide one capable person for each simultaneous demonstration or consultation, add reception or qualification when the traffic requires it, and schedule relief. Two to three people is a common working start for a 10×10 booth, but the operating roles—not square footage alone—determine the final number.
What should you do immediately after a trade show?
Complete the customer actions promised onsite, fill missing lead notes, assign owners and due dates, reconcile actual costs and hold the commercial and operational debrief. Record what the next show should repeat, change, stop and test.
Tell Us Which Part of the Project Is at Risk
Send us the show name and identify the current risk: budget, deadline, floor plan, equipment, staffing or move-in. We will start at that risk and show where the booth project and event operation need to connect.
Contact Kingexhibits to discuss the project.